
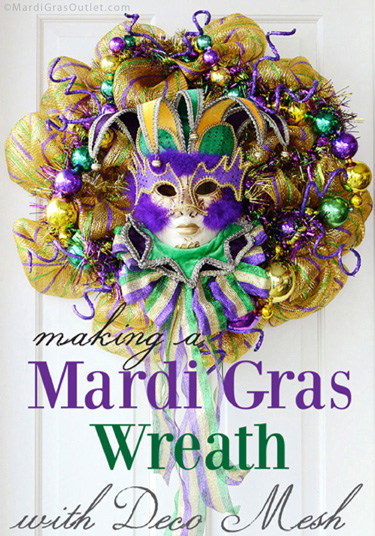
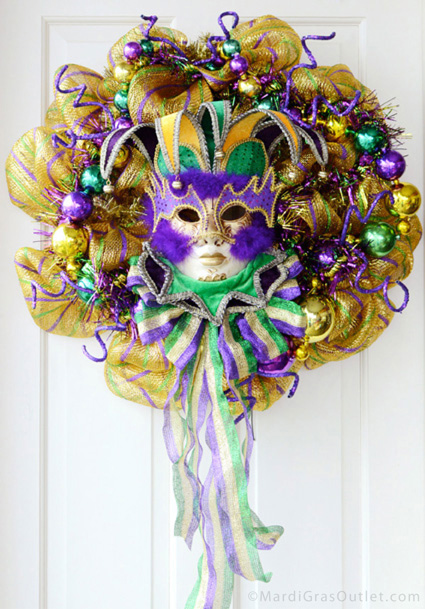
Celebrate the Mardi Gras season by making a festive deco mesh wreath in purple, green and gold, the colors of Mardi Gras. This wreath is embellished with a jester mask, jumbo Mardi Gras beads and metallic tinsel garland. Keep scrolling down for a tutorial on how to create your own!
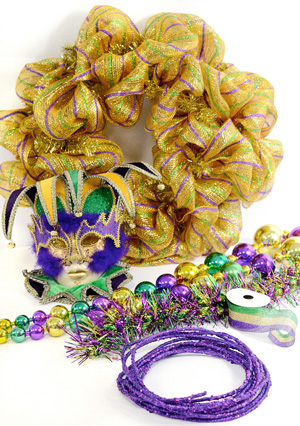
SUPPLIES LIST (Click on the product name for supplies source)
(1) Mardi Gras Stripe Ribbon (2"x10yards) The wreath supplies can be purchased at www.MardiGrasOutlet.com. CLICK HERE. All of the supplies needed for this wreath is about $62.
The video above shows you how to attach the 21" Deluxe Mardi Gras Deco Mesh Roll onto the 24" metallic gold work wreath form. You will use the pre-attached tinsel-covered wire ties to secure the puffs of mesh all the way around the inner and outer rings of the wreath form.
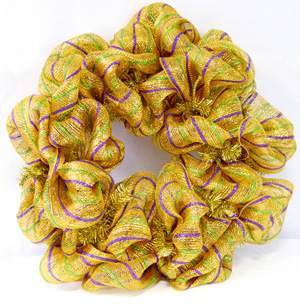
The basic Mardi Gras deco mesh wreath should look like this.
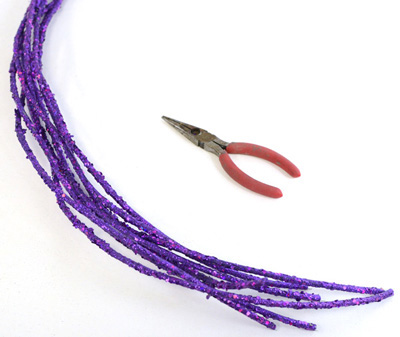
STEP 2: CUT THE GLAMOUR ROPE
Using wire cutters, cut the wired purple glamour rope into 6 pieces ranging from 20" to 25" long. Glamour rope is a great creative product, and it comes in many colors. It is also wired so that you can bend it into many different shapes.
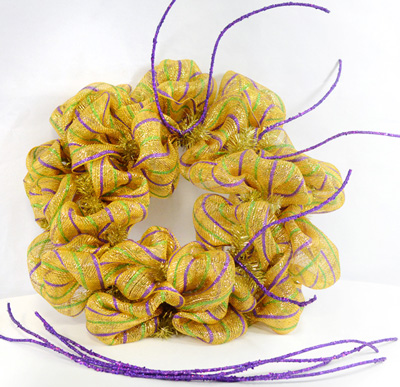
STEP 3: ATTACH THE GLAMOUR ROPE
Thread the pieces of glamour rope halfway through the work wreath frame and twist a few times to secure the glamour rope. Place the glamour rope pieces several inches apart from each other so that they are evenly spaced all the way around the wreath.

STEP 3: ATTACH THE GARLAND
Attach the metallic spiral tinsel garland all the way around the wreath. Twist the glamour rope around the garland to secure. Try leaving some slack as you attach the Mardi Gras garland so that it looks wavy.
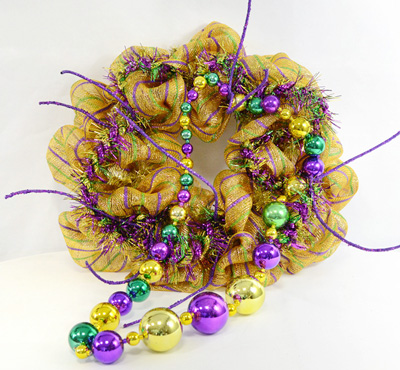
STEP 4: ATTACH THE JUMBO MARDI GRAS BEADS
Using the glamour rope ties again, secure the giant mardi gras ball necklace to the wreath. Make sure the larger balls are placed at the bottom of the wreath versus the top.
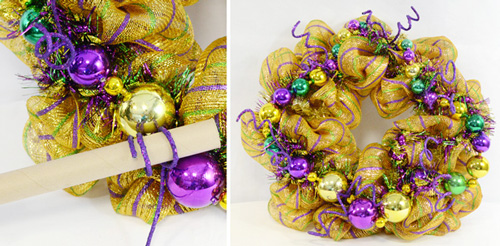
STEP 5: CURL THE GLAMOR ROPE
Curl the glamour rope around a cylinder or tube to form each of the glamour rope pieces into spirals.
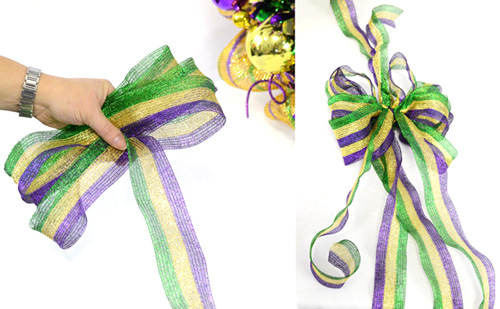
STEP 6: MAKE A BOW
Use the Mardi Gras Stripe Ribbon to make a bow. Form a loop and hold in one hand. Form another loop on the opposite side and hold them in the same hand at the middle. Continue going back and forth until there are 4 loops on each side. Now cut 2, 30" long strips of ribbon and one shorter piece. Use the short length to attach the tails at the middle to the place you have been holding the loops.
For more detailed directions on how to make a similar bow, click here.

STEP 7: ATTACH THE MASK
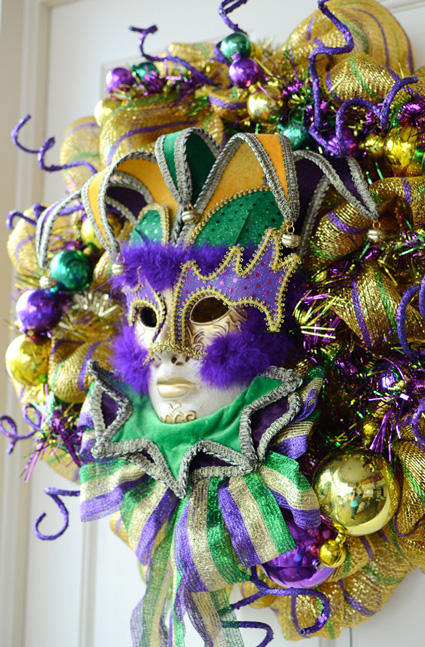
At the back of the Deluxe Jester Mask, there is a loop. Use a tinsel-covered wire tie on the work wreath form to secure the loop and the mask to the middle of the wreath.
STEP 8: ATTACH THE BOW
Finally, attach the bow you made to the bottom center of the wreath, directly underneath the Jester Mask. Spread and fan apart the bow loops, as seen in the photo above.
Happy Mardi Gras!
AWESOME,,,,THANKS FOR THIS INSTRUCTIONS
ReplyDeletelooks simple! love the audio instructions! will let you know how it turns out!!!
DeleteNeed it, Want it, Gotta Have It!!!!
ReplyDeleteTHANKS FOR POSTING VERY BEAUTIFUL. LOVE MARDI GRAS'
ReplyDeleteI will be making one of these, the instructions were very precise with breakage. love.love.love:-)
ReplyDeletelove it
ReplyDeleteJust made this yesterday...it came out great! It's really impressive and beautiful.
ReplyDeletewonderful instructions..am thinking of Christmas or St. Pat's day!!
ReplyDeleteHello, I have a question and if anyone can help, I would greatly appreciate it. I've started painting a few Masks and want to add the jester crown but not familiar with how to do this. Can anyone tell me hat materials are needed to make the jester points. I would like the bendable flaps that I could design but am kind f lost. If someone could provide me additional info, please post or email me at gabex247@gmail.com. Thank you all :)
ReplyDeleteHi Gabe,
DeleteWere you able to make the wreath? I can send you some detailed step by step directions if you would like to email us, jessie@mardigrasoutlet.com.
Thanks for posting!
Hate Mardi Gras. But ABSOLUTELY LOVE THIS!
ReplyDeleteStunning!!!!!!
ReplyDeleteThanks, we love it too! Its almost Mardi Gras already, better start crafting!
Deletejust did this wreath for a M.G. open house, it was especially simple (good for me!), thank you for all of the tutorials!
ReplyDeleteWow, so much easier than the way I was originally shown how to use the deo mesh for a wreath. I love the mask in the middle. Thank you!
ReplyDeleteBeautiful!!!
ReplyDeleteThank you HD :-) We would love to see your blog with your designs when its set up!
DeleteFantastic! Thanks for the idea!
ReplyDeleteFantastic! Thanks for the idea!
ReplyDeleteHow fun! Thank you for sharing this.
ReplyDeleteBeautiful
ReplyDeleteThanks for this! I think I'm going to try this in different colors and give to my sorority sisters as gifts! GREAT IDEA!!
ReplyDeleteThank you!!! I've been wanting one of these.
ReplyDeleteSandyh
Inspiring!
ReplyDeleteThis is so beautiful; But I am not good at crafts too bad I cant buy one already made ! Would love it for one my door!
ReplyDelete