Showing posts with label Mardi Gras Children's Party. Show all posts

February 12, 2013

Celebrate Mardi Gras Today with a Free Printable Pennant Banner

Free Printable, Mardi Gras Garland, Pennant, Banner, Mardi Gras Decorations

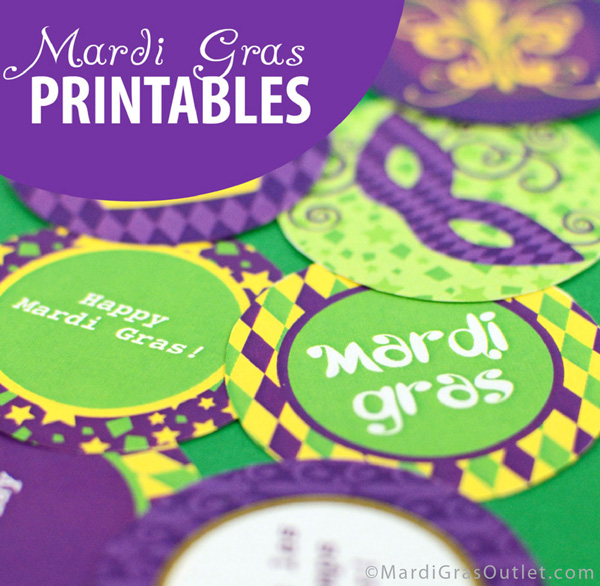
Happy Mardi Gras! Today around the world, people are celebrating- one last day of revelry before lent begins. This printable Mardi Gras pennant banners is an inexpensive way to decorate for your celebration.  With this free printable, you can make as many as you want!
Free Printable, Mardi Gras Garland, Pennant, Banner, Mardi Gras Decorations

DOWNLOAD PENNANT BANNER


STEP 1: Download and Print
Click above to download the free printable Mardi Gras Pennant Banner. You will need a PDF reader to open this file.(Click HERE for a free PDF reader from Adobe) 

Print out all 4 pages of the banners, using your desktop home printer or bring the file to a copy or print center. You can print them using regular copy paper or card-stock paper.


Free Printable, Mardi Gras Garland, Pennant, Banner, Mardi Gras Decorations
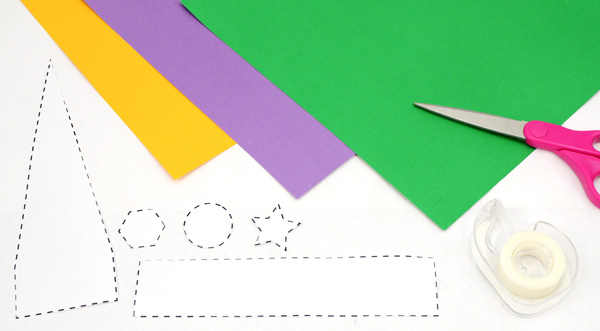
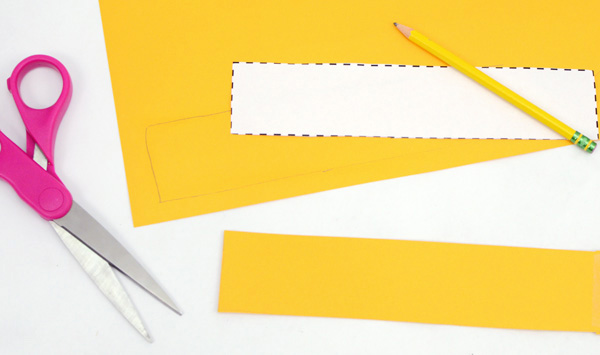
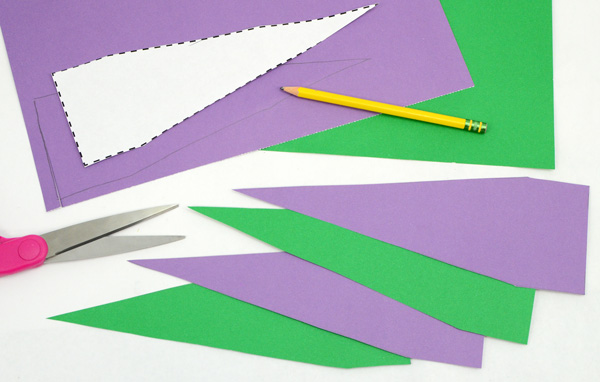
STEP 2: Cut-out Pennants
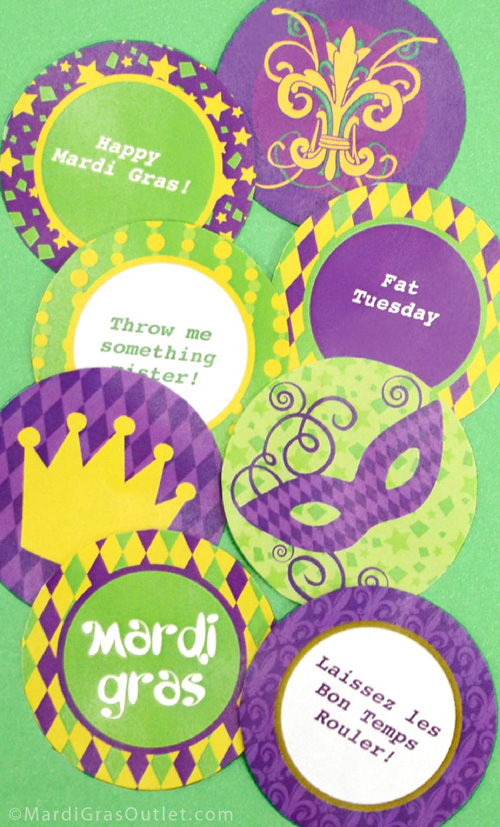
Once you have printed out all four pages, use scissors or an X-acto knife and ruler to cut out each individual flag.
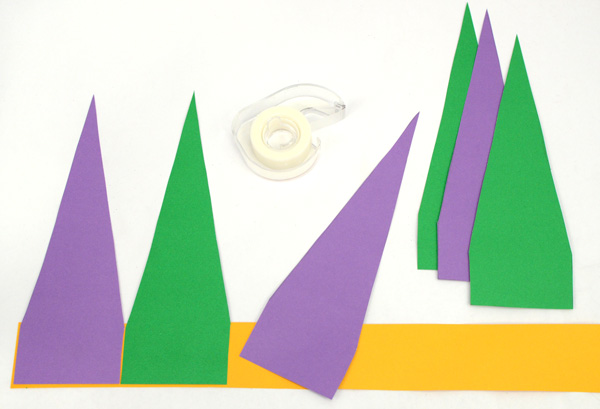
Free Printable, Mardi Gras Garland, Pennant, Banner, Mardi Gras Decorations
STEP 3: Fold
With each flag cut out from the pages, start folding the top section. Fold it back behind the front of the flag across the top at the white line, as shown above. Use the sides of the pennant as a guide for straight edges.

Free Printable, Mardi Gras Garland, Pennant, Banner, Mardi Gras Decorations
STEP 4
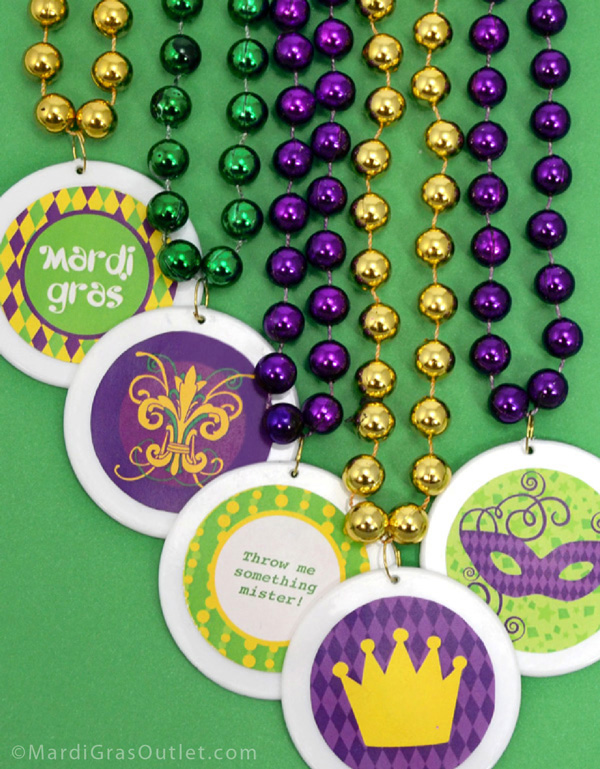
Place the fold around a long piece of string, and then tape or glue the flap down to secure. Continue attaching all of the flags. We used two different strings, but use one long string if you need to. You could also use ribbon or Mardi Gras Beads to create a pennant banner that is more like a garland.

Free Printable, Mardi Gras Garland, Pennant, Banner, Mardi Gras Decorations


Our finished banner took under 10 minutes to cut out and string together.

Free Printable, Mardi Gras Garland, Pennant, Banner, Mardi Gras Decorations

The finished banner-garland across a doorway.


We love the pennant banner on a garland or staircase!  A step-by-step tutorial on how to make this Deco Mesh garland is available HERE.

We hope you have a happy Mardi Gras!


February 8, 2013

Color and Cut-out a Mardi Gras Crown: Free Printable


What are you doing for Mardi Gras weekend? Anyone headed to a parade?
Whether your screaming "Throw me something, mister" at a parade or celebrating with the neighborhood children here is a cute Mardi Gras crown to wear. This simple color and cut- out crown is the crowning touch (pun intended;) for Mardi Gras.

Everyone loves to be KING for a DAY!


free printable cut-out crown coloring page
Print out this paper crown on 8.5" by 11" card stock or regular paper. Decorate the crown with paint, crayons, beads or glitter to complete your custom crown. This is a great class or family craft project.

You will need a PDF reader in order to view the page. Click here to download a free PDF reader
DIRECTIONS (also on the printed out sheet)
1. Color and decorate your crown. Add glitter, stickers or faux jewels. Get creative!
2. Follow the lines to cut out the crown and the two head bands.
3. Attach the headbands to each side of the crown with tape, glue or staples.
4. Fit the crown to you head and attach the bands together at the back (as shown in the photo above). 

Happy Mardi Gras! Let the revelry begin.


For more free coloring page downloads and other printables, click below:

January 4, 2013

Whimsical Wire Crowns to celebrate Three Kings Day!

diy wire crown tutorial
 
Celebrate the arrival of Carnival season and Three Kings day (January 6th) by crafting your own small whimsical crown. Made with aluminum craft wire, these precious tiny crowns can be used as decoration on a tablescape, cake topper or worn as a fascinator on a headband. We've created two versions, one with a thick-gauge aluminum wire, and the other filled in with thin gold floral wire.
 Don't you think they are both fit for a king? 
 
Aluminum Wire Crafts, Wire Craft Tutorial, How to, Mardi Gras Crafts, Mardi Gras Party, Crown Theme Party
Put the crowning touch on a king cake with a tiny gold wire crown.
 

Attached to a plain headband, this gold crown is a very cute accessory or fascinator, perfect for  Mardi Gras, Halloween,  Princess parties or any time you want to king/queen for the day. Keep scrolling for the simple tutorial.

gold craft wire
SUPPLIES
To purchase these products from www.mardigrasoutlet.com, click on the individual product link below for a complete supply list.
Cost/Time
The cost of two the two basic wires is $6.50.   This does not include the cost for the headband or wire cutters. We only used about 1/6 of the roll of wire.  The wire crown took under 15 minutes to make.


STEP 1: MAKE A ROUND BASE
Cut a 16 inch to 18 inch piece of 2mm Aluminum Craft Wire with wire cutters. Fold the wire in half. Finally, create a circle and loop the two ends together. Use pliers to press and twist the wire ends together securely.

This finished wire crown will have a 2.5 inch diameter base, and will be about 3 inches tall. You can alter the size of the crown to your liking.

STEP 2: MAKE THE SPIKES
Fold the aluminum wire into zig-zags that are about 4 inches tall. We made 5 spikes, but you can form more or less, and vary the height of the spikes. Use the pliers to pinch the top and bottom spikes so that they come to a point.
Then bend the bottom ends so that they curve up like hooks.

STEP 3: SECURE THE SPIKES TO THE BASE
Curve the row of spikes to follow the round base. Use pliers to start pinching the hooks around the round base, with the end on the inside. Space them out evenly.

Bend the tips of each spike outward for a crown shape.

STEP 4: ATTACH TO THE HEADBAND
Cut two short lengths of the gold floral wire and wrap it around the crown's base and the headband to secure the crown.


OPTIONAL STEP: FILL IN THE CROWN SPIKES
We simply used more of the thinner floral wire and wrapped it around each spike. Keep wrapping until it looks filled in.
diy wire crown craft princess
Aluminum Wire Crafts, Wire Craft Tutorial, How to, Mardi Gras Crafts, Mardi Gras Party, Crown Theme Party

We hope you all had a wonderful Holiday and a Happy New Year.
Let the good times roll as we ring in Carnival season wearing a crown- of course!


February 19, 2012

Mardi Gras Parade Float Coloring Page

(click above to download)

Carnival season is in full swing, which means parades, beads and good times abound! Create your own parade at home (or an illustration of one ) with this free printable coloring page.  This is a great Mardi Gras art activity for kids! Display your colorful floats in a row, lined up just like a real parade. 

 Happy Mardi Gras!


You will need a PDF reader to open the file, available here for free.

For more free coloring page downloads and other printables, click below:

February 9, 2012

Paper Jester Hat Pattern: Mardi Gras Crafts for Kids

jester hat pattern template mardi gras kids crafts free
Mardi Gras paper crafts are a fun creative activity for children. This three-dimensional jester hat can be made with some colorful construction paper and this free printable template. All you will need are some scissors, a pencil and some tape or glue. See below for instructions. 

Click on the link above to download and print the Mardi Gras jester hat pattern on your printer. You will need to have a PDF reader to open it (free at this website). The hat instructions are also on the template page.

STEP 1: CUT OUT THE TEMPLATES
Print out both pages of the free download jester hat patterns. Follow the dotted line and cut-out each shape with scissors.

STEP 2: MAKE THE HEADBAND
Using the rectangular template on page 2, cut-out 3 pieces from construction paper. For this hat, you can use purple, green and gold, the colors of Mardi Gras, or any other colors you want. Tape the pieces end to end into one long head band.

STEP 3: CUT THE JESTER SPIKES
Using the triangle pattern, cut out 6-8 pieces out of different colors of construction paper. The number of triangles you need depend on head size.

STEP 4 & 5: CONSTRUCT THE HAT
Using glue or tape, secure the triangle bottoms side by side to the head band. Now, fit the headband to your head and secure with tape.

STEP 6: ADD ACCENTS
Use the circle, star and jewel templates on page 1 to cut out decorations for your jester hat. Glue or tape them to the hat. 

jester hat paper craft pattern mardi gras children's
Happy Crafting!

For more free coloring page downloads and other printables, click below:
FREE PRINTABLES

February 2, 2012

Free Mardi Gras Printable Stickers and Labels


Create custom Mardi Gras Beads, party favors or decorate gift packaging with our free printable stickers and labels. These Mardi Gras graphics include a crown, mask, scrolled fleur-de-lis and harlequin patterns. Similar to our other downloadable designs, you can personalize and customize the labels for a special event, party or parade.


Click on the links above to download each page. You will need Adobe Acrobat Reader, which is free here if you don't have it. To customize the Mardi Gras Labels, open the file in Acrobat Reader. You should see some highlighted boxes where you can click and type your text before printing. Or, you can simply print out the labels and write on them by hand. Only the "labels" page has customizable text.

Print these out onto 8.5"x11" sticker paper or cardstock (Avery is a good brand) with your inkjet or laser printer. Any office supply store sells both types of paper. Use a 2" circle cutter or scissors to cut out each circular design. 

We have tons of ideas on how to use our Mardi Gras labels, so here are images of what we did.

Easily personalize Mardi Gras beads with these designs! They fit perfectly onto blank discs, which you can buy separately or already attached to a bead necklace at a really affordable price (12 necklaces for only $3.40!). Available at MardiGrasOutlet.com, we used the traditional Mardi Gras colors of gold, green and purple for the beads with white blank discs. If you need more bead colors, click here

Printed onto stiff cardstock, these also make easy and festive gift tags. Use a hole-punch to make a place to thread ribbon or string through, and tie around a gift bag. We filled a purple cello bag with Mardi Gras doubloons and purple, green and gold Mardi Gras beads for a party favor that everyone can enjoy. The cello treat bags come with twist ties that you can use.

Last but not least, customizable stickers are great for drink labels. We put ours on a clear plastic hurricane glass, but this idea works for plastic party cups and glasses as well. Give your guests sharpie markers to write their name on their glass, or use the type-your-own text feature to customize for the special event.

Here are even more possibilities: 
Scrapbooking and scrapbook pages
Candy, cookie or praline packaging (click here for a DIY tutorial) 
Name tags or seating cards
Cupcake toppers by gluing to toothpicks (see examples here, and Mardi Gras cupcake recipe here)
Appetizer or buffet signs


November 3, 2011

DIY Photo Booth Ideas


A great new trend for parties is DIY photo booths. These can be so much fun for your guests and will make your event fun and memorable. Wacky props, a fun backdrop and someone to photograph the fun are all you need.  Here are some ideas and tips for creating an entertaining photo booth. 
The Backdrop can be as simple or complex as you make it. The important thing to keep in mind is to choose something that works with the theme of your party.

Here is an easy polka dot backdrop for a children's birthday party.


The easiest way to create a background is to get a large cloth or sheet. If your party is outside, hang it from a clothesline, and just attach the top to a large wall if indoors.

For instant Mardi Gras atmosphere, check out these options:  Harlequin pattern backdrop,  a gigantic Mardi Gras Flag or striped Mardi Gras fabric.

The backdrop pictured in the photos below is sparkly metallic floral sheeting or petal paper. Floral sheeting is sparkling three-dimensional vinyl or metallic paper that comes on rolls. For optional styles and colors, click here. This would be great for a red-carpet type event.


The Ruffled Blog has directions on how to create this standing photo booth wall, complete with wallpaper and a frame cut-through. Click here for details.

  Props will bring out the zany side in your guests, and are a great way to add something unique to every photo. From feather boas to funny eye glasses, your guests will love playing dress up for the camera. Here are some fun options.


Held Props
Old photo frames and chalkboards are perfect props for photos. Unique chalkboards are also easy to make. Miss Fancy Pants Blog uses an old frame and chalkboard paint. Guests can write personal messages -perfect for brithday parties, weddings and showers.

Photography- there are high and low tech options.
Mac laptops have a Photobooth program. Or just use a simple digital camera and a small photo printer.  
Tips for fantastic photos:
  1. Fill the frame - this means that it is okay to crop in and not show an entire face or person. Filling the frame will make the photos more artistic and fun.
  2. Good lighting - natural lighting outdoors is best, but if your photo booth is indoors, have lights shining into the booth from the sides. 
  3. Have fun and encourage your guests to use the props and interact with you and the camera!  

Don't forget a great sign! A sign with instructions lets your guests know what to do and where to go for the fun.
For even more photo booth ideas and themes, check out our Pinterest photo booth idea board at:

LinkWithin

Related Posts with Thumbnails