Showing posts with label Louisiana. Show all posts

March 13, 2013

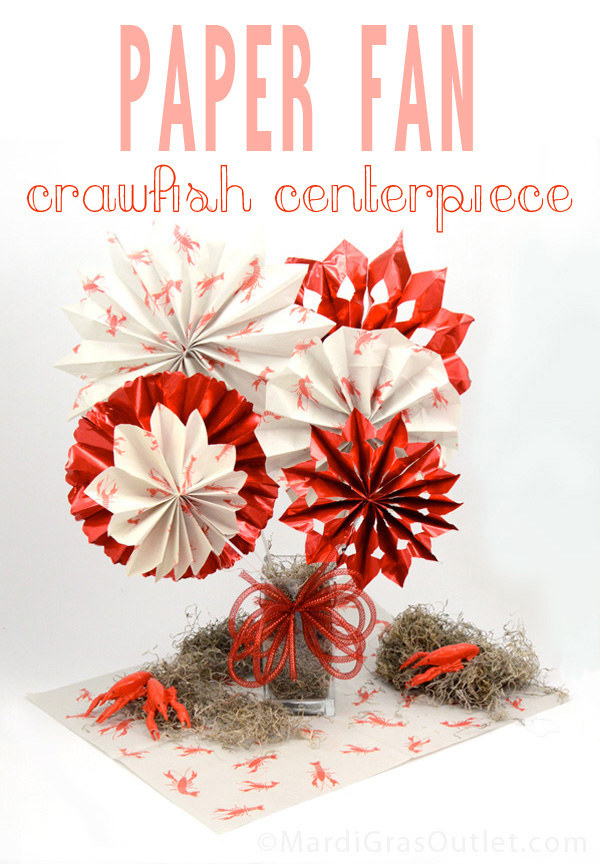
Paper Fan Crawfish Boil Centerpiece: Tutorial


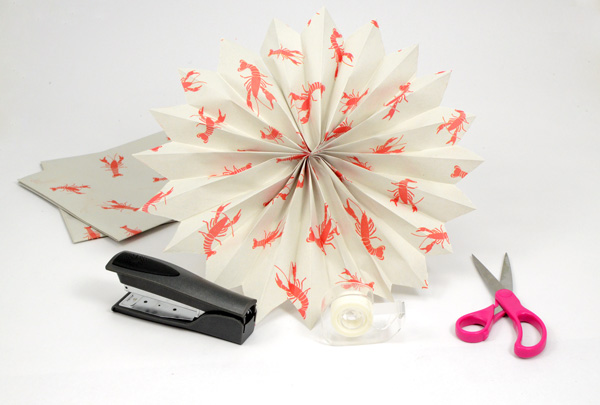
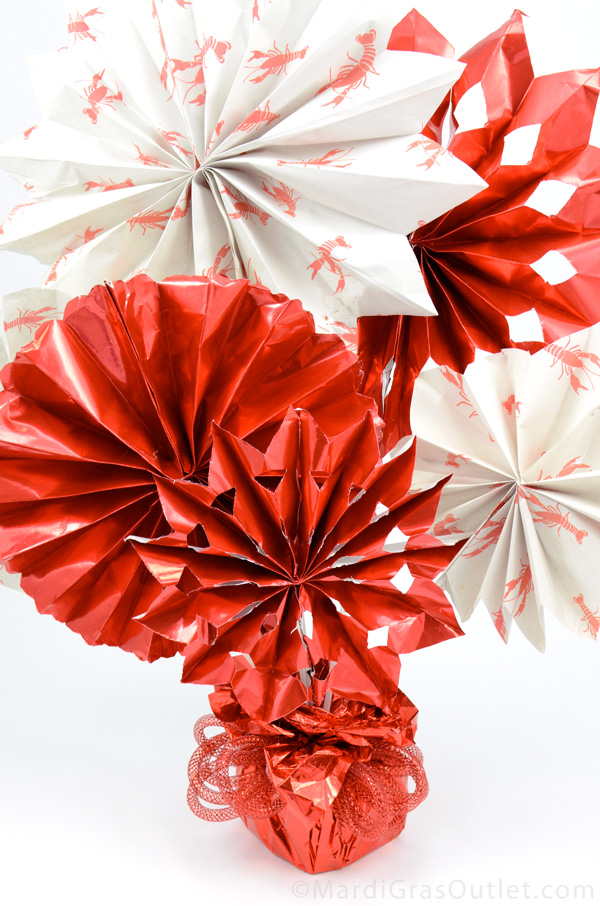
This easy and inexpensive DIY centerpiece is a great way to add some Cajun flair to your next crawfish boil, crab or lobster bake seafood party! We show you how to make several different centerpiece bases in this easy tutorial filled with decorating tips and ideas. See our previous tutorial (HERE) on making paper fans to create a variety of decorative rosettes for each base.


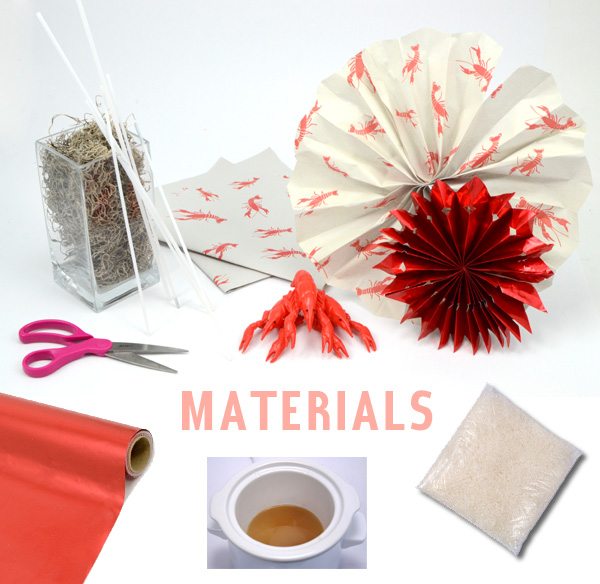
Materials:

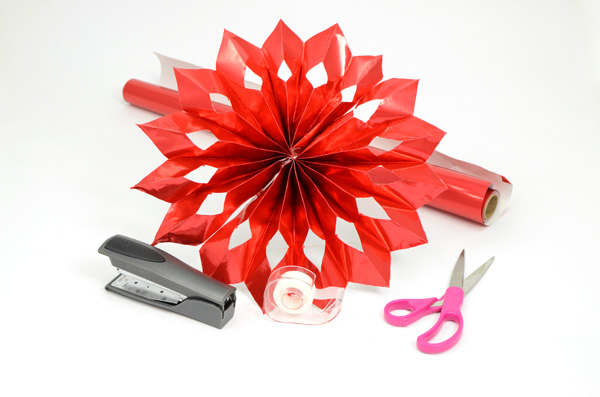
All of these materials are available at MardiGrasOutlet.com.  Each centerpiece only costs about $10 each to make, and you can make 5 or 6 centerpieces with the materials listed above. To learn how to create the crawfish and red foil paper fans used in this tutorial, please see our DIY Crawfish Fans post.  You will need materials 1-5 for making the fans.

Step 1: Mounting the Paper Fans

Glue a plastic stick or wooden dowel against the back of each paper fan between the folds by dipping the stick into some skillet glue and placing the stick as close to the center as possible so that it will fully support the weight of the fan.  You could also use a hot glue gun to attach the sticks.
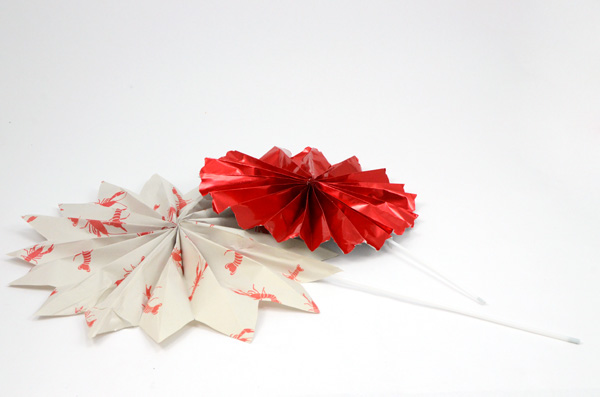

After you have attached sticks to all of your fans, lay them out on a table and arrange them at various heights to determine how you would like the final arrangement to look. You can trim off any excess length from the sticks or just push some fans farther into your centerpiece to maintain variety.

Step 2: Creating a Base

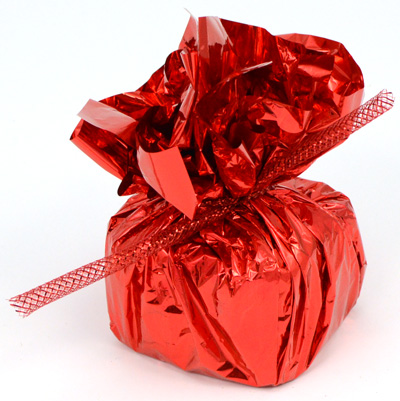
Below we demonstrate two different bases you can choose from for your centerpiece. To create a red crinkle base, cut off a small square of a dry floral foam brick. Cut 1 sheet of Red Mylar Tissue in half, and lay them at an angle to one another with the foam brick on top (see diagram below.) Insert a small bag of sand or other weight beneath the foam brick to protect the arrangement from tipping over easily.
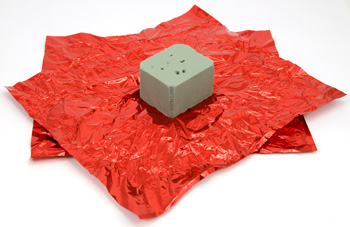
Lift up the mylar tissue sheeting and bunch it over the top of the floral foam. Cut a short piece of metallic red deco flex tubing and tie it around the tissue to secure. This is the centerpiece base.

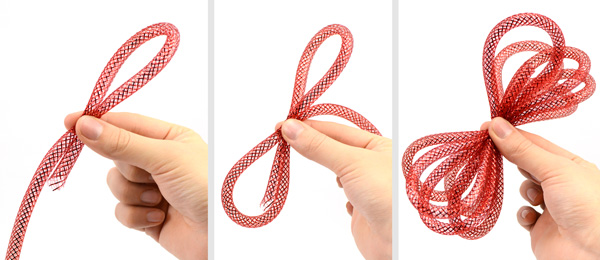
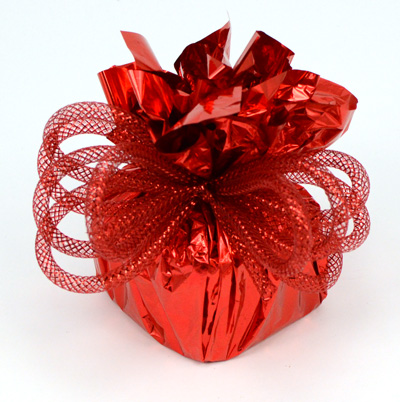
Make a bow with deco flex tubing (see diagram above). First, form a loop and hold it in one hand. Form a second loop, and keep going back and forth until there are 10 loops total. While still holding the loops in one hand, use the ribbon that holds the tissue sheeting together to secure the bow to the centerpiece base. Pull out and fluff the loops.

Alternative Step 2:
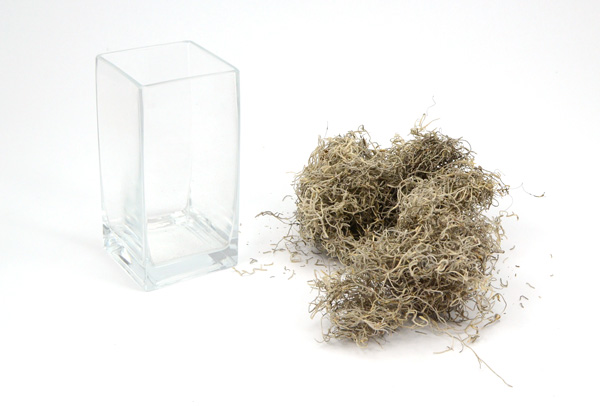
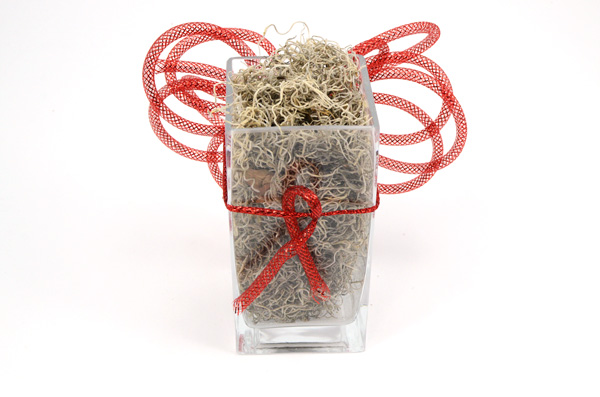
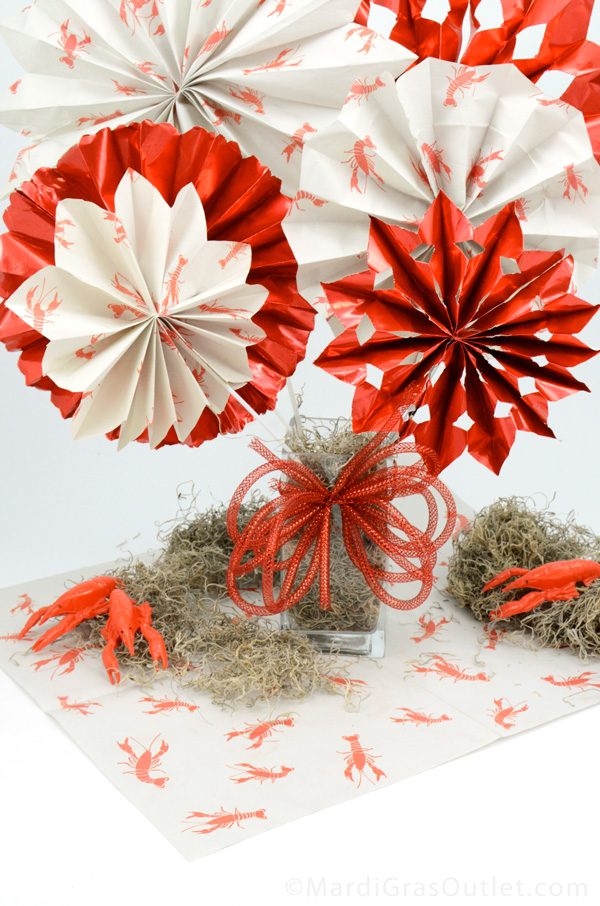
To add variety to your decorating scheme, you can also use a tall, clear glass vase along with some Spanish moss and metallic red deco flex tubing to create a base for your centerpiece. The vase shown is 7" x 4".
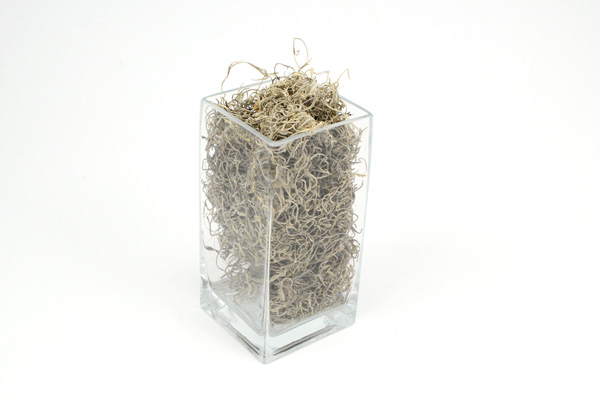
Just pack the vase with the Spanish moss and tie a deco flex bow as described above.  You could also insert some plastic crawfish into the vase for added color.
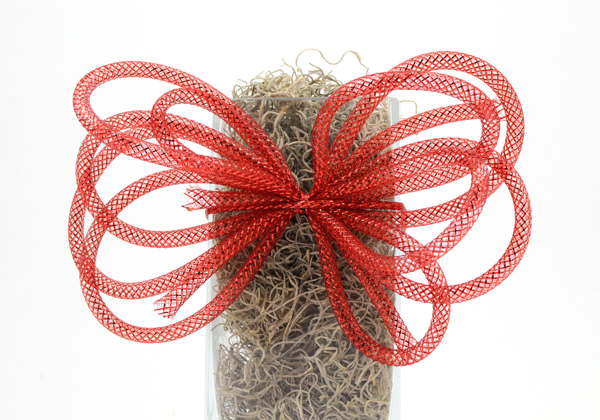
Attach the bow to the vase using another piece of the deco flex tubing, knotting it at the back.  If your centerpiece will be viewed from multiple angles, feel free to create a bow for each side!


Step 3: Arranging the Fans

Once you have created the base of your choice, begin placing your fans on sticks down into the base. Vary the height of your fans by pushing them father into the base or by trimming the sticks to different heights.
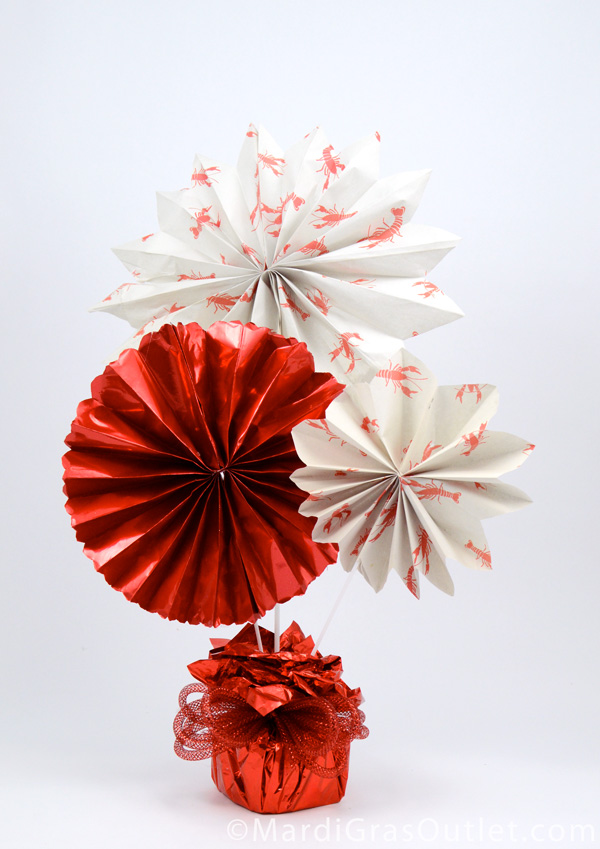

Continue to arrange to your heart's content! Depending on how you choose to display your centerpiece, you may want to have all of the fans facing one direction, or you may want to consider the arrangement from multiple angles.


Step 4: Crawfish Table Covering

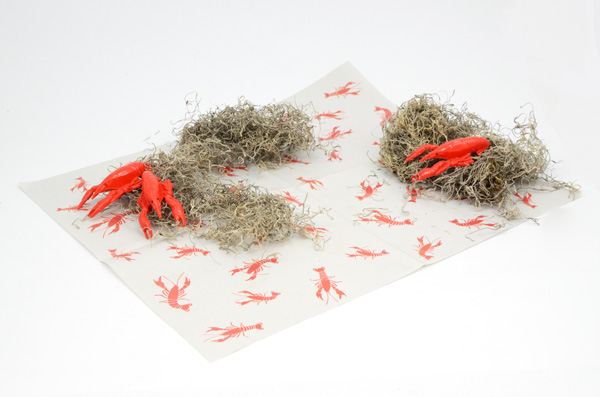
You can create a decorative resting mat for your centerpiece using crawfish print newspaper, Spanish moss and 5-inch plastic crawfish.  You may even want to cover your entire table with this decorative crawfish paper to add style while protecting the surface from those succulent mud bugs!


June 12, 2012

DIY: Personalized Wedding Parasol Tutorial

diy, painted, wedding, parasol, tutorial, paper parasol, umbrella


Personalized Hand Painted Wedding Parasols are a current elegant wedding trend that you can easily make yourself. In New Orleans, it is a tradition for umbrella toting brides to have a second line dance at their reception. Guests and wedding attendants join in the dance waving umbrellas and white handkerchiefs. Recently pretty painted umbrellas have been turning up outside of Louisiana. Laissez les bons temps rouller!

While the hand lettering looks like it would be best left up to a professional artist, the printable template (available below) makes it simple for anyone. Our DIY tutorial will show you how. Bring the Louisiana tradition of a Second Line to your wedding festivities with a pretty painted parasol!


SUPPLIES
(parasol available at www.mardigrasoutlet.com)
Acrylic Craft Paint (we used metallic gold)
Paintbrush (flat angled bristles work best)
Dull Pencil
Scissors
Scotch Tape

We have made a free printable template that reads "Just Married" in a script font to help you out with this project. You will need a PDF Reader in order to download this file. Need one? Click here to download it. This template is sized to fit this 22" parasol perfectly (32" wide when open).

Click below to download the painting template.

There are 6 pages that you need to print out. Regular copy paper and a desktop home printer work fine.  We made the template easy to follow by including a guide on each page that indicates how to line-up the letters.

diy, painted, wedding, parasol, tutorial, paper parasol, umbrella

STEP 1: Cut-out the Template
Once you have printed out all 6 pages, loosely cut around the letters on each page. This just makes it easier to tape the template to the parasol later. The only precise scissor action will be to follow the straight dotted lines.

diy, painted, wedding, parasol, tutorial, paper parasol, umbrella

STEP 2: Tape the Letters Together
Use the dotted lines that divide the words to put each each word together. Simple line up those edges and tape each word together.

diy, painted, wedding, parasol, tutorial, paper parasol, umbrella

STEP 3: Tape to the Back
Flip the parasol up-side down. Place the words face down on the parasol. Tape them to the inside.

diy, painted, wedding, parasol, tutorial, paper parasol, umbrella

Turn the parasol around and make sure the letters look good where you have placed them. You should also be able to see the letters through the paper parasol.

diy, painted, wedding, parasol, tutorial, paper parasol, umbrella

STEP 4: Trace the Letters
Trace the outline of each letter using a dull pencil so that you don't poke through the paper. It also helps to hold behind the paper with your hand as you trace.

diy, painted, wedding, parasol, tutorial, paper parasol, umbrella

STEP 5: Paint the Letters
First, remove the template that is taped to the back. Use a flat, angled soft-bristle brush to fill in the penciled outlines on the front. This is acrylic craft paint in metallic gold, but you can use other colors to coordinate with your wedding.

diy, painted, wedding, parasol, tutorial, paper parasol, umbrella

And that's it! Time to show it off!

diy, painted, wedding, parasol, tutorial, paper parasol, umbrella


diy, painted, wedding, parasol, tutorial, paper parasol, umbrella


April 9, 2012

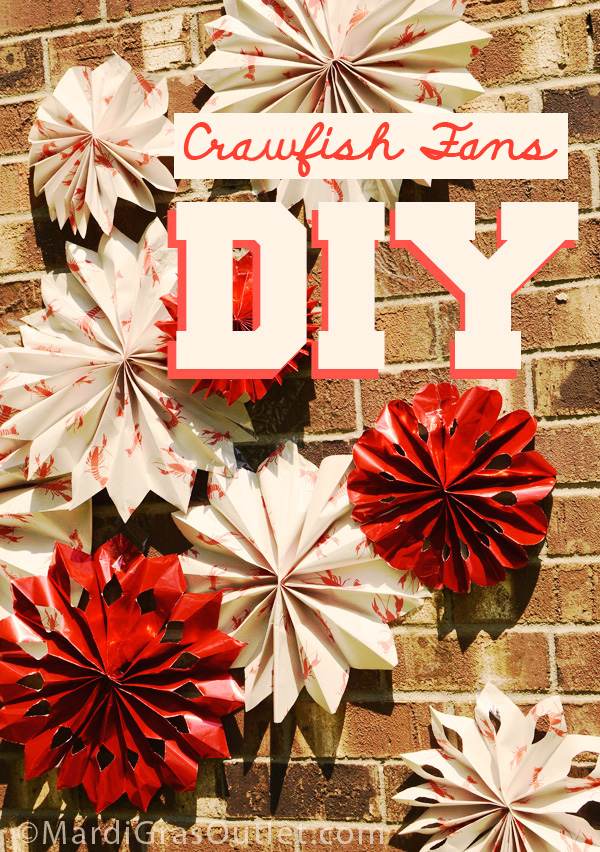
DIY Decorations: Crawfish Paper Fans

crawfish boil party decorations ideas paper fan tutorial photobooth

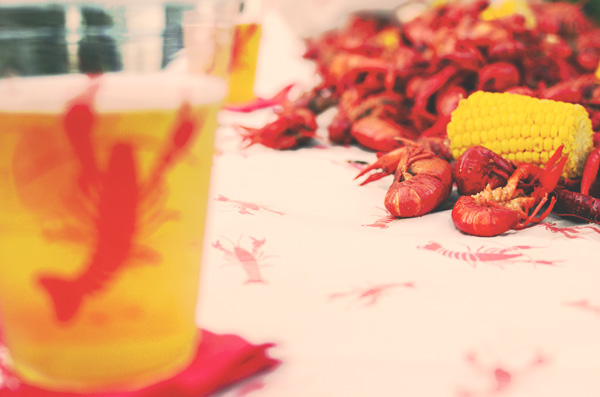
As you probably already know, Crawfish Season is Here! In celebration, we've been dreaming up DIY ideas for some crawfish boil decorations to set the party scene for a chow-down on our favorite mud bugs. These ideas can also work for a lobster party if you aren't located in the South.

 TABLE COVER: Crawfish Patterned Paper
Crawfish Print Paper isn't just for replacing regular newspaper at your next crawfish boil party. It's also a great craft paper with which to create paper accordion fans to decorate the walls, fence, trees, tables and more!

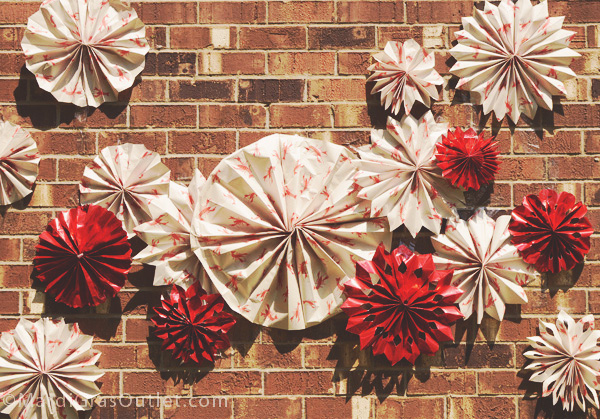
Use the crawfish paper rosettes as a photo-booth background, garland, table centerpiece or even hanging from the trees for inexpensive outdoor party decorations. Read on for our simple tutorial with step-by-step instructions on making your next crawfish boil a FAN-tastic event!

party ideas lobster crawfish boil how to photo-booth paper fans tutorial diy decorations
PHOTO-BOOTH & PARTY BACKDROP
We used tape to attach the fans on a brick wall for a photo backdrop or for easy party atmosphere. If you are using a backyard fence or other wall, try small nails that go through each fan. Or, cover up an ugly wall with the crawfish pattern paper first. It's only 99 cents for a pack!

crawfish boil lobster outdoor party ideas decorations
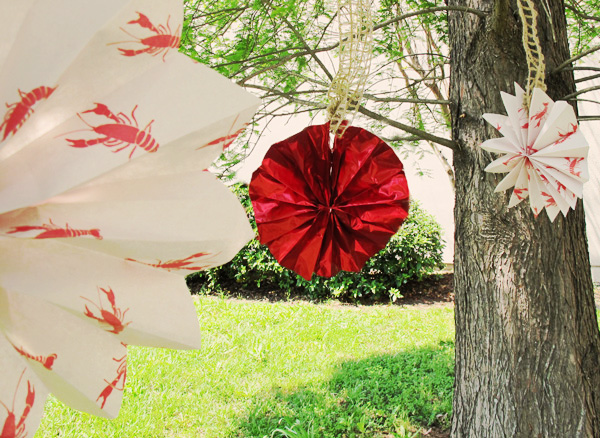
DRESSING UP THE TREES
We also hung our fans from the trees using 2.5-inch Jute Window Pane Mesh Ribbon, available from MardiGrasOutlet.com. This natural fibers ribbon looks great in the outdoors, and its wired core is perfect for wrapping around tree branches.


HOW TO MAKE PAPER FANS
paper fans accordion rosettes diy how to make instructions tutorial


SUPPLIES
To purchase these products from www.mardigrasoutlet.com, click on the individual product link below or click HERE for a page listing all products
 Total cost for this project with both types of paper will be under $20. 
crawfish boil table cover pattern newspaper paper

A pack of ten 20" x 24" sheets will only cost you about 99 cents. With a few other simple supplies such as a stapler, tape and scissors, you can start crafting your own low-cost crawfish-theme rosettes!
Visit our Crawfish Boil Supplies Section for more fun decorations, invitations and party supplies for your next crawfish boil!
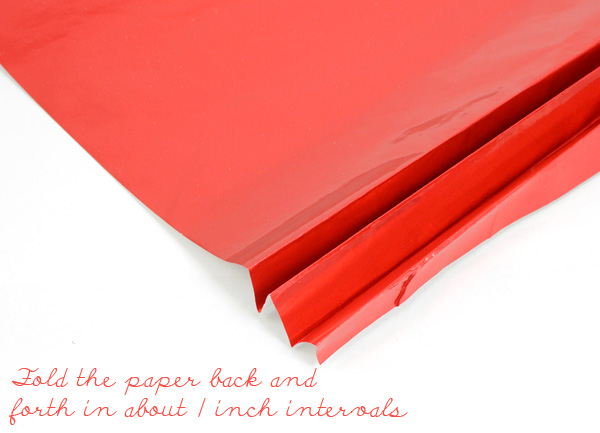
STEP 1: Creating the Fan Form

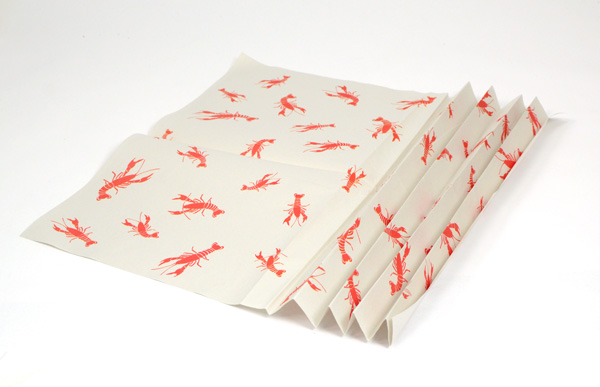
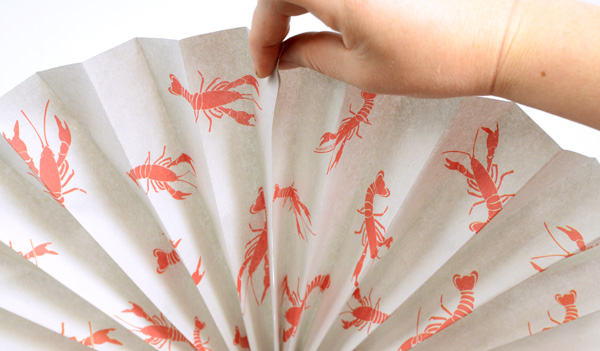
Starting on one of the 20 inch sides, begin folding 1 sheet of Crawfish Newspaper back and forth at intervals of about 1 inch.


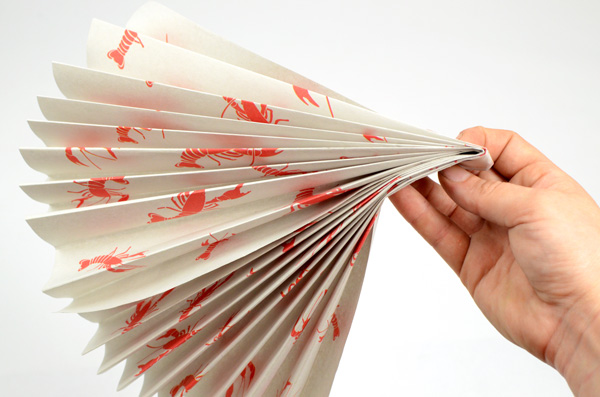
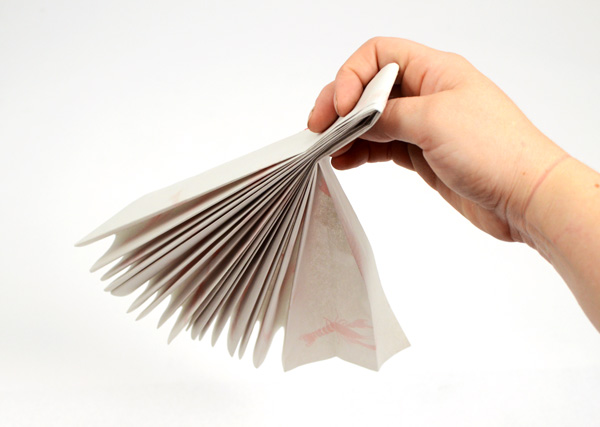
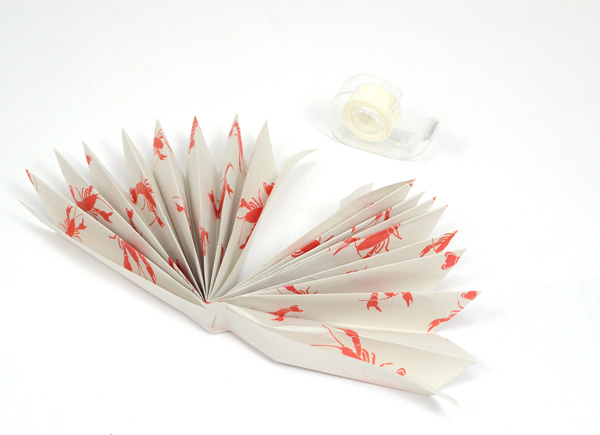
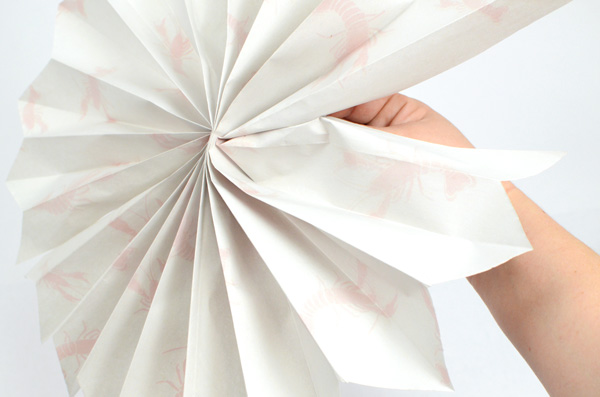
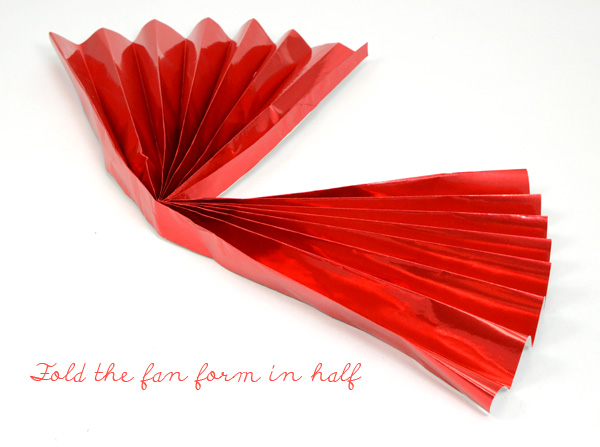
Once you fold the entire sheet, gather the folds and crease in half into a fan form.

how to make paper fans accordion garland centerpieces photo booth party decor dessert table


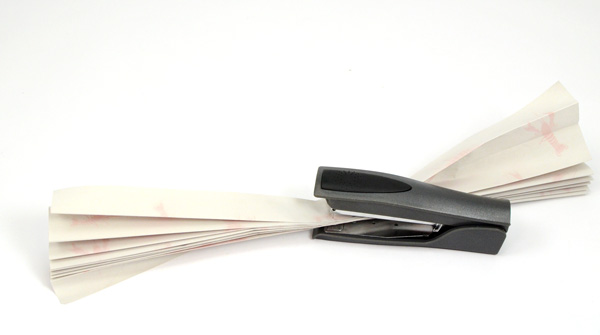
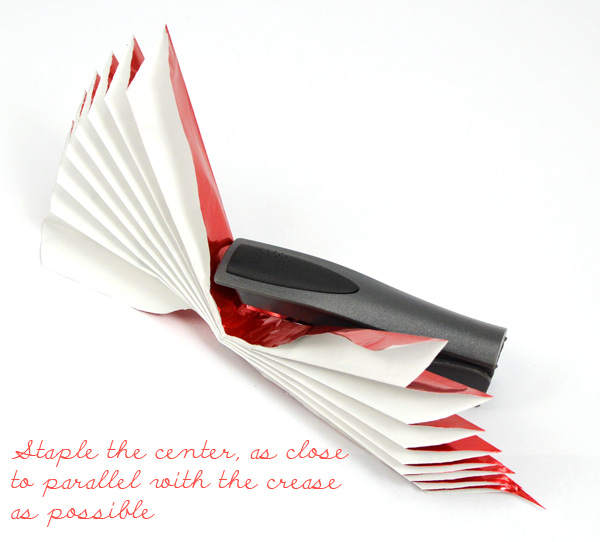
Lay fan form long-ways and use a stapler to secure the center. Make the staple as parallel to the center crease as possible.


STEP 2: Beveling the Fan Edge

Refold fan.


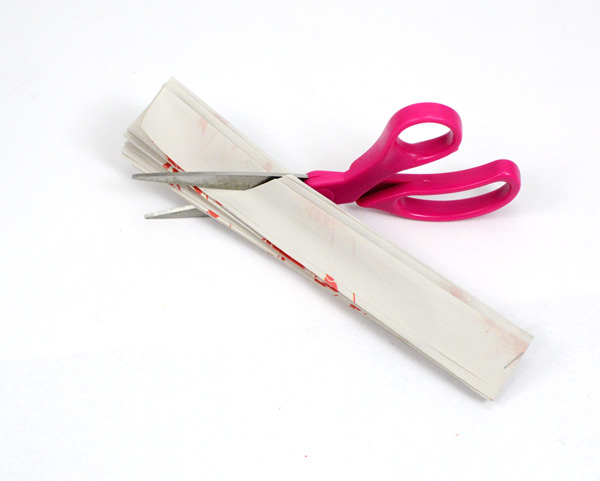
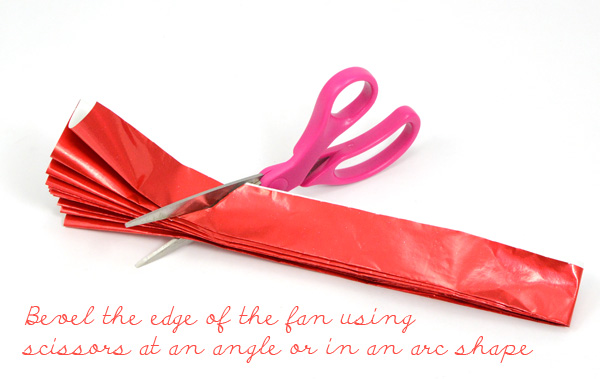
Using scissors, cut across all ends of the folded fan at about a 45 degree angle to create a beveled edge. Make sure and remove about 2 inches of length from the end to create an appropriate ratio of height-to-width for the circular fan form.


STEP 3: Taping the Fan Into a Circular Form


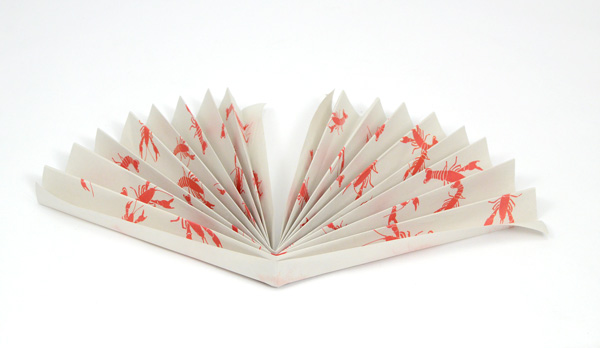
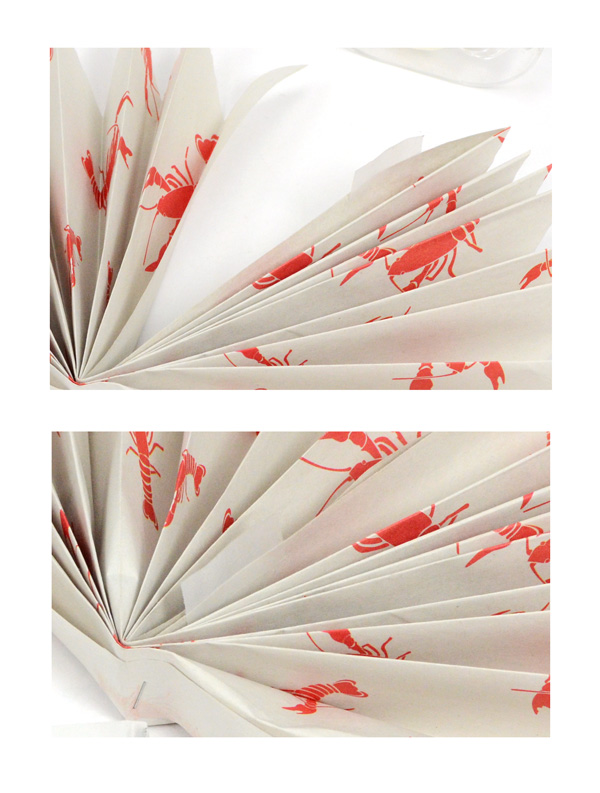
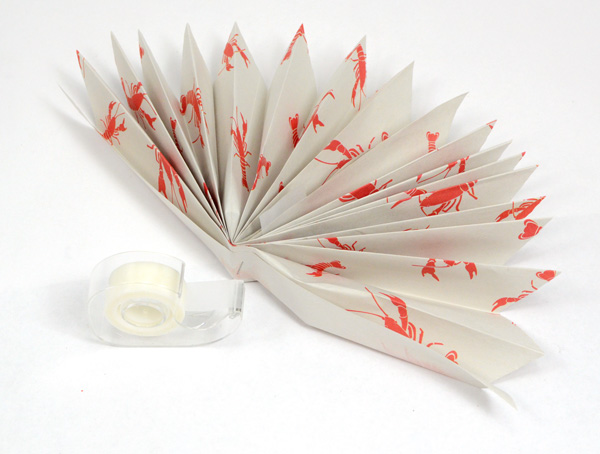
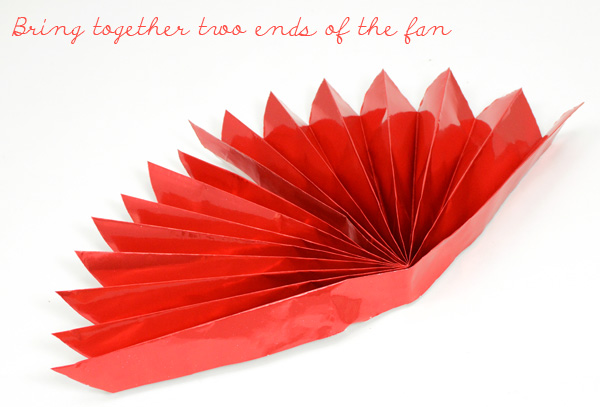
With the trimmed fan form lying in a V shape, pinch together the two closest edges.


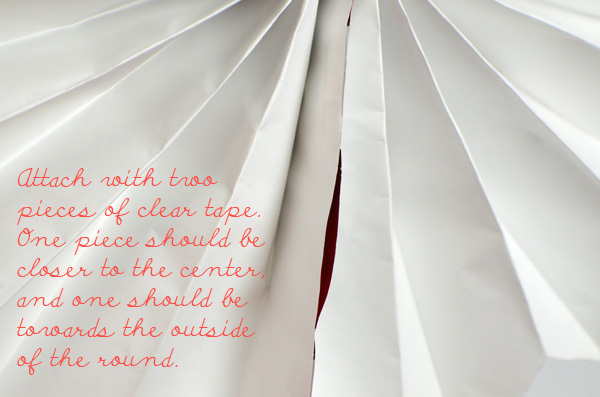
Attach the edge with two small pieces of clear tape from the outside or double stick tape from underneath. One piece of tape should be closer to the center, and one should be near the outer edge of the fan form to avoid gapping. You could also use glue to attach the fan edges. Just use a clip to keep them together until the glue dries.


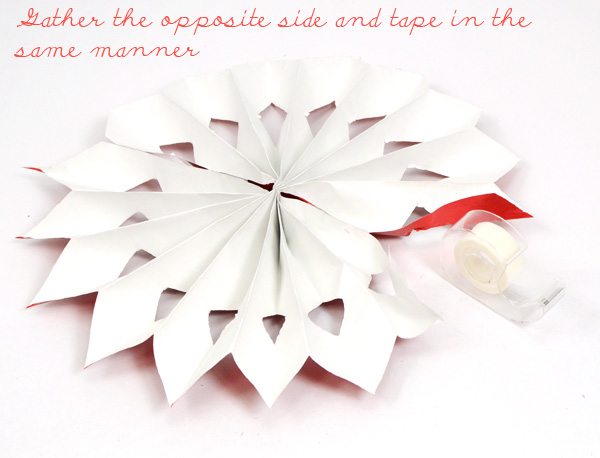
Gather the opposite side of the form together, and tape the same way.


STEP 4: Get Busy

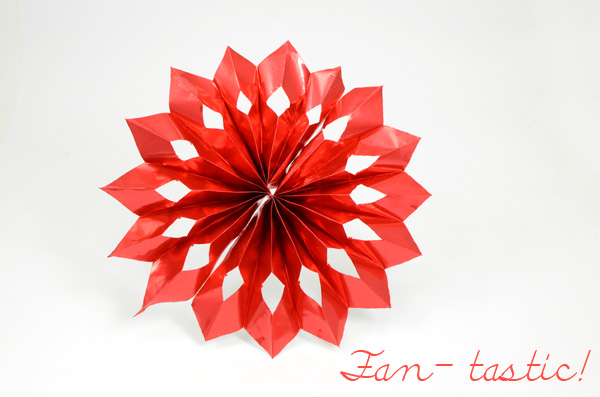
Admire the awesome fan you just made! Then get to making some more!

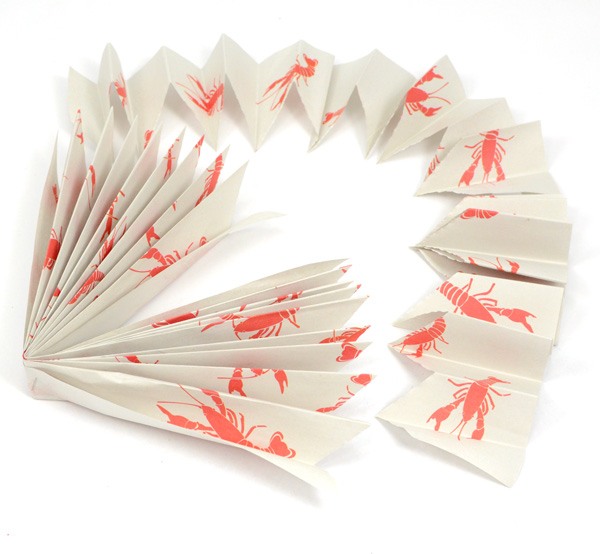
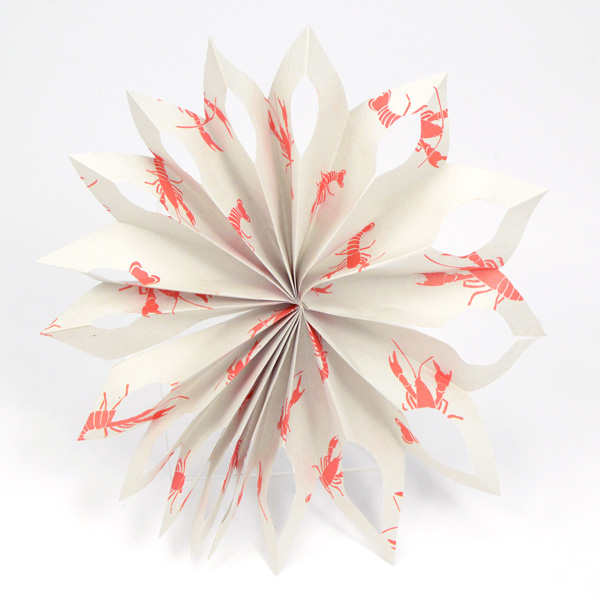
You can create variation in the fans by making them different sizes (just remember to maintain a ratio of about twice as long as it is wide), by cutting a scalloped edge in Step 2 or by cutting a variety of angled edges.

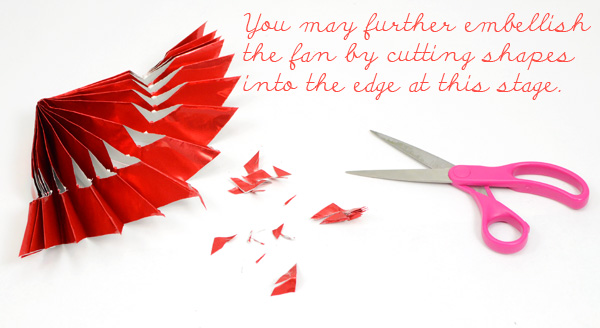
Also consider creating some fancy snips along the side of each fan fold during Step 2 to create a "Snow Flake" effect, as shown below.


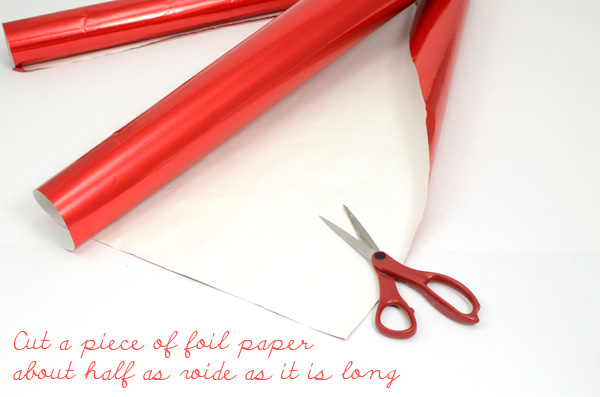
To add some color and shine to the display, we made some of our fans using Red Foil Paper. You can purchase a 26" by 25' roll of red foil paper and a variety of other colors for just under $18 a roll here: Foil Paper Rolls.

paper fans diy party outside
diy paper fan flower


Photo Booth Ideas:
Now you can attach the paper fans to a wall or fence for an easy photo background, or for a festive atmosphere.

For more photo booth backdrop ideas and how to set one up, check our our previous post: DIY Photobooth Ideas.

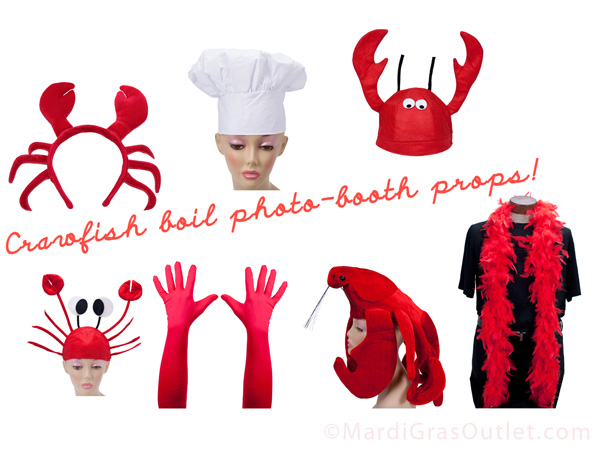
Spice up your boil photo shoot with some crawfish-themed props for your guests, as well.
crawfish boil party decorations ideas diy photobooth photo booth paper fans accordions rosettes tutorial instructions


Click below for a few suggestions:
crawfish boil party ideas decorations photobooth

crawfish boil party ideas diy decorating paper fans

LinkWithin

Related Posts with Thumbnails