Creating a Mardi Gras centerpiece or floral arrangement that literally sparkles is easy with the help of submersible aqua lights. These water-safe lights create added drama and sparkle. The submersible aqua lights float in the water of a vase or container. Even with basic greenery at the top, a lighted vase looks stunning. Envision these lights at a seated dinner or a dimly lite Mardi Gras ball. The glowing vase is sure to stand out!
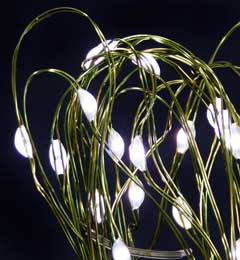 |
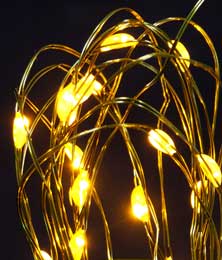
| White Aqua Lights |
What are submersible lights? These ingenious new lights are battery powered. The entire length of the lighted cord is safe to submerse in water. The small (3" square) black battery pack is not water safe, but it can be easily hidden either among the foliage of the flowers or behind the vase. The lighted strand is made of ultra-thin, flexible metal wire that has 36 tiny LED lights attached. The wire is approximately 9 feet long and can be bent into a specific shape to conform to your vase or container. The aqua lights come in two colors, warm white aqua lights and gold aqua lights. The lights have two settings for dim and bright light depending on your preference.
Update (July 2011): Another version of submersible LED lights are now avaible. This less expensive version offers a smaller 40" of light with 20 LED light sources. It also has a new flashing light setting. To see more on information of this submersible light, click here.
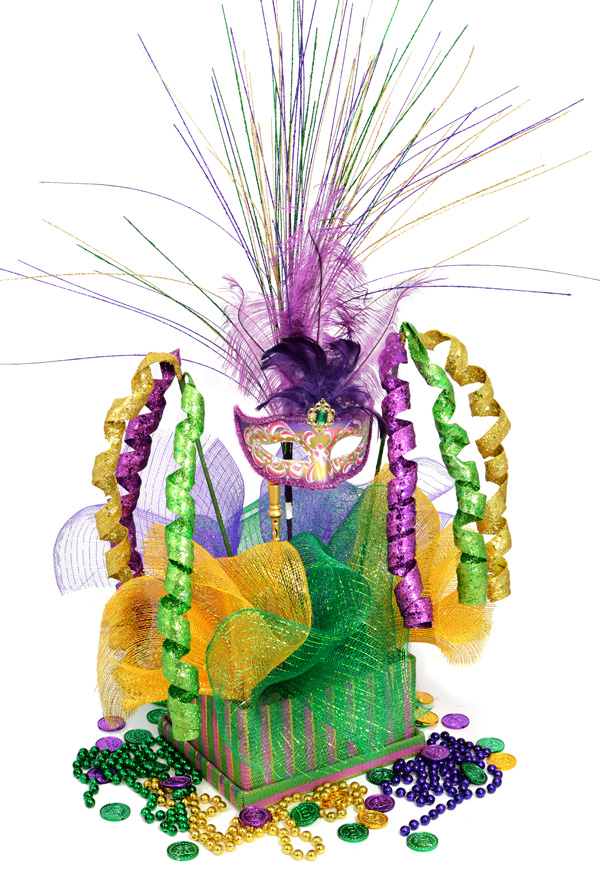
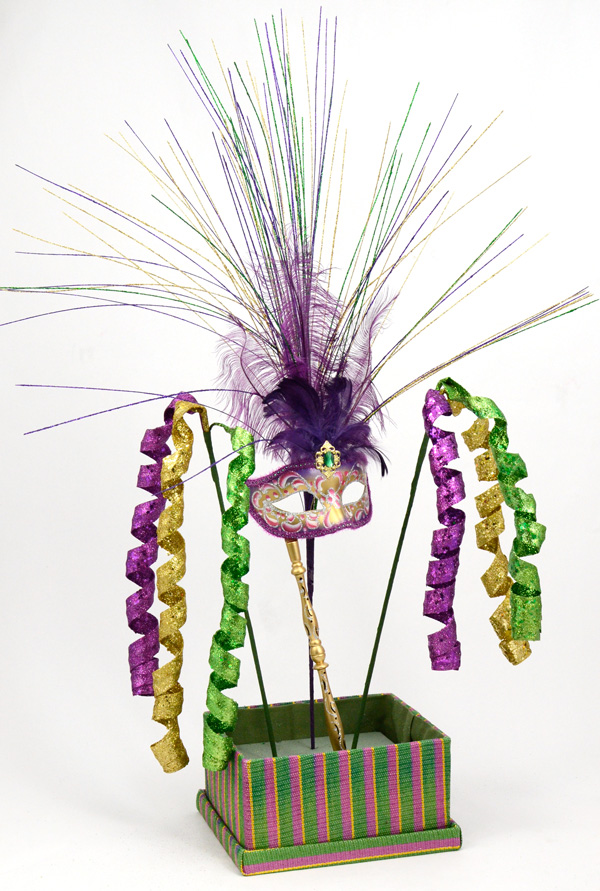
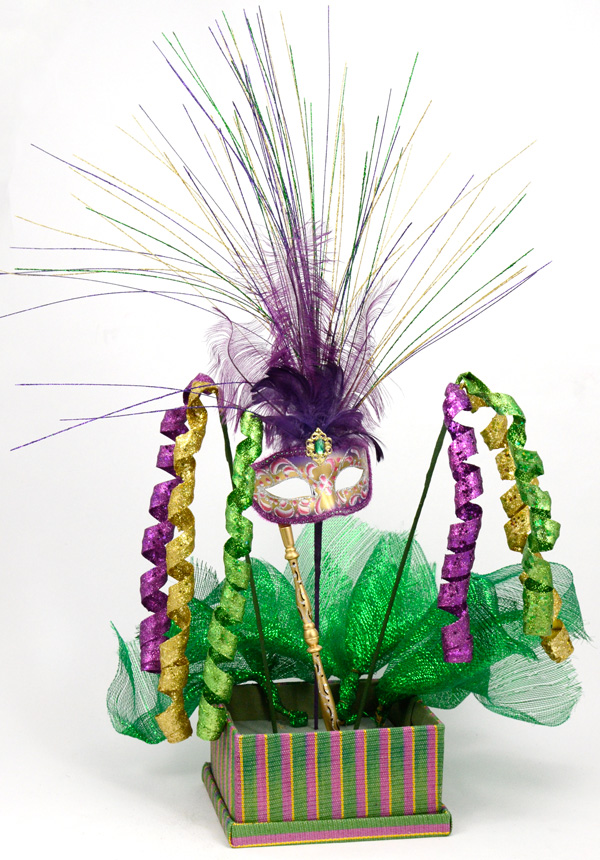
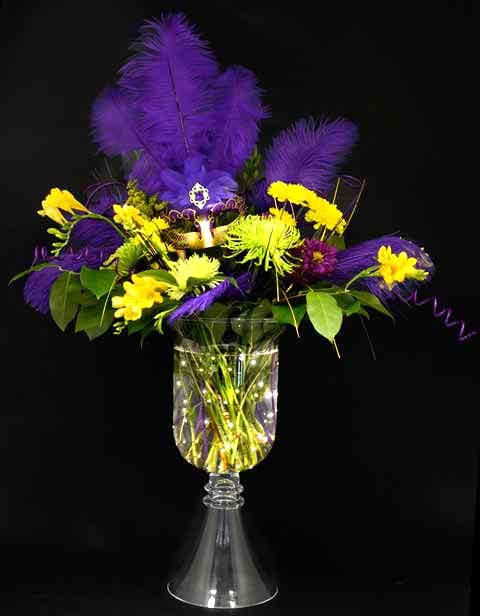
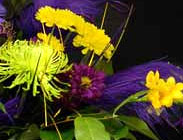
The lighted Mardi Gras centerpiece shown here makes a big statement. The lights are eye catching, but the arrangement is beautiful as well. With little more than supermarket flowers, this arrangement was created. Add in some simple Mardi Gras sprays, sparkling submersible lights, a beautiful mask, feathers and you have a show stopping Mardi Gras floral arrangement for a fraction of what you would pay from a floral designer.
How to create this glowing Mardi Gras arrangement:
Choose your flowers. Flowers in the traditional Mardi Gras colors of purple, green and gold were picked. The flower color does not have to be an exact color match for these traditional Mardi Gras colors. Shades of these colors blend nicely with Mardi Gras decorations. In this centerpiece, a lime version of green, a burgundy version of purple and a bright yellow were chosen. Basic floral greenery fills in the rest of the arrangement. The flowers shown here are from a standard supermarket mixed bunch. This proves that an elegant floral design does not have to mean expensive flowers. Editing the colors used for the arrangement creates a uniform design and saves money. The flowers we did not want to include were saved for a different arrangement (see below.)
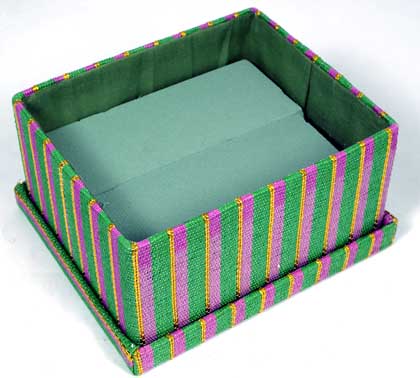
Pick out a vase or container based on their height and shape of your chosen flowers. This container does not have to be clear glass just one that is not opaque so you can see the submersible lights. Colored glass vases would work as well. The vase shown here is large and tall, giving the aqua lights plenty of room. A smaller vase gives the aqua lights a more concentrated appearance. (See the gold tone submersible lights below.)
 Position your lights in the container, with the vase empty. The lighted strand is a metal wire that can be bent to conform to the shape you prefer. The light strand can be put in the vase where is looks bunched or random. Or you can circle the lights around the perimeter of the vase. Once the water is put in and the flower stems placed, the light strands will move. It will not be a precise placement. Be sure to turn your lights on and test them before you begin your floral arrangement. Also think about where you will place the light battery box (in the arrangement, under it or on the side.)
Add the water to the container and place the flowers.
Balance similar flowers evenly in the arrangement. Work with the rule of 3. Odd numbers of flowers or items usually look better. Start with the flower you have the largest amount of and work down to the one you have the least of. Lastly, fill in with greenery. Greenery should be around the edges of the vase and in the center, but it should never stand out. The flowers need to stand taller. The greenery should recede.
Add in some fun Mardi Gras sparkle. Simple Mardi Gras floral elements were chosen to not compete with the flowers, only accent them.
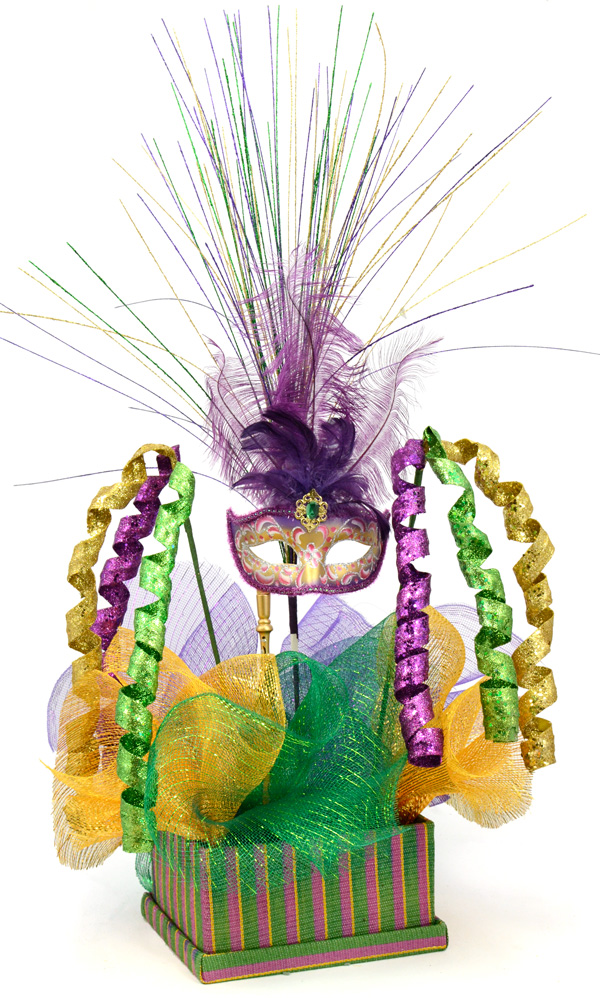
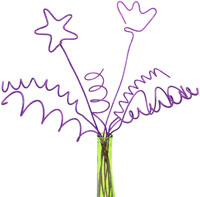
Glitzy sticks are metallic glittered sticks with a wire center that can be bent and shaped into any form. These glitzy sticks are sold flat. The ones shown here have been shaped into curls, crowns and stars. There are three glitzy sticks in this arrangement. These were formed into loose curls by wrapping the sticks around a small cylinder (like a broom handle.) Slide the glitzy stick off the cylinder and you have a curl shape.
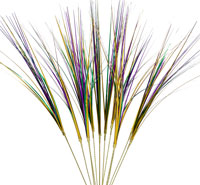
Simple, inexpensive sprays of purple, green and gold onion grass were added next. There are 5 Mardi Gras onion grass sprays scattered in the arrangement. The onion sprays can be used straight or you can curl them to add a little flip to the ends. The metallic foil will curl just like curling ribbon. Simply use the scissors to run down the side of the spray for as much or little curl as you want.
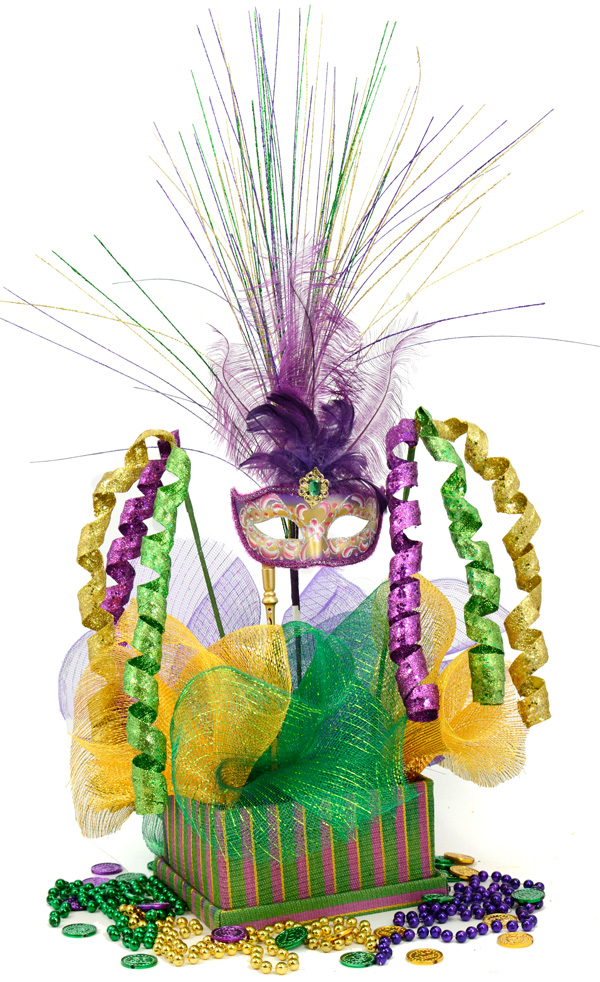
Fluttering purple ostrich plume feathers were added to coordinate with the feather stick mask and for another added punch of purple. These feathers so add a wonderful new texture. Five purple plume feathers were used.

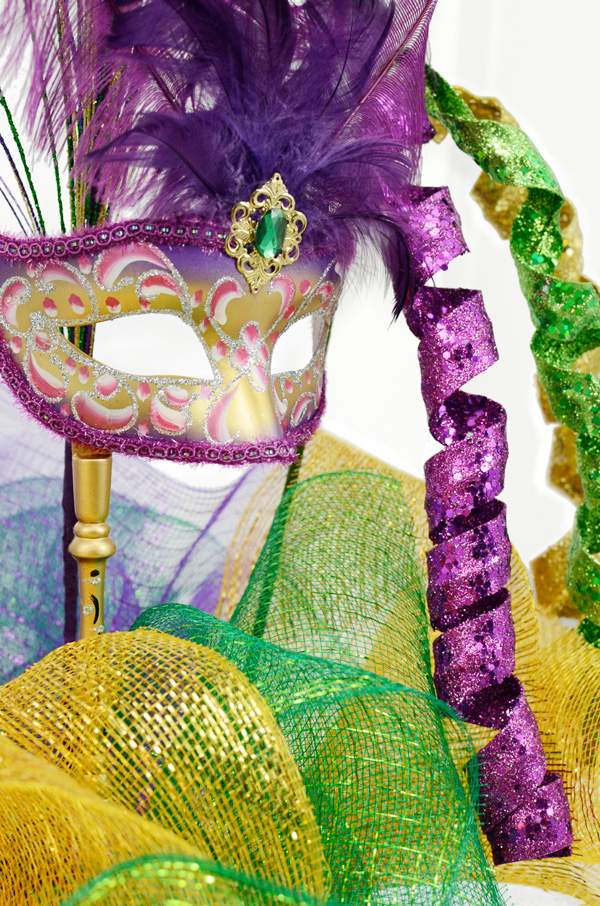
Lastly to finish off the centerpiece, add this beautiful Fantasia feathered stick mask. Conveniently the stick on the mask is used to anchor the mask into the vase and flowers. The stick nestles into an open space in the middle of the arrangement, held in place by the greenery and flower stems.
To finish up the arrangement, turn on your aqua lights and make any adjustments necessary to balance the arrangement front to back, side to side, etc. Rearrange the flowers, sprays or feathers as needed. The wire lights can be adjusted as well now that all of the elements of the arrangement are included.
With your Mardi Gras arrangement complete, take a step back and revel in the glow of your submersible light creation!

As for the rest of the flowers left in our supermarket bunch, here is one last arrangement to inspire you. The red, pink and white flowers did not coordinate with our color choices, so we saved them for this arrangement. With a smaller vase and less flowers, the gold submersible lights still create a big impact.

Submersible lights can be used in other applications as well. Try them in a clear ice bucket, beverage cooler or indoor water feature for a neat lighted look. Let us know what you come up with. Send your floral creations or ideas for these fun submersible lights to: Ideas@MardiGrasOutlet.com!
Links to supplies used in this arrangement: