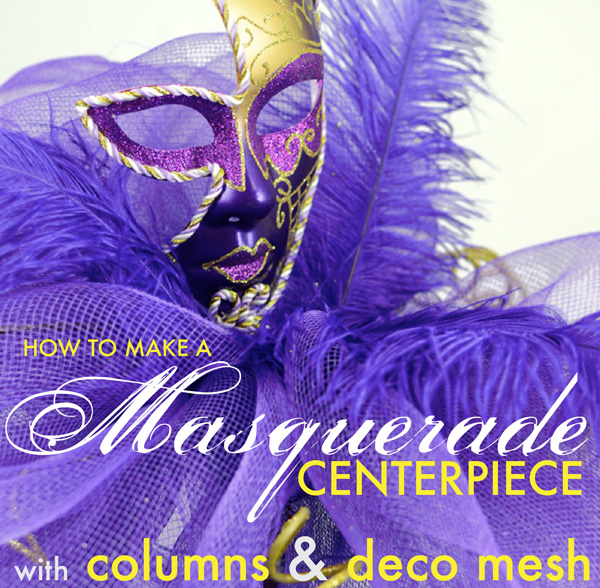
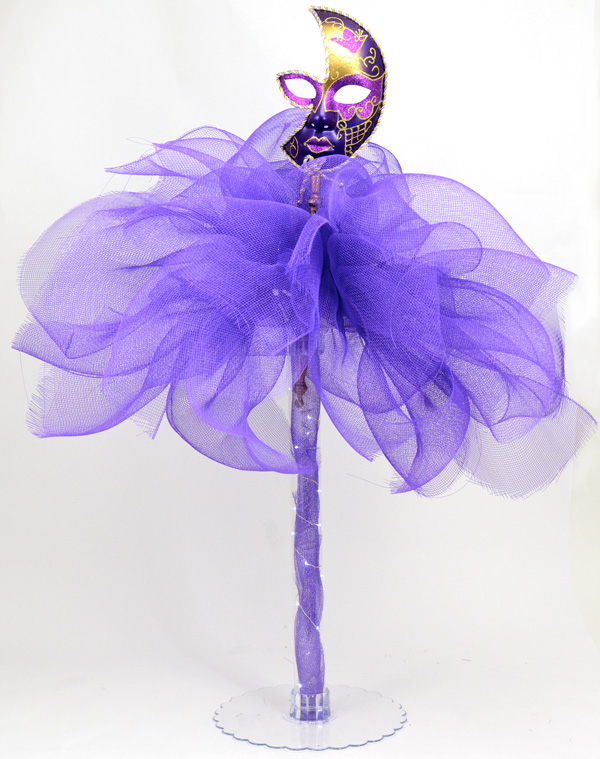
Create an element of mystery, opulence and elegance for your event with the right centerpiece. Versatile clear column and plate pieces combine to create striking table decorations for Masquerade or Mardi Gras themed parties, proms or events. And, making one of these centerpieces takes only a few easy steps and some key ingredients such as a mask, deco mesh puffs, clear column with base and feathers.

The idea for this tall puff centerpiece with mini lights was inspired by a combination of hanging mesh pompoms from our previous blog post, and feather tree centerpieces (click here for our tutorial)that have been floating around the blogosphere. One of the great things about this centerpiece is that it is easy to change the colors and decorative accents to suit your needs for specific occasions. Here's how to make it.
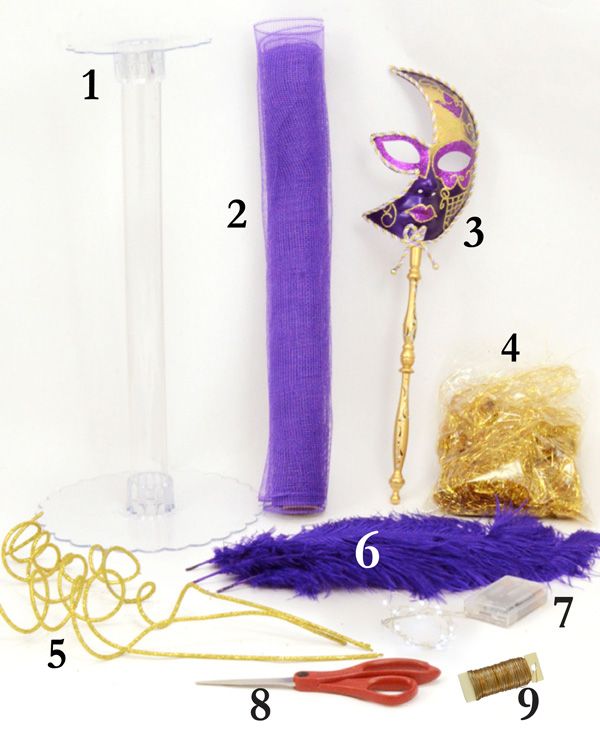
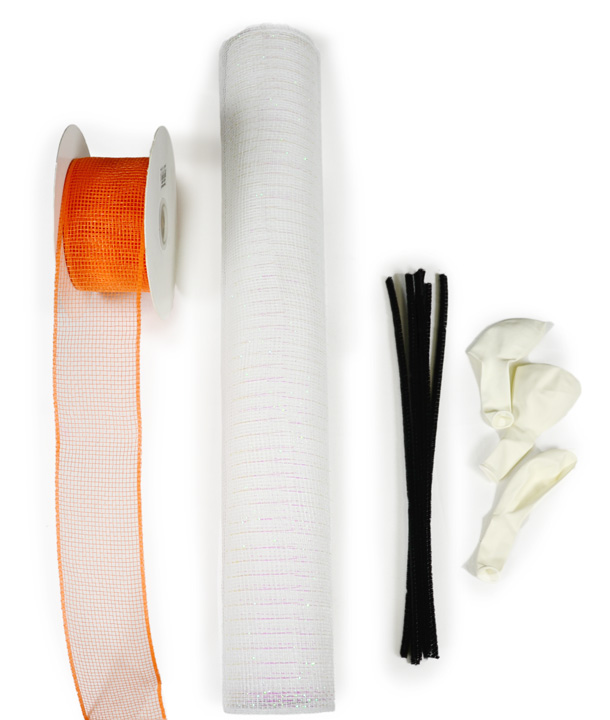
SUPPLIES:
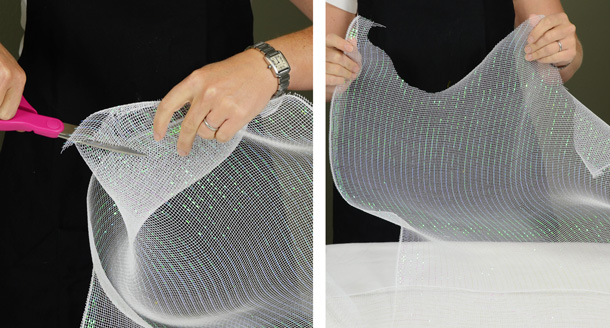
8. Scissors
9. Craft Wire
You can find all of these at MardiGrasOutlet.com.
STEP 1: Assemble the Centerpiece Base
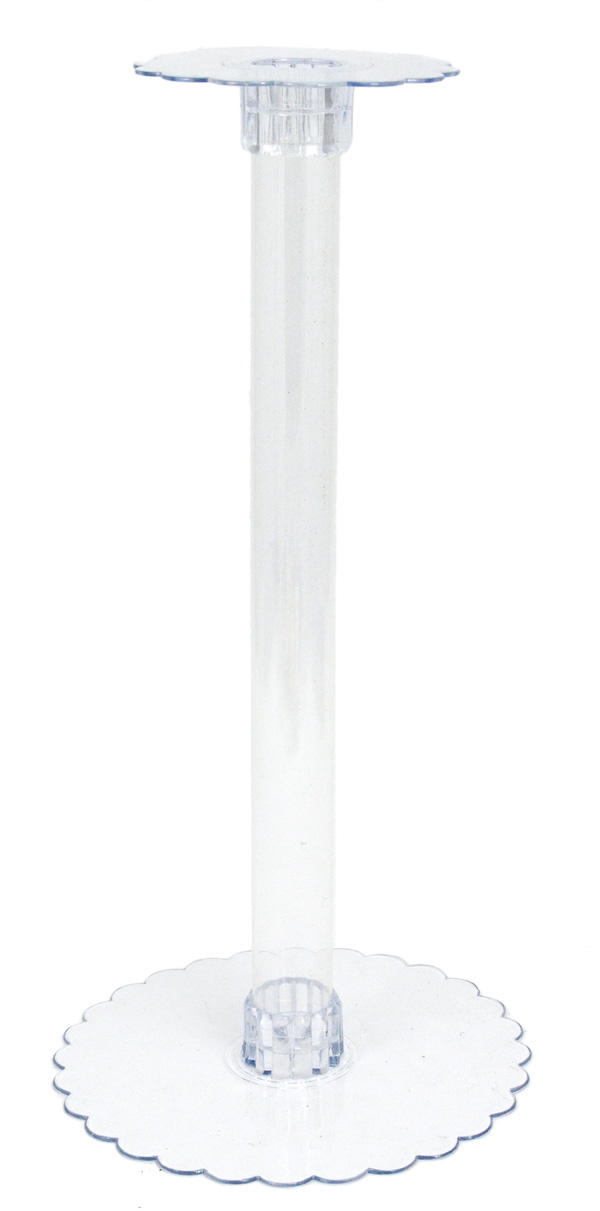
Assemble the clear plastic centerpiece bases. The 10" plate should be at the bottom, into which you should insert the 18" column. Finally, place the 6" plate on top. These are perfect for adding height to make tall centerpieces.
If needed, you can add another column and plate to make it taller, or use the 10" column to make the centerpiece shorter. All of these clear plastic centerpiece parts are interchangeable and fit together many different ways.
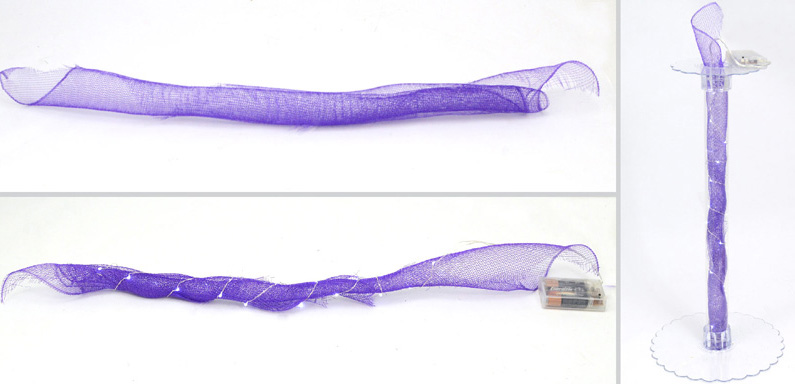
STEP 2: Fill the Column
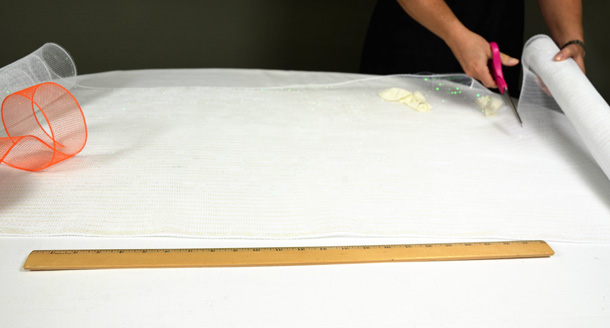
For some sparkle, fill the column with purple deco mesh and mini lights. Cut about a 5 inch wide strip from your 21"x10 yard roll of mesh. Roll it tightly. Now, wrap the wired LED lights around the roll. Insert this into the column, with the battery end last, so that it sits on the top plate. You will need to roll the mesh tightly enough to fit into the column.

STEP 3: Make Deco Mesh Puffs
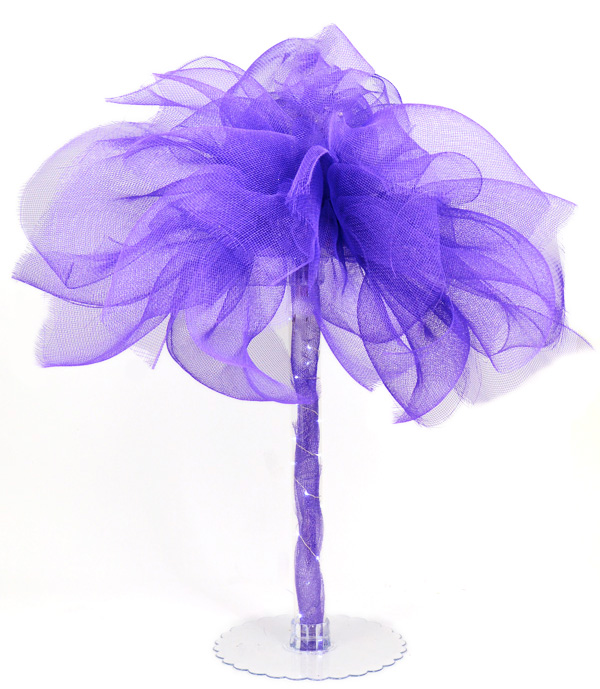
Make 3 deco poly mesh puffs with the purple mesh roll. The puffs give this centerpiece shape and volume. You can always use more puffs for a bigger and fuller centerpiece. 3 pom poms use up a little more than half a roll of deco mesh. For detailed directions, click here to see the previous blog post. Or, scroll down for a summary.

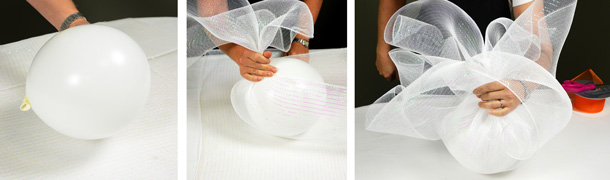
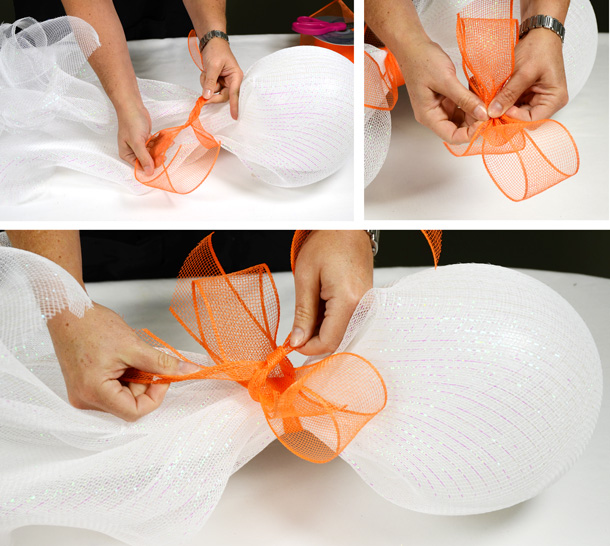
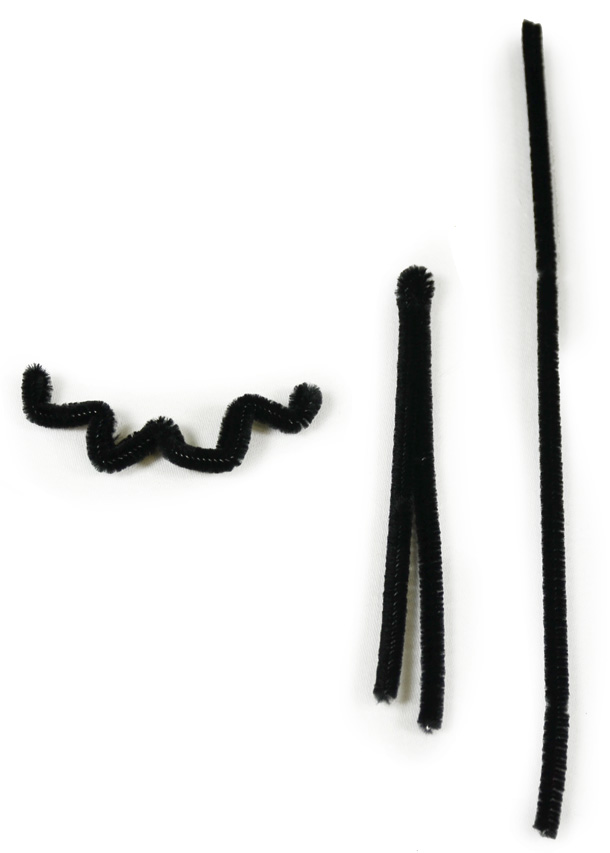
First, cut 3, 12 inch long pieces of craft wire to eventually tie the puffs together. Cut 3 sections of mesh that are each 2 feet long (3 pieces make 1 puff). Gather up one piece of mesh into one hand, and then layer on the other 2 pieces by first bunching in the middle. Tie it with craft wire in the middle where you have been holding. Make a loop with the wire ends so that it is easy to attach them to the centerpiece. Pull and fluff the puffs out.
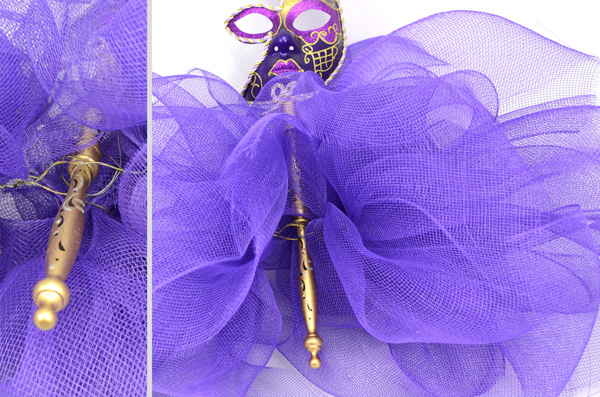
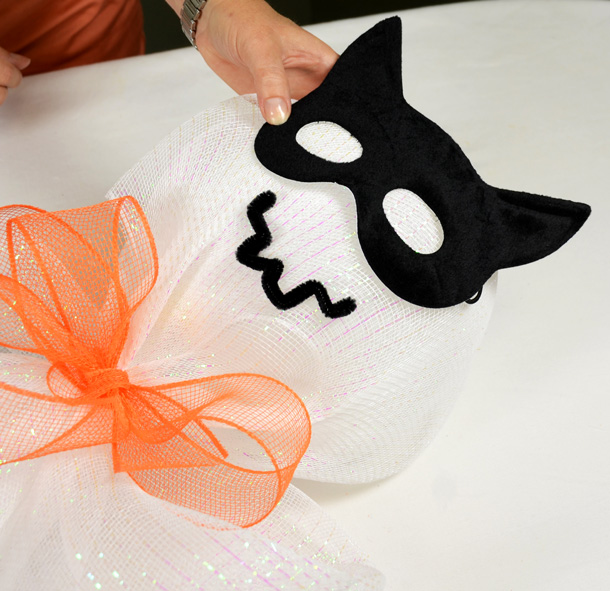
STEP 4: Assemble the Puffs and Mask on Stick
Insert the end of the phantom mask's stick through each of the wire loops to hold the puffs. The puffs should be spread out evenly, like a tutu, so that the centerpiece looks good from all angles. The mask acts as the focal point for this centerpiece.
STEP 5: Insert
Insert the mask's stick into the column as shown in the photo above. Adjust the puffs and mask and take a step back to make sure the centerpiece looks even.
STEP 6: Create and Add Accents
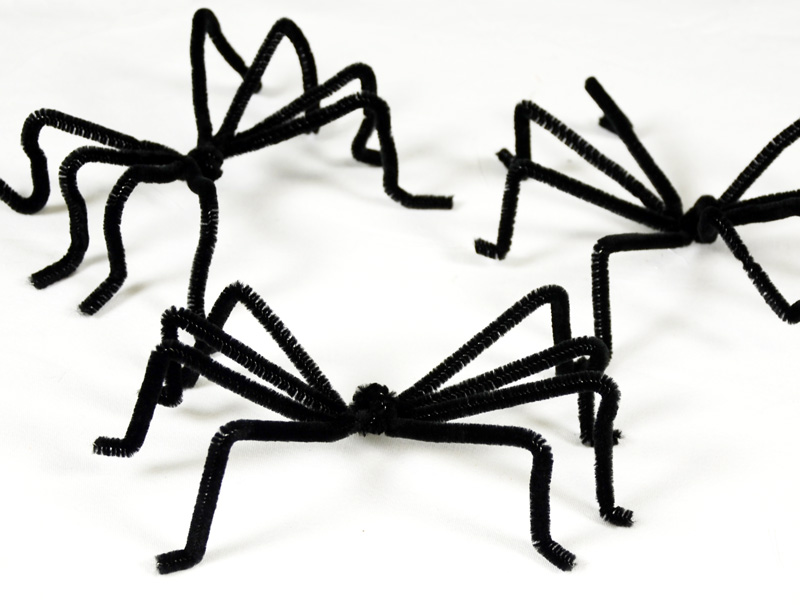
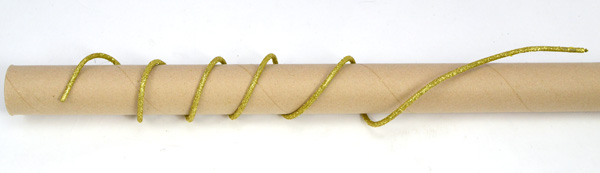
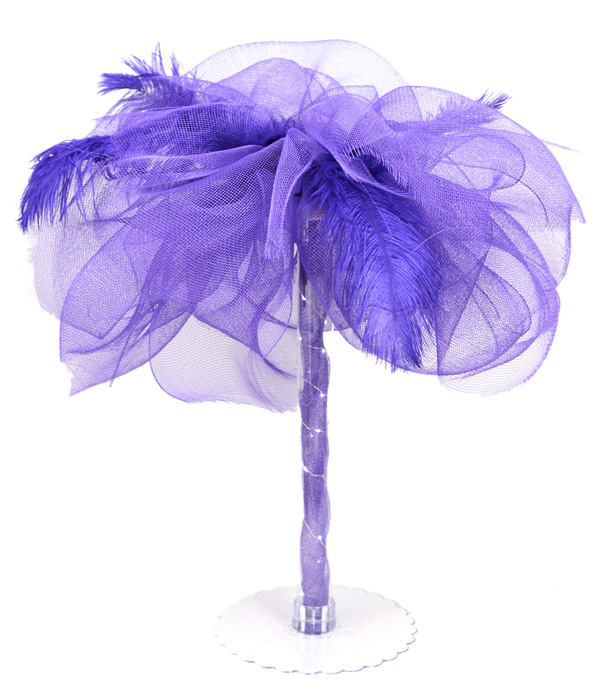
Now you can add new textures and color accents. Insert 3 purple ostrich feathers around the mask into the column. Add about 5 gold glitzy sticks into the column. Glitzy sticks are wired and easy to twist around tubes to make spirals. You can also bend them into any other shape you need.
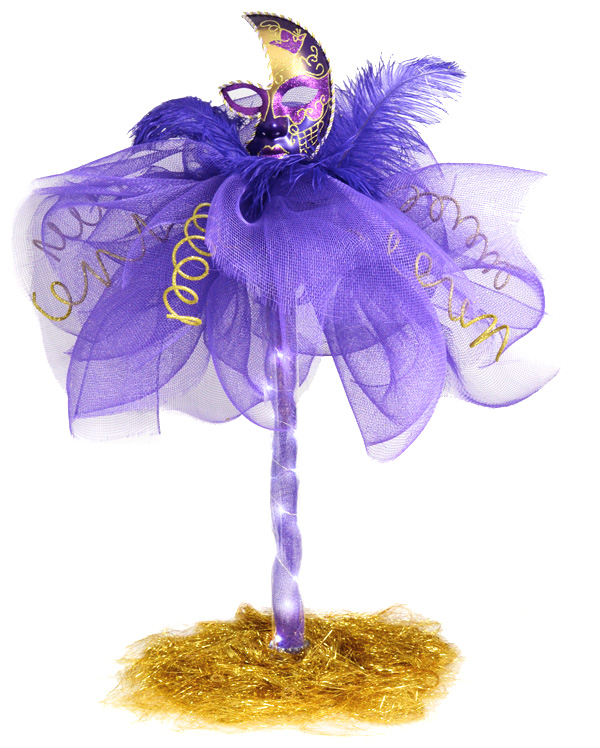
Finally, cover the base with gold angel grass shred to complete the look. Another great thing about this centerpiece is that it is easy to move around the accents till you are happy with the arrangement.
MORE DECO MESH CENTERPIECE IDEAS
MORE DECO MESH CENTERPIECE IDEAS
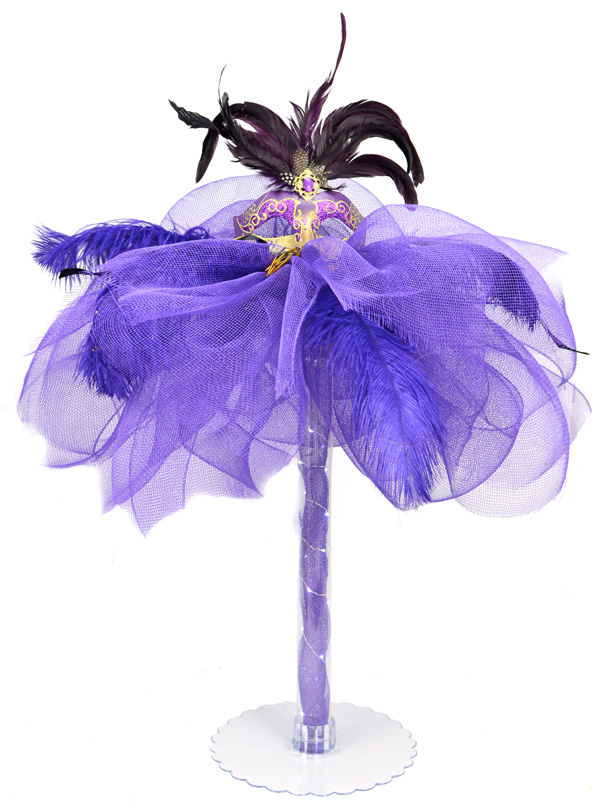
This type of centerpiece is easy to customize. Here is a different version topped with a beaded purple and gold princess mask and with about 5 purple ostrich feather placed throughout the mesh puffs instead of at the top.
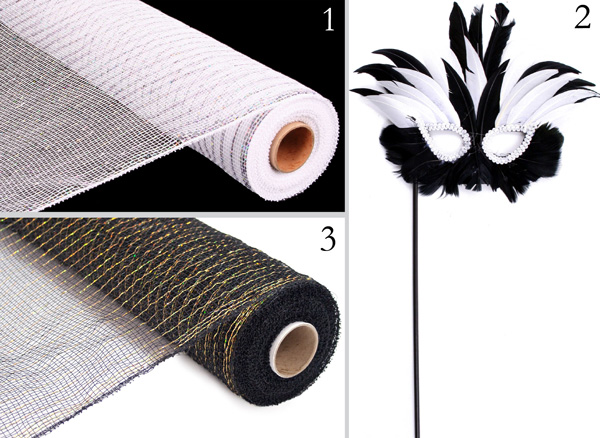
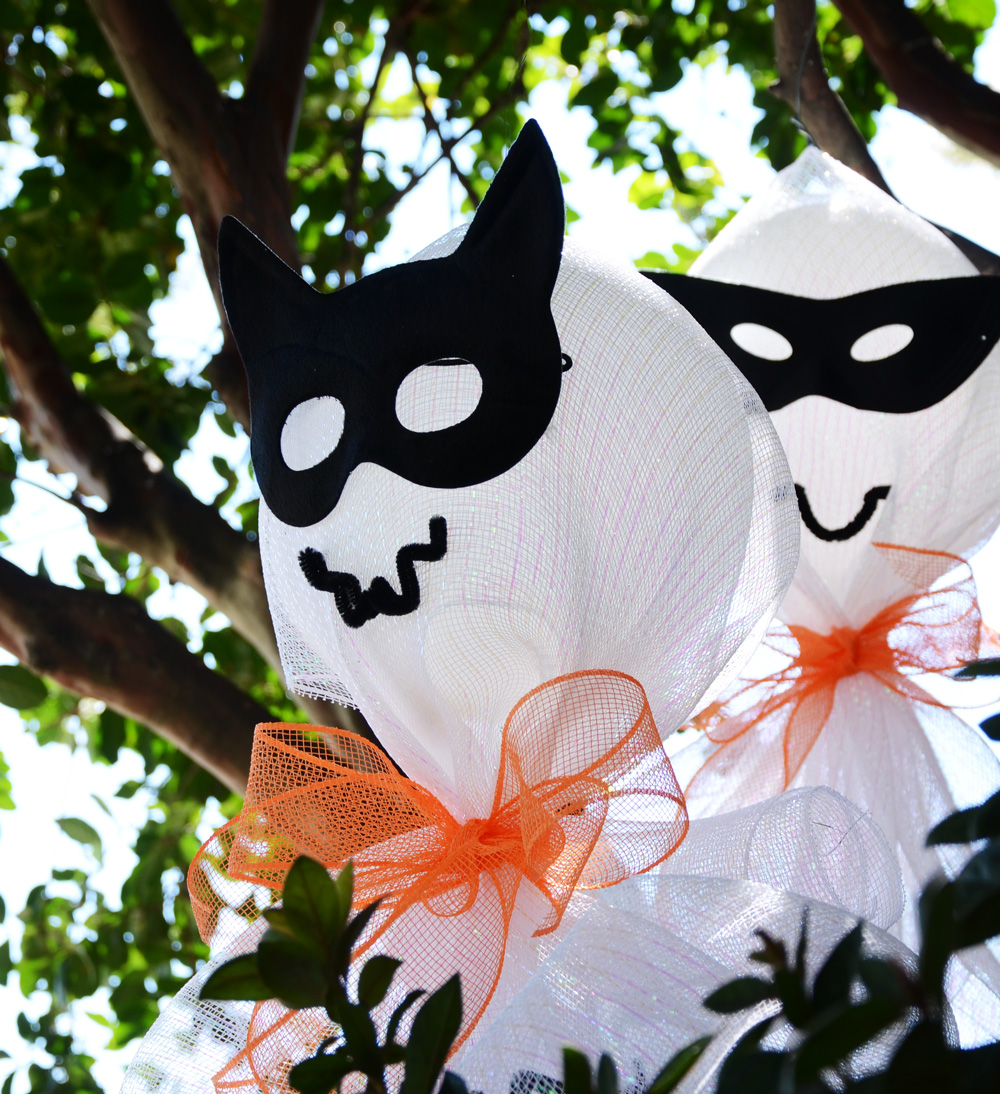
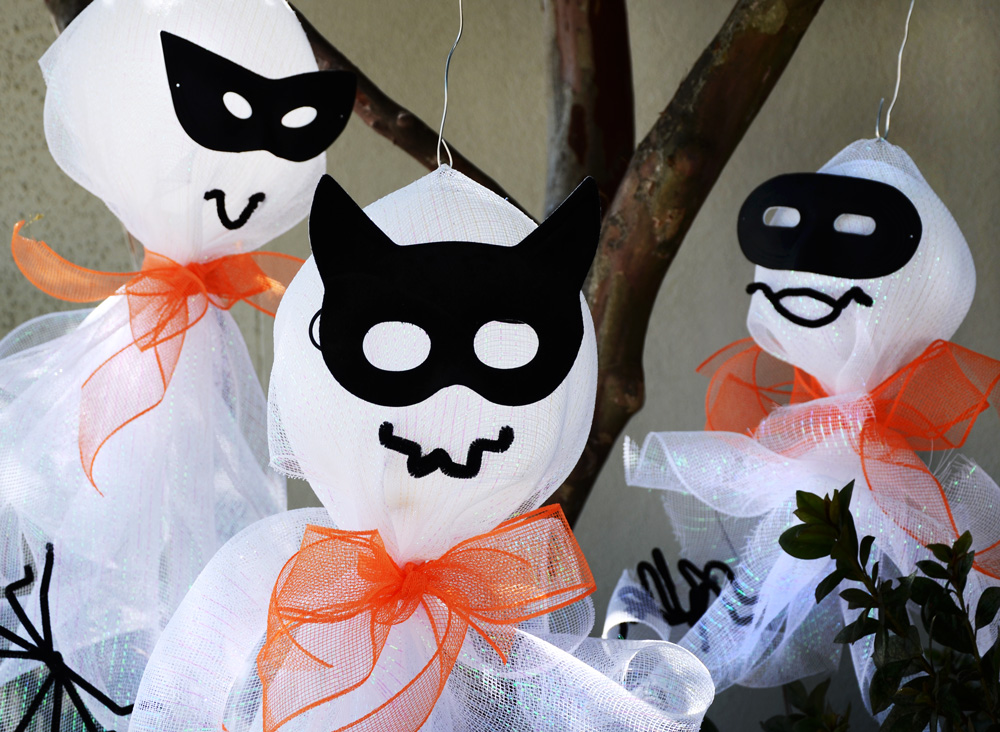
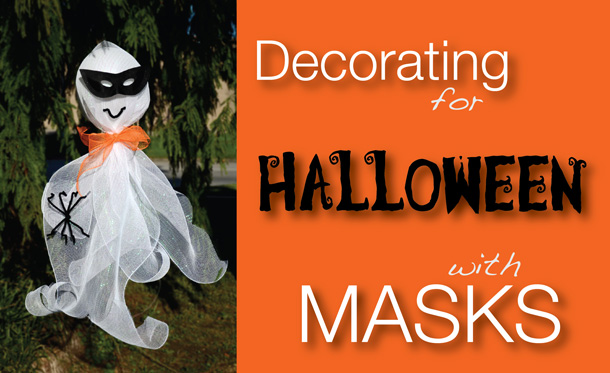
A black & white color scheme would be great for Masquerade party as well. The only difference would be to use both black and white mesh pieces when you are making each puff.
Shown above is:
Deco mesh is a type of soft plastic netting that holds a full shape very easily, and it comes in a huge range of colors, finishes like metallic, and many patterns. Click here to see a great selection.
Have fun!