
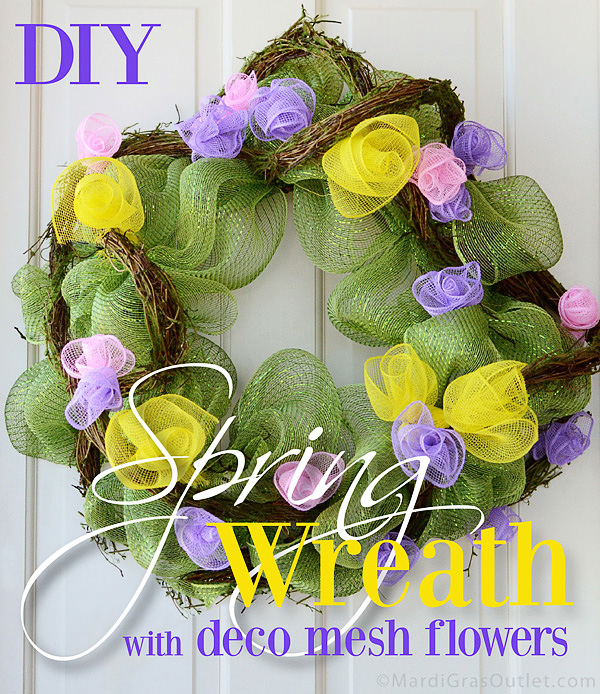
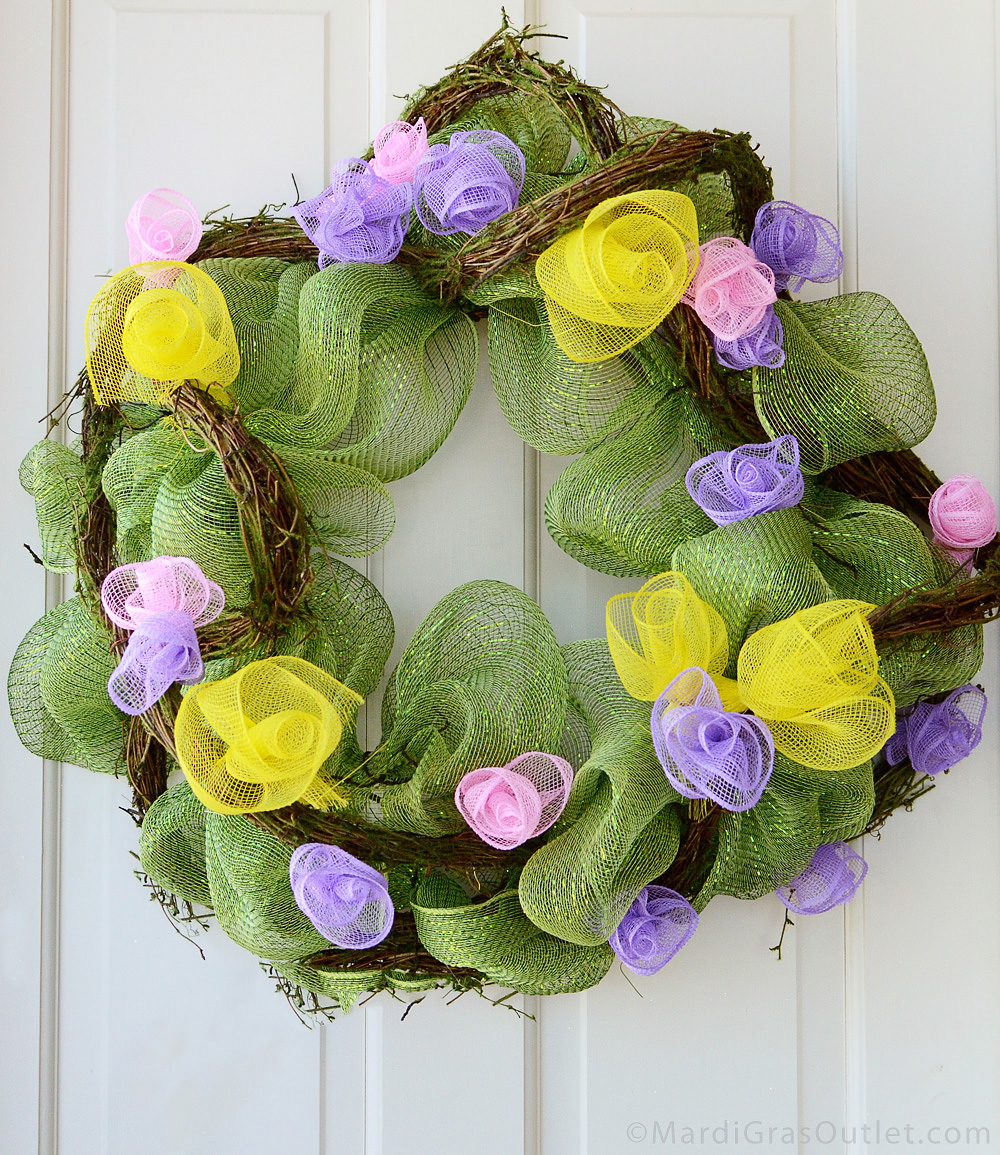
Celebrate the arrival of spring by making a deco mesh flower wreath. This cute DIY wreath will last through the whole season, and is perfect for Easter as well. These instructions will show you how to make a basic deco mesh wreath, add grapevine garland, and create deco mesh flowers.
To learn more about deco mesh and work wreath forms, click here.
SUPPLIES
Scissors & Wire Cutters
All of these supplies are available at www.MardiGrasOutlet.com, and will be about $45.
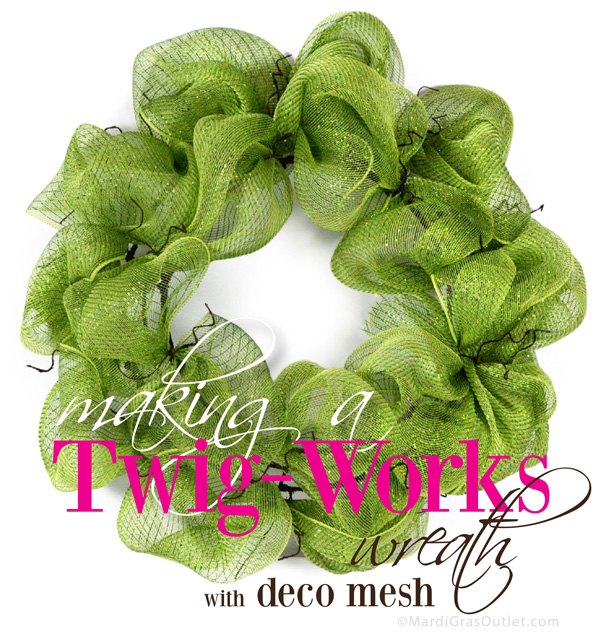
STEP 1: Make a basic Deco Mesh wreath
Using a Twig-Works wreath form and 21" wide Metallic Moss/Apple Deco Mesh, create a basic Deco Mesh wreath using our previous tutorial, How to Make a Deco Mesh Wreath with Twig Works (CLICK HERE).

STEP 2: Attach grapevine garland
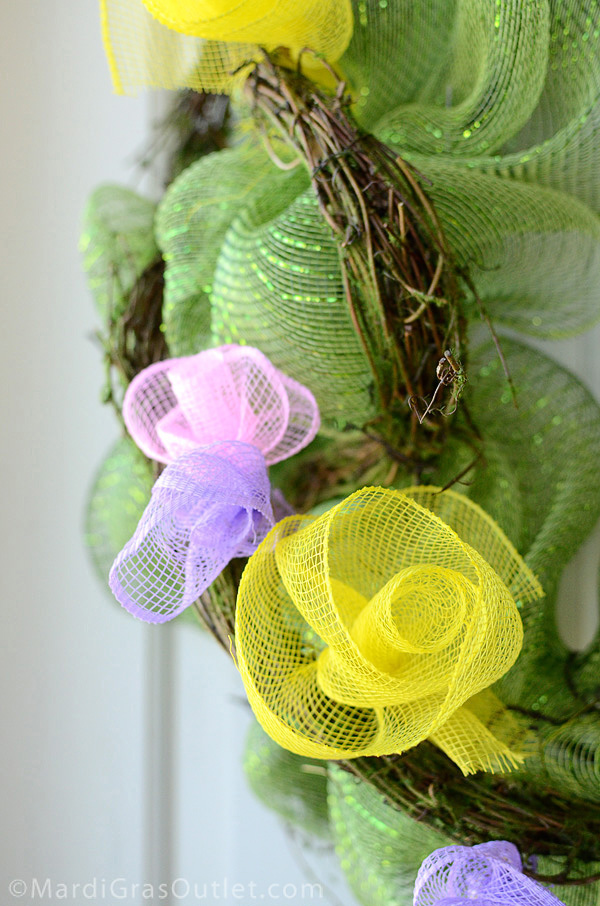
Using the twig wire ties on the wreath form, secure the grapevine garland to the wreath. You will have to go around the wreath twice.
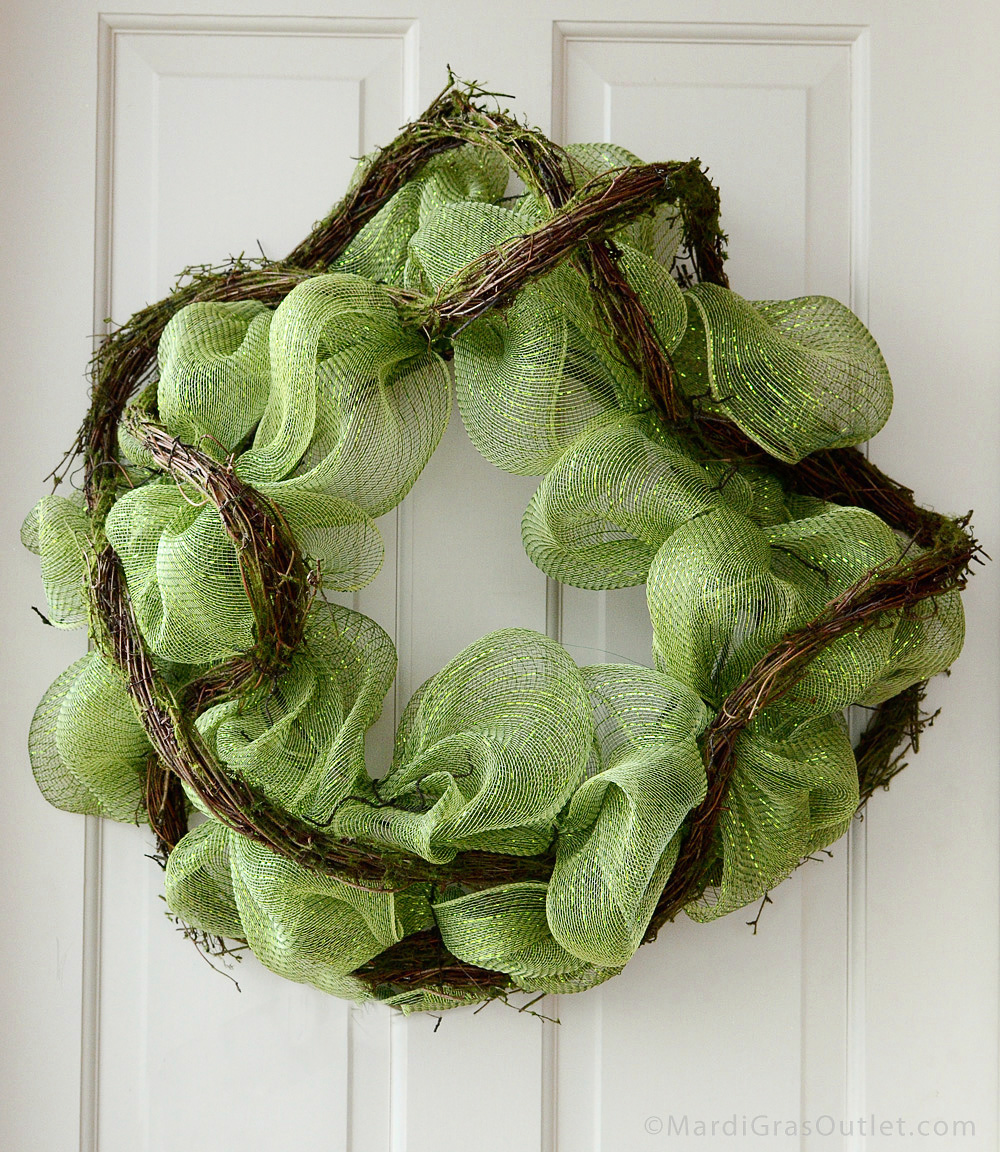
The garland curves naturally as you attach it to the work wreath form. Trim the excess grapevine with scissors.
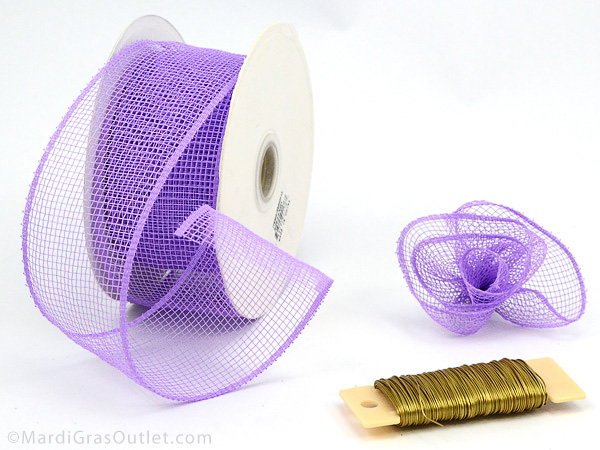
STEP 3: Make Deco Mesh Flowers
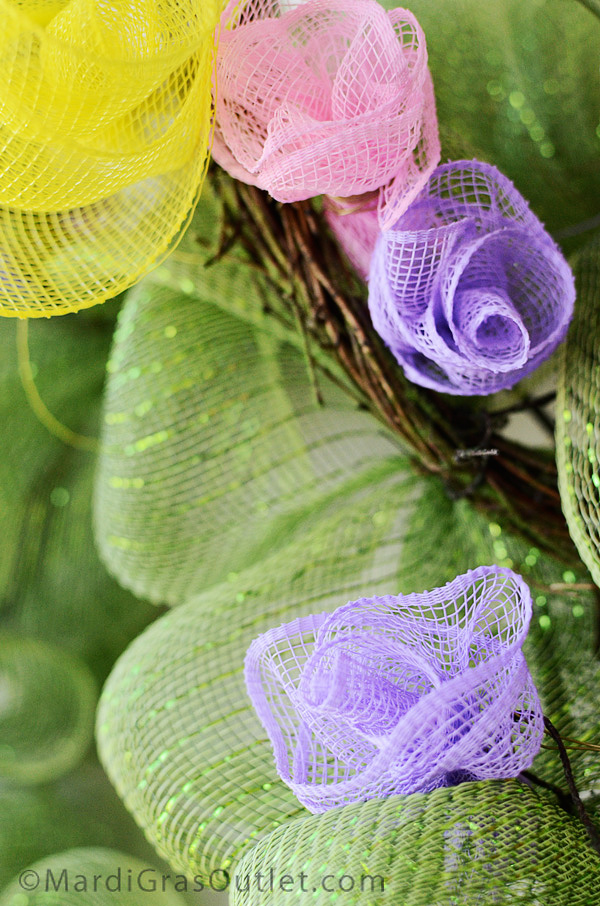
Using Deco Mesh ribbon and craft wire, make a variety of deco mesh flowers. The wreath shown here uses 11 lavender flowers, 6 light pink flowers and 4 yellow flowers. You can make more or less, and choose different colors depending on your personal preference.
The yellow flowers use the 4-inch wide deco mesh ribbon, which makes a bigger sized flower.
These photo instructions use the 2.5" lavender ribbon, but you can follow these same steps for other colors and sizes of deco mesh ribbon.
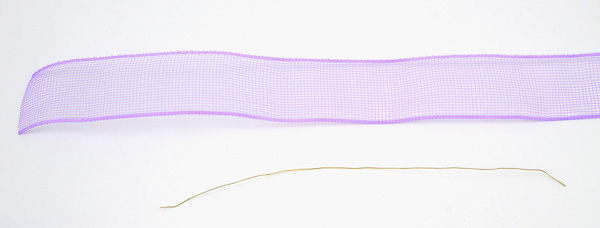
First, cut a length of ribbon around 20" long. The length can vary, depending on what size you want to make your deco mesh flower. Cut a piece of craft wire that is about 1 foot long. You will use the wire to hold the rosette together and to attach the flower to the wreath.
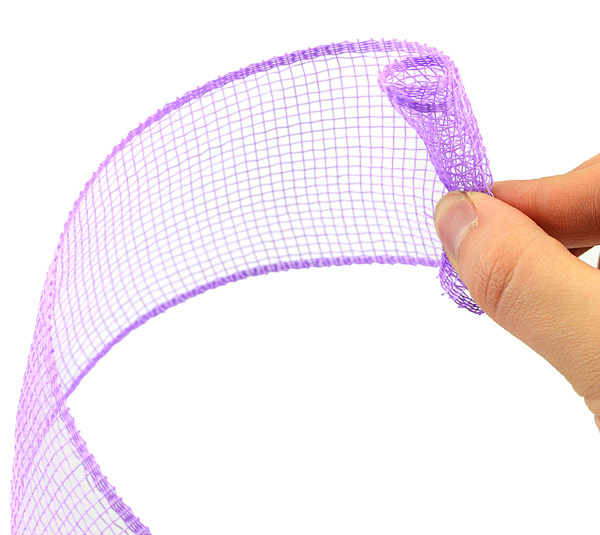
Start rolling one end of the ribbon tightly, several times. Keep holding it by pinching almost halfway up the roll. Holding it this way help to keep the flower even and lined up as you roll the ribbon.
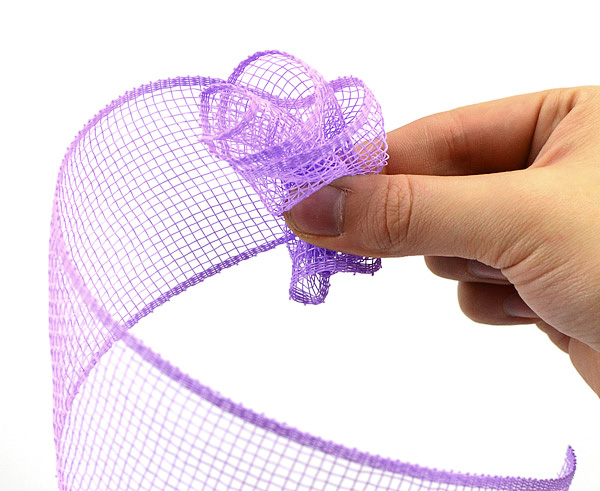
Once you have rolled the ribbon tightly to start, start folding or crimping the ribbon as you roll. This way, the flower will be more open-looking.
Keep rolling, folding and holding the flower tightly until you reach the end of the ribbon. Don't worry about making it look perfect, the more flowers you make the easier it will get.
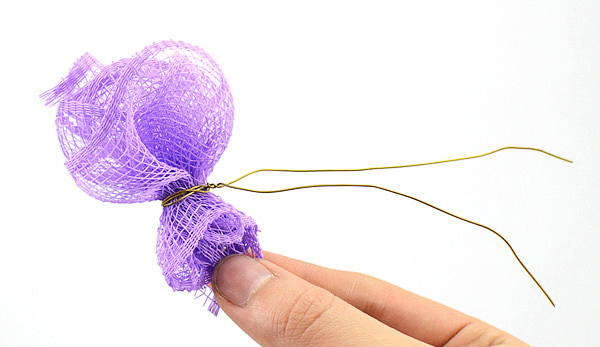
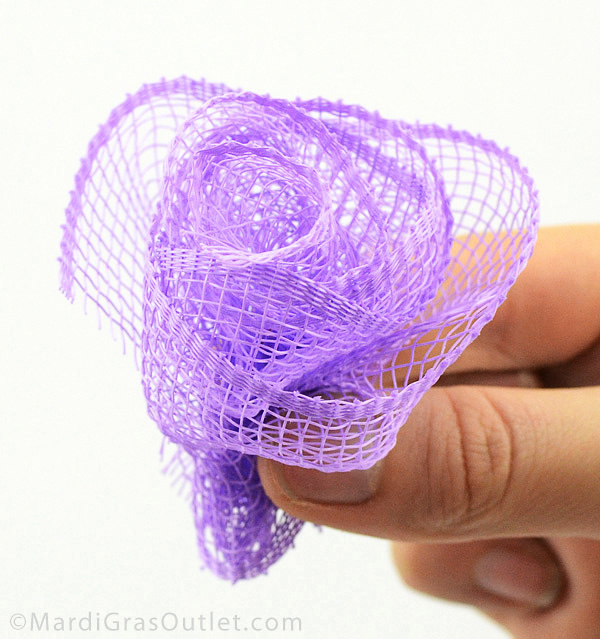
Now, use the craft wire and wrap it around the flower where you have been pinching the mesh. Wrap it several times, and leave some excess wire so that you can attach it to the wreath.
Finally, tie the flowers to the wreath. Many of them are attached directly to the grapevine garland, and some are in groups of 2 or 3 and scattered around the wreath.
Our Deco Mesh Carrots Tutorial is another option for your spring decorations.
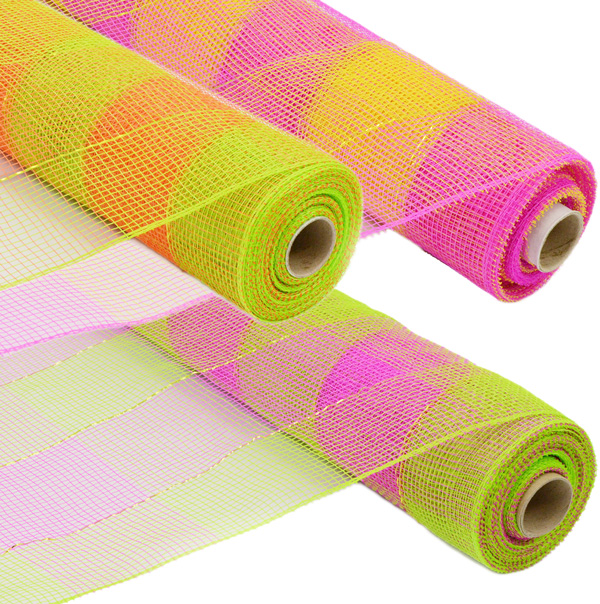
This spring wreath can work with other colors of deco poly mesh rolls and ribbon as well. Below are some new spring mesh styles: Fuchsia/Lime Check, Fuchsia/Yellow Check, Orange/Lime Green Check (click on the name to purchase).
I think showing how to make the item is so helpful. I hope it will continue.
ReplyDeleteJust getting started in the craft world. An I love this site. You show just how it is done in a very simple way. Cannot wait to try these ideas. Thanks an keep the ideas coming.
ReplyDeletethanks for showing how to make the item it so helpful
ReplyDeleteLove your craft ideas. I have had so much fun trying the wreaths. Thanks
ReplyDeleteGlad you like it! Thanks for stopping by our blog
DeleteI just found this blog and I love it. I have also placed an order with the company. Keep up the good work!
ReplyDelete