April 2, 2012

Crawfish Balloon Centerpiece Tutorial


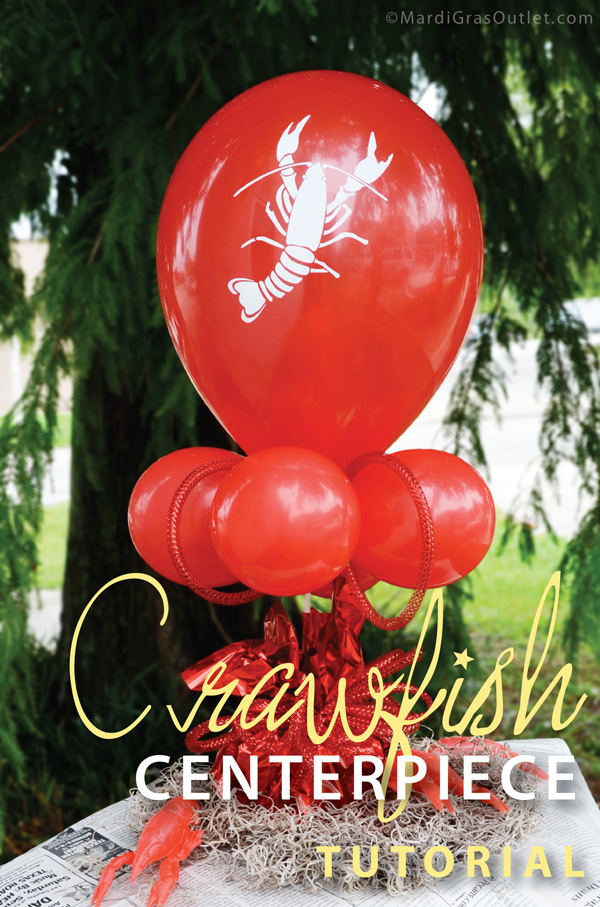
Easy to create and inexpensive, these Do-It-Yourself crawfish balloon centerpieces are the perfect idea for decorating a crawfish boil. These festive red crawfish balloon centerpieces will work well indoors or out with the multiple tables needed for a traditional crawfish boil. This centerpiece can also work for a lobster party. Using air filled (versus helium) balloons in the centerpiece, allows you to make the decorations days in advance and saves you money.
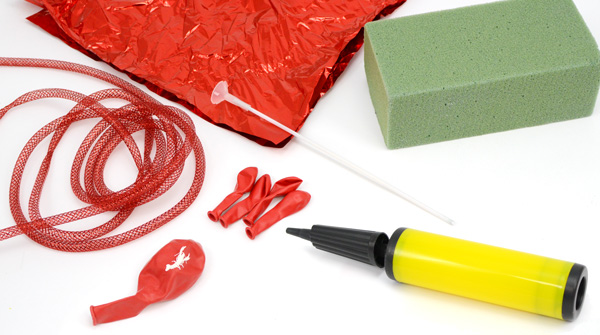
Here is how to create these festive red crawfish balloon centerpieces.


SUPPLIES:
To purchase these products from www.mardigrasoutlet.com, click on the individual product link below or click HERE for a page listing all products

Scissors

Optional: 
Spanish Moss
Plastic Crawfish

COST/TIME
This centerpiece can be put together in less than 30 minutes.  The supplies cost approximately $6.25  for each centerpiece.
STEP 1
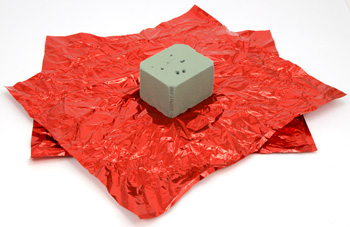
Cut the red mylar tissue in half and layer 2 together. Cut the floral foam in half with scissors. Center the square of floral foam in the middle of the tissue sheets.
STEP 2
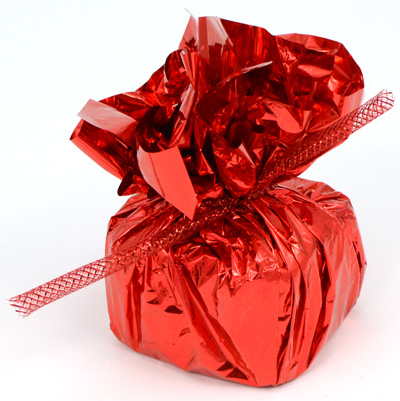
Lift up the mylar tissue sheeting and bunch it over the top of the floral foam. Cut a short piece of metallic red deco flex tubing ribbon and tie it around the tissue to secure. This is the centerpiece base.
STEP 3
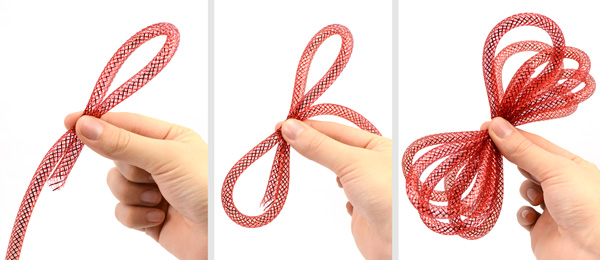
Make a bow with the deco flex tubing ribbon. First, form a loop and hold it in one hand. Form a second loop, and keep going back and forth until there are 10 loops total. 
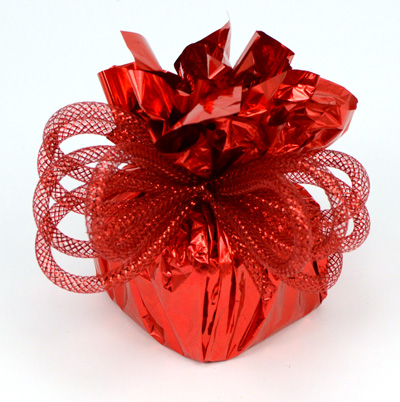
While still holding the loops in one hand, use the ribbon that holds the tissue sheeting together to secure the bow to the centerpiece base. Pull out and fluff the loops.
STEP 4
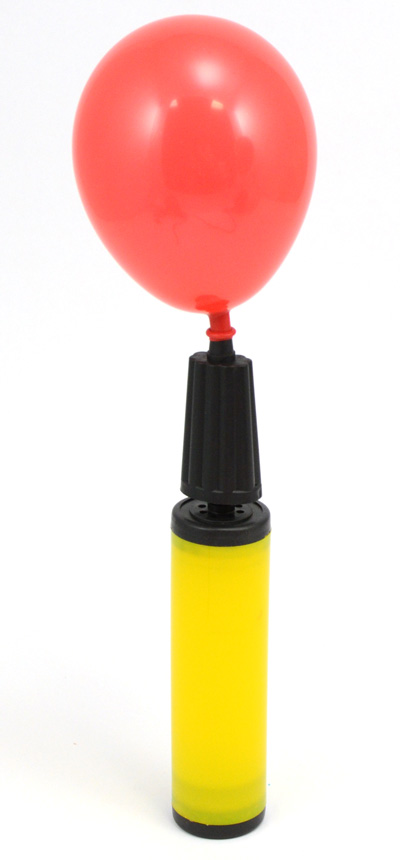
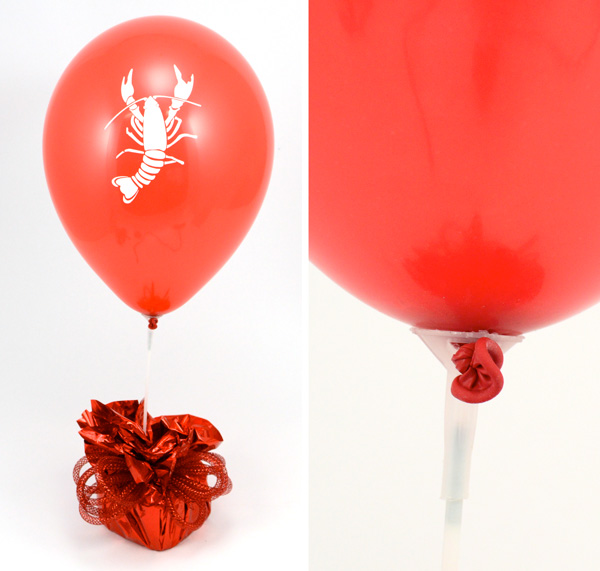
Inflate the 4, 5" red latex balloons and the Crawfish Latex Balloon and tie the necks in a knot. This air balloon hand pump inflator makes it easy to inflate the balloons. 
STEP 5
Stick/Cup sets are an easy way to create balloon centerpieces without helium balloons. Thread the air filled crawfish balloon knot through the plastic cup to secure the balloon. The balloon should stand up in the cup. Insert the stick into the base of the cup. 

Insert the end of the stick through the center of the mylar tissue sheets into the center of the floral foam  so that the balloon is in the center.
STEP 6
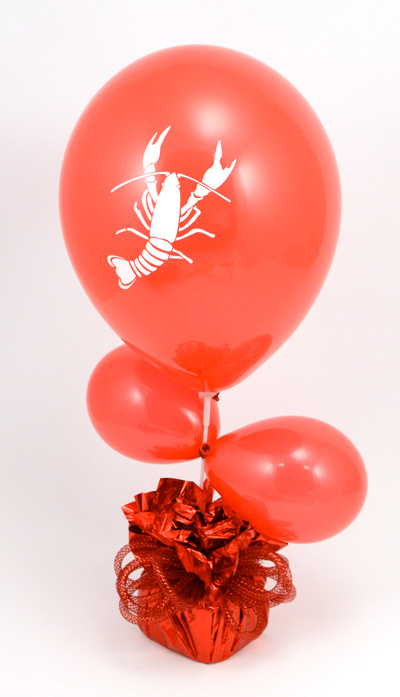
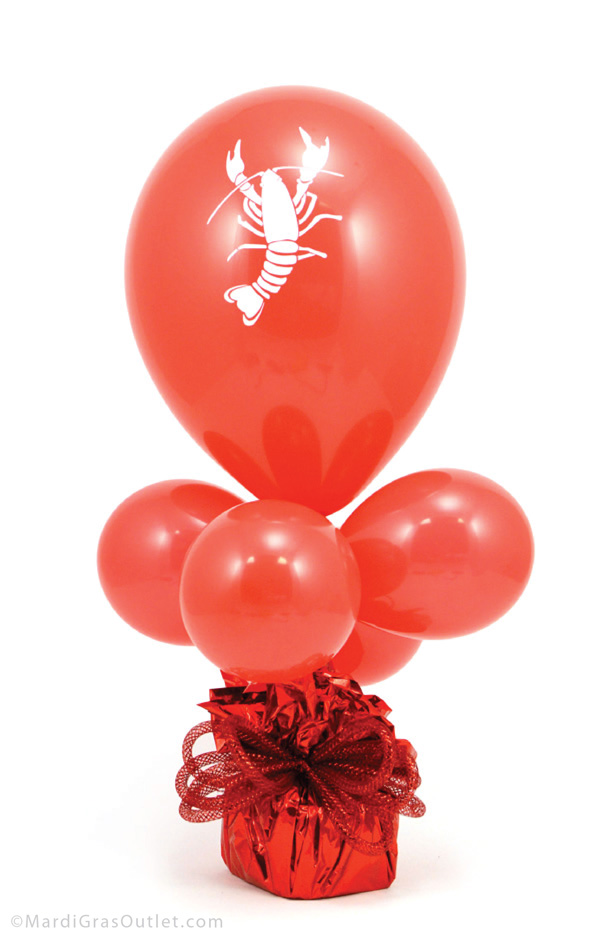
Twist the knotted ends of two air filled  5" balloons together, and then twist again around the balloon stick to secure. Twist the last two 5" balloons together and then twist them around the stick.
OPTIONAL:
Add loops of deco flex tubing betwenn the 5" balloons for added sparkle.


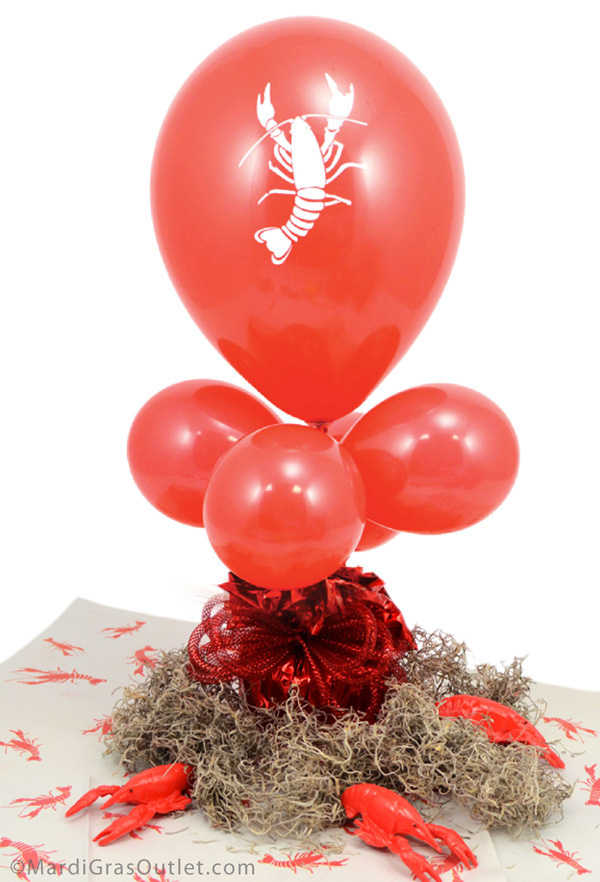
Set your tables with newspaper or our new crawfish printed newspaper. Scatter real spanish moss and plastic crawfish around the base of the centerpiece for a complete crawfish boil centerpiece.
March 26, 2012

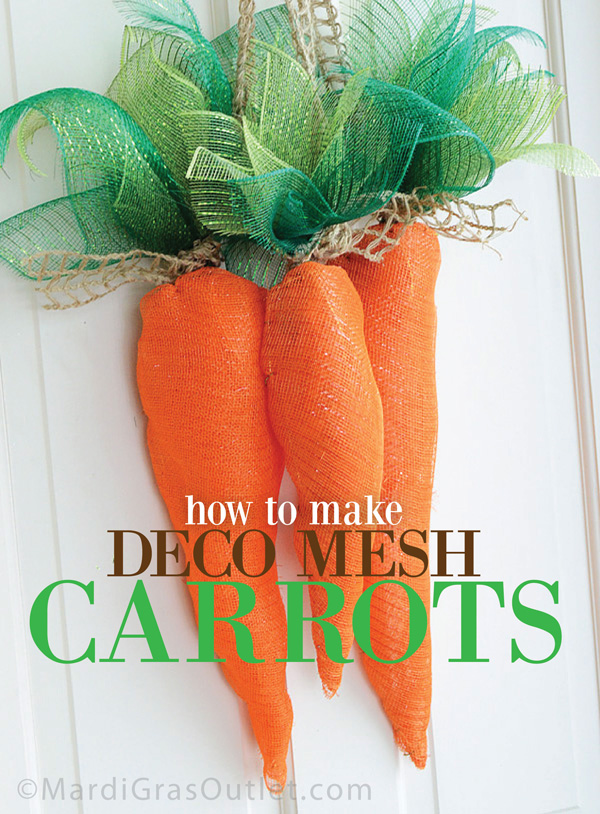
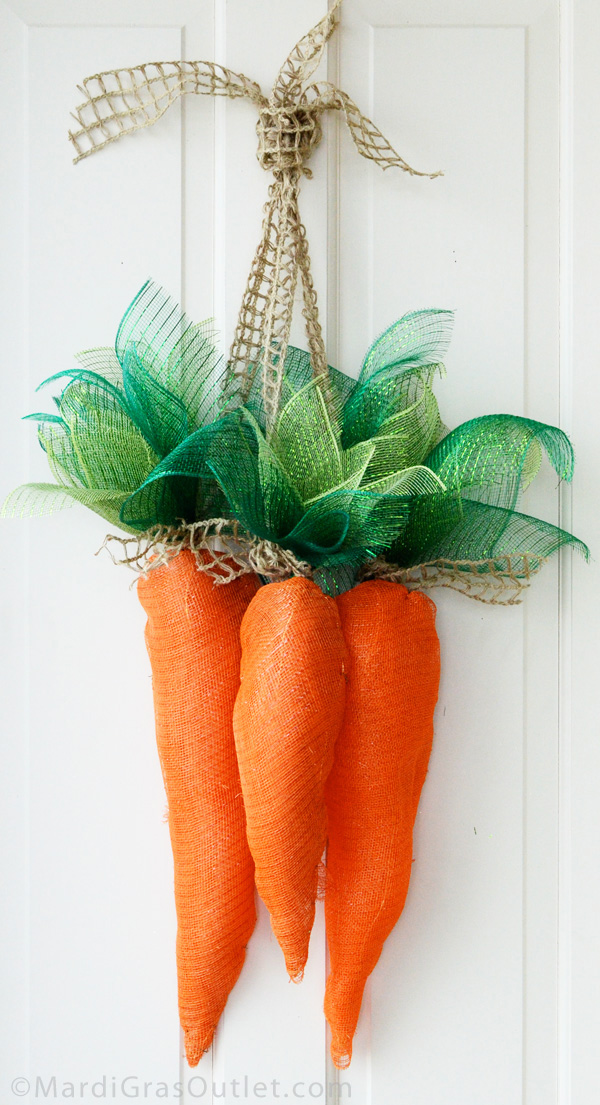
How to Make Deco Mesh Carrots

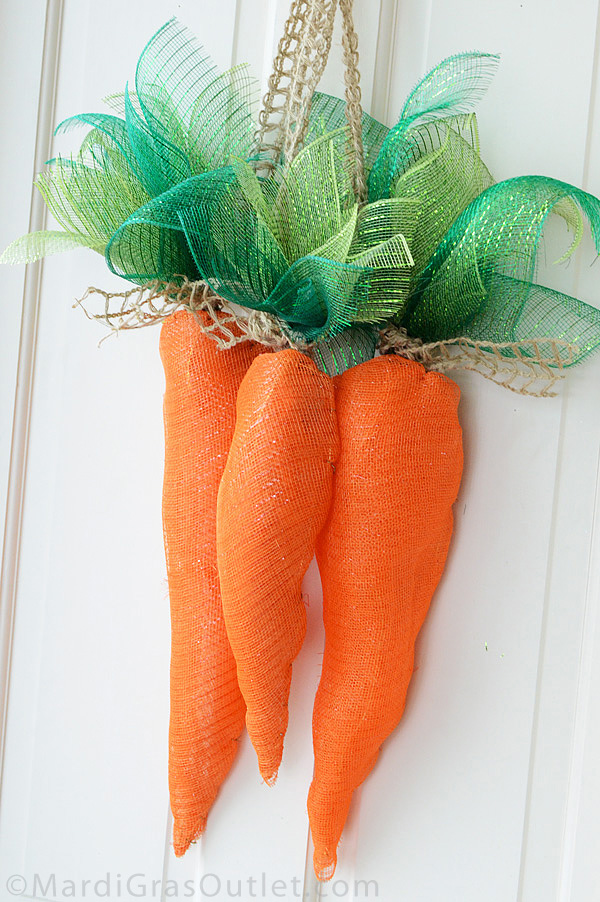
deco mesh carrots how to make tutorial

Easter and spring are just about here, and so we made the cutest bunch of deco mesh carrots on the block (click here to learn more about deco mesh). Keep scrolling down for our easy tutorial on how to make these hanging carrots using deco poly mesh, wire and ribbon. Happy crafting! 
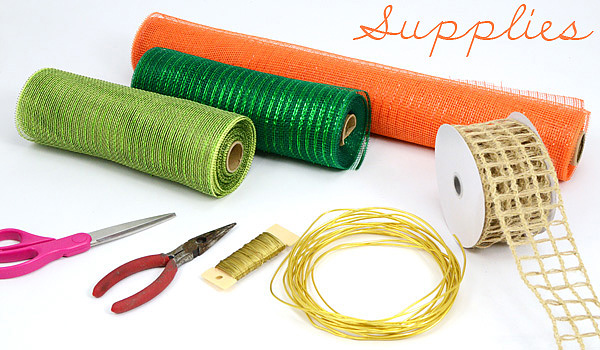
SUPPLIES
Scissors & Wire Cutters

These products are available at www.MardiGrasOutlet.com, and will come to about $35, with extra material to make more than 3 carrots. (To make the three carrots, we used approximately 3 yards of the 21" wide orange deco mesh, and less than 1 yard each of the 10" green deco mesh rolls. About 4 yards of the aluminum craft wire were used, and about 12 feet of the thinner floral wire. A little over 3 yards of the jute ribbon were used.)

STEP 1: Make the wire carrot frame
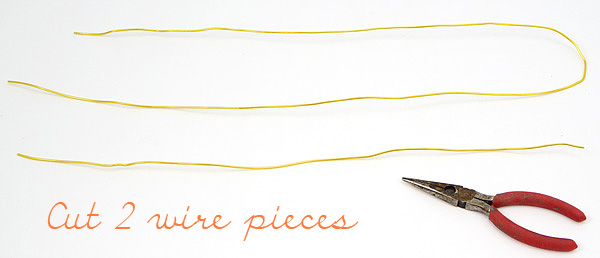
Cut two pieces of the Aluminum Craft wire. One should be twice as long as the other. Our carrots were all slightly different sizes. You should make the two wires 18" and 36" long, give or take a few inches. The finished wire carrot frame just has to fit within the 21-inch wide deco mesh. 

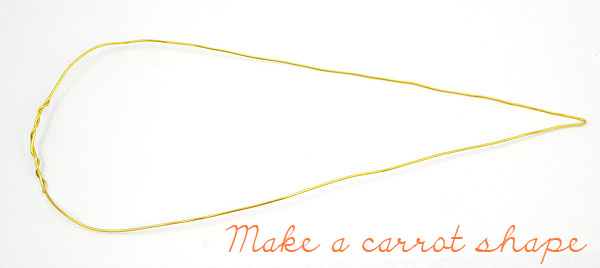
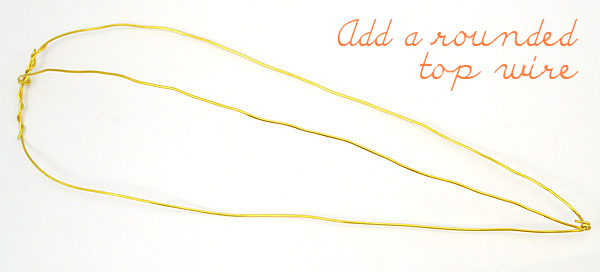
Fold the long wire in half and make a point at the bend for the carrot's point. For the top of the carrot,  connect the two loose ends together by wrapping the wire ends around each other. Push the wire form into a carrot shape as shown above.

To make the carrot three-dimensional and not flat, use the short length of wire and attach it lengthwise to the carrot shape. It should stand up a few inches higher than the flat carrot shape. 

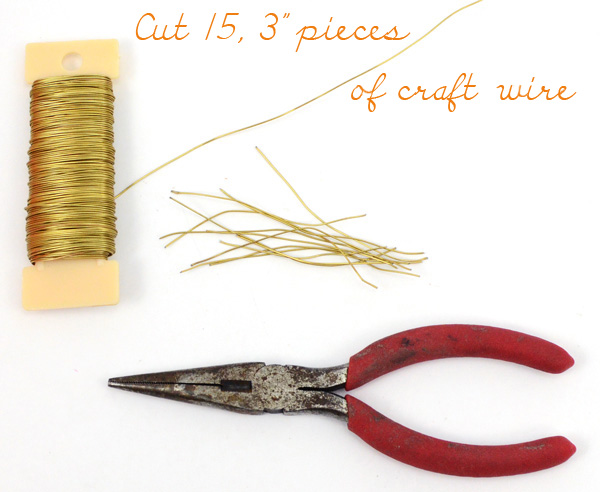
You will eventually need short wire ties to attach the deco mesh to this carrot frame. Use the thinner floral wire and cut about 15, 3-inch pieces. 

STEP 2Cover the frame with deco mesh
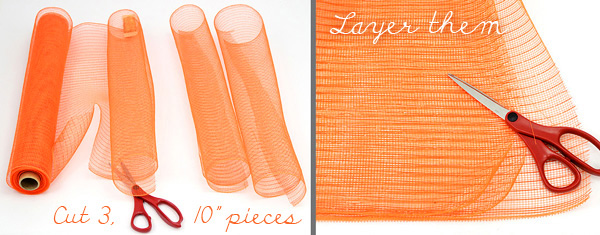
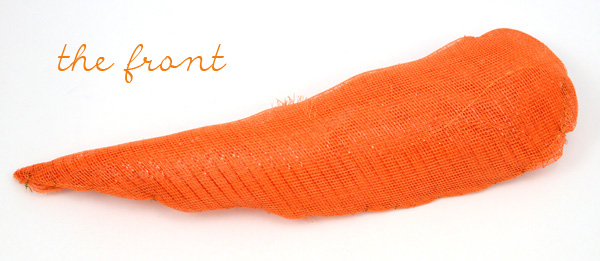
Using the 21"x10yd roll of metallic orange deco mesh, cut 3 pieces that are about 10-inches wide, or wide enough to go around the front of the carrot. Layer or stack evenly on top of each other.

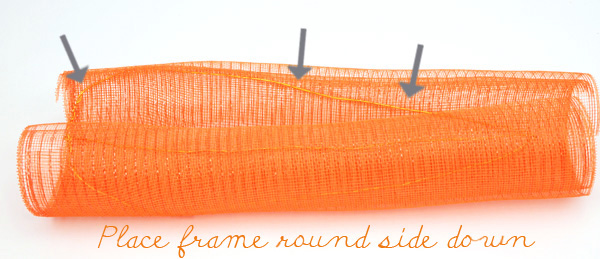
With the mesh placed curl side up, put the wire frame inside the curl. This is where you can see why  the wire frame can be no wider than 21-inches, the width of the deco mesh roll.

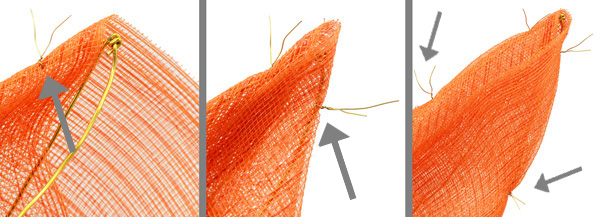
Starting at the carrot tip, use pieces of the floral wire you cut to attach the mesh to the wire frame. Work from the back of the carrot, and poke the floral wire through the layers of mesh and around the wire frame. Twist the floral wire to secure. Go back and forth from each side, working your way up to the carrot top. You will need a wire every few inches.
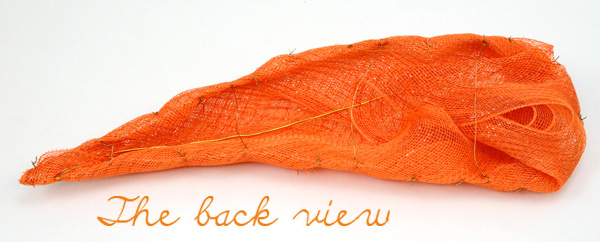
This is the finished back view of the carrot. Go back and add more floral wire where needed. Tuck the extra mesh under the middle wire frame. You can also tie some floral wire across the back to help make the form sturdier.

Trim the extra floral wire sticking out or tuck into the mesh at the back to hide it. Now your carrot is bendable as well.


STEP 3Make the green carrot tops
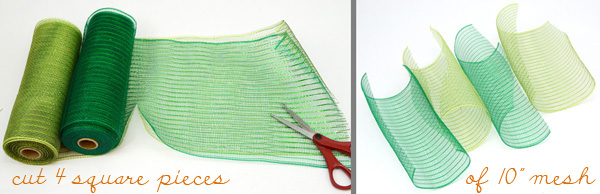
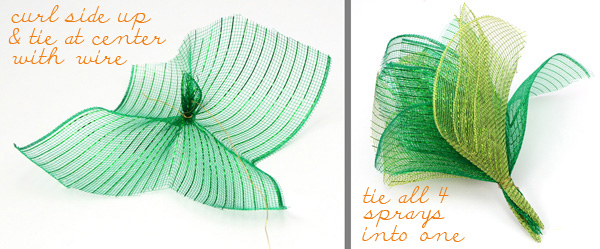
Using the two rolls of the emerald and moss/apple 10" wide deco mesh, cut 4 square pieces and place them curl side up.

Going one at a time, tie the center of the mesh with a length of floral wire. The wire should be about 2-inches from the bunched tip. Then tie all four sprays together to make one bigger bunch.

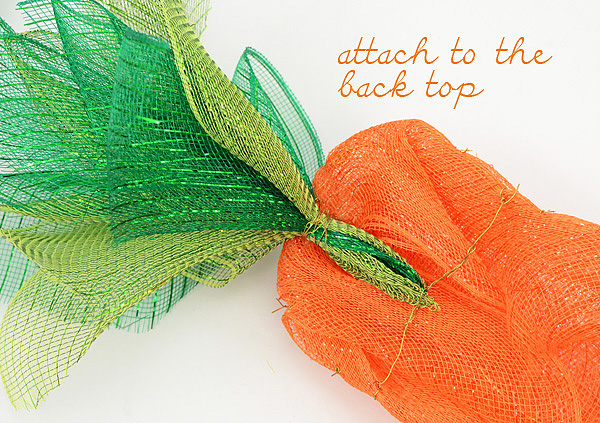
Now attach the bunch to the back top of the carrot, using more floral wire to secure.

STEP 4: Make 2 more Carrots and Tie with Jute Ribbon
Repeat the steps above to make two more carrots. They can be slightly different shapes and sizes like the ones we made. 

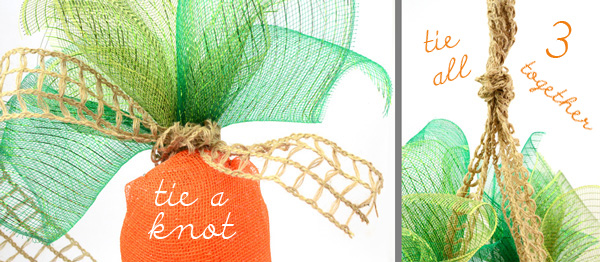
Cut 3 pieces of the Jute Ribbon that are each about 1 yard long. For each carrot, tie one ribbon around the top. Then tie a knot to secure all three carrots together.
deco mesh carrot tutorial instructions
deco mesh spring easter ideas

Looking for more Easter decoration ideas? Check out our Twig Works Cross Tutorial

March 22, 2012

Deco Mesh Twig Works Cross: How To Video

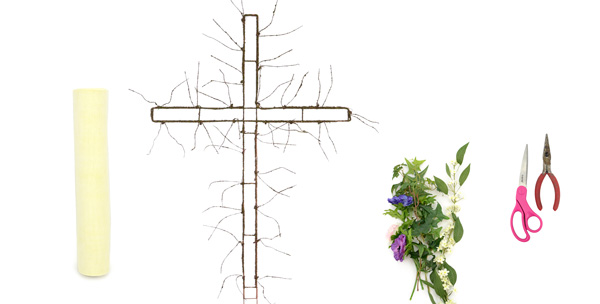
Tutorial for Twig Works Cross decoration


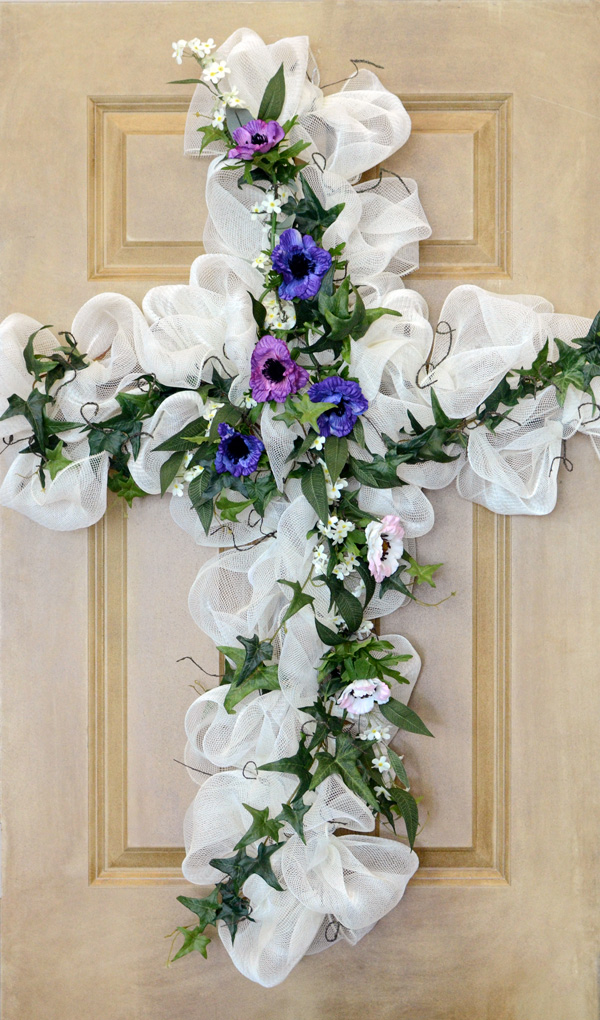
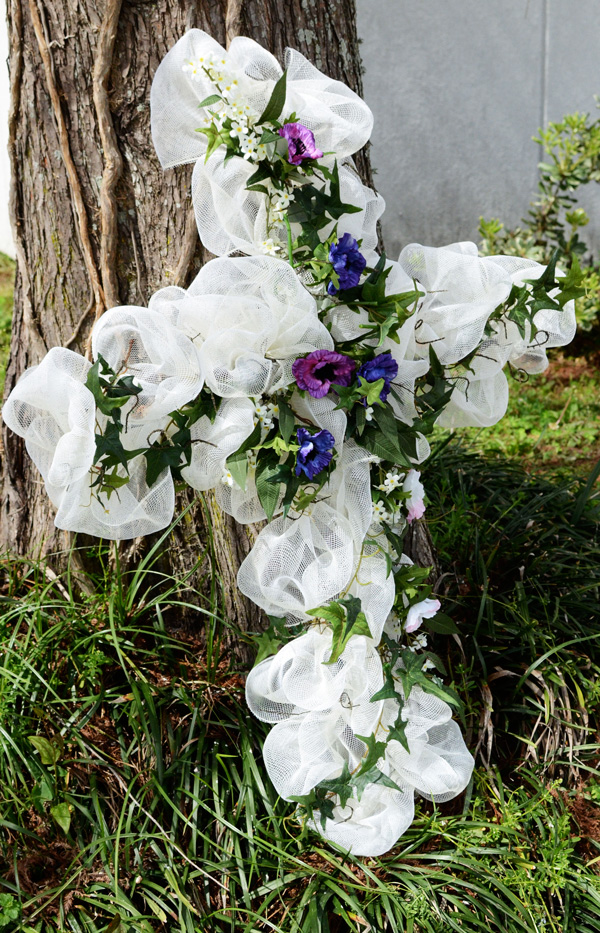
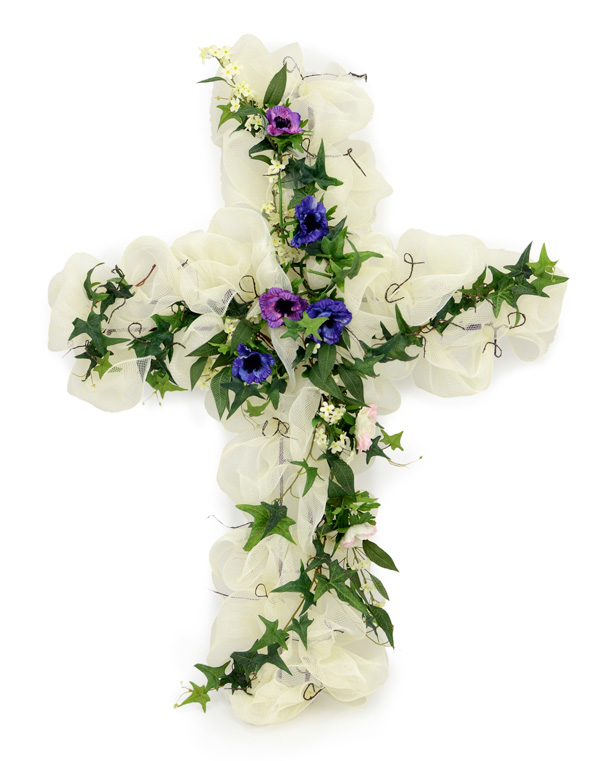
The organic twig shaped ties on the new Twig Works forms are perfectly suited for creating beautiful spring or Easter decorations.  Our latest video tutorial gives you instructions on how to use a Twig Works Cross  form to create the beautiful ivy covered cross decoration featured here.

Supplies for Twig Works Cross decoration
The supplies you will need are listed below. Many of the products are available at www.MardiGrasOutlet.com. 

SUPPLIES
 flower accents
scissors
wire cutters

(The twig works cross form and deco mesh cost approximately $18.00. This amount does not included the greenery or silk flowers)

VIDEO
Here is the video on how to make this twig works cross decoration.

To learn more about deco mesh and work forms, click here.

Twig Works Cross decoration
Beautiful as an Easter wall decoration

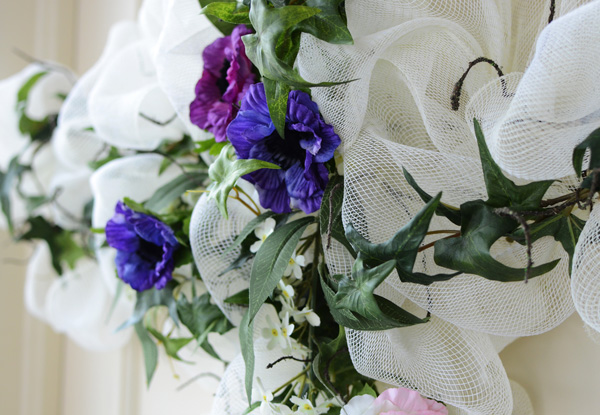
Closeup of Twig Works Cross decoration
Pretty displayed on a door


Mount on a fence, wall or tree outdoors.

Poly deco mesh and the twig works forms are well suited for outdoor locations. Both are water resistant and mesh puffs will retain their shape even when wet.

Easter blessings to you and your family!


March 19, 2012

Spring Wreath with Deco Mesh Flowers Tutorial

deco mesh wreath spring flowers tutorial
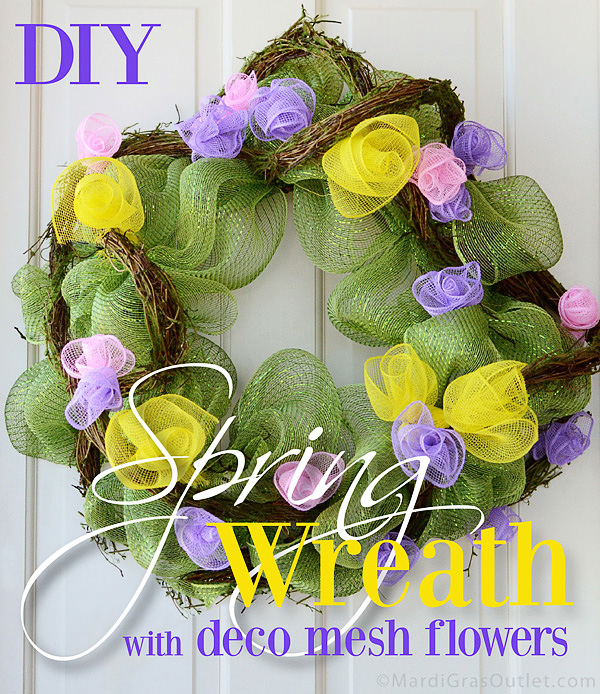
Celebrate the arrival of spring by making a deco mesh flower wreath. This cute DIY wreath will last through the whole season, and is perfect for Easter as well. These instructions will show you how to make a basic deco mesh wreath, add grapevine garland, and create deco mesh flowers.

To learn more about deco mesh and work wreath forms, click here

SUPPLIES
Scissors & Wire Cutters

All of these supplies are available at www.MardiGrasOutlet.com, and will be about $45.
STEP 1: Make a basic Deco Mesh wreath
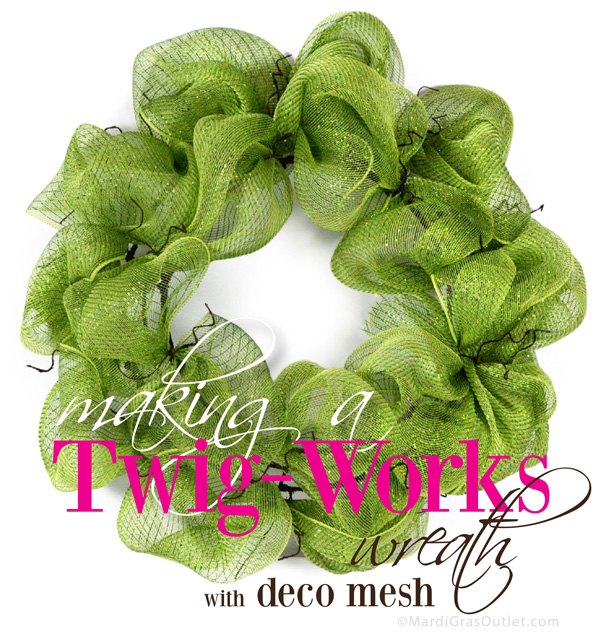
Using a Twig-Works wreath form and 21" wide Metallic Moss/Apple Deco Mesh, create a basic Deco Mesh wreath using our previous tutorial, How to Make a Deco Mesh Wreath with Twig Works (CLICK HERE).
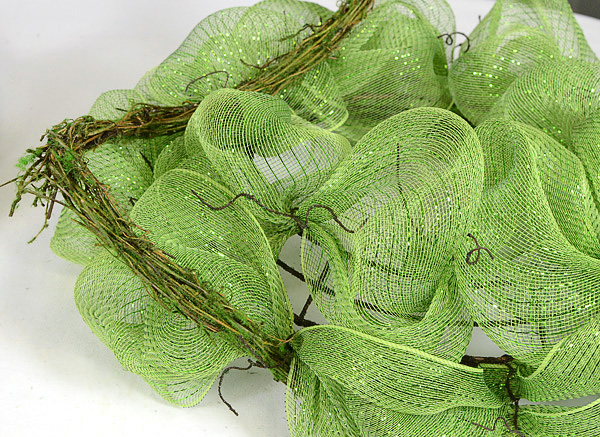
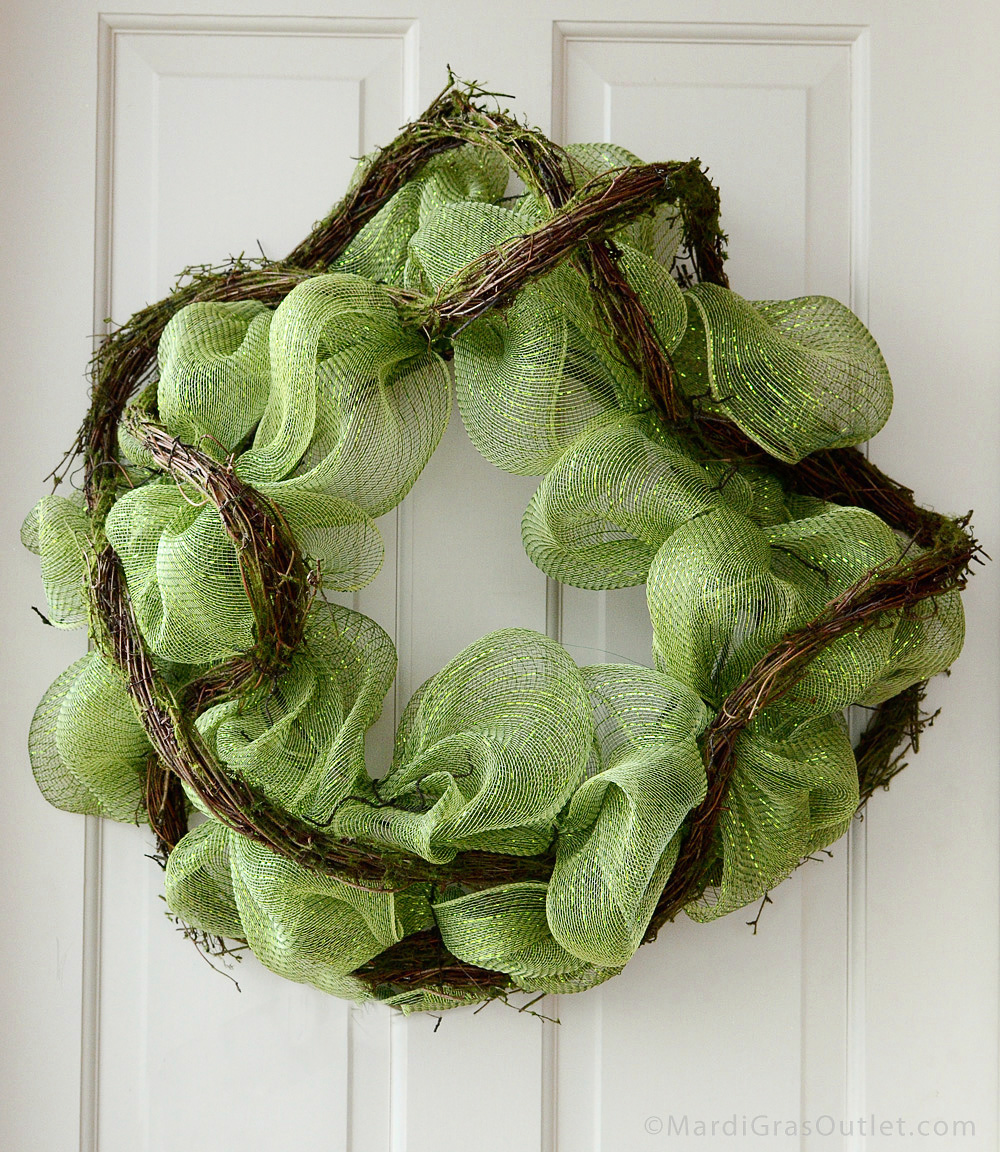
STEP 2: Attach grapevine garland
Using the twig wire ties on the wreath form, secure the grapevine garland to the wreath. You will have to go around the wreath twice. 
The garland curves naturally as you attach it to the work wreath form. Trim the excess grapevine with scissors.

STEP 3: Make Deco Mesh Flowers
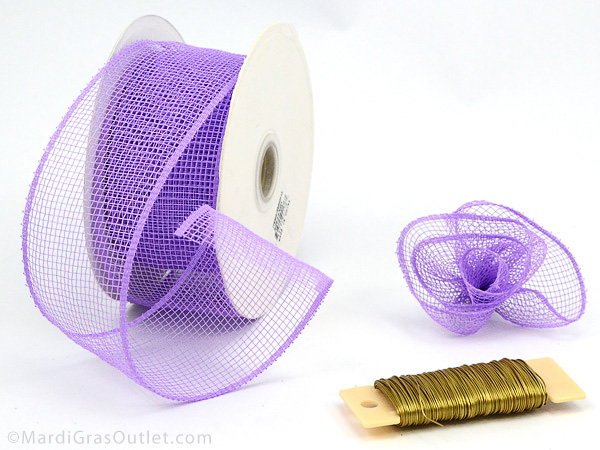
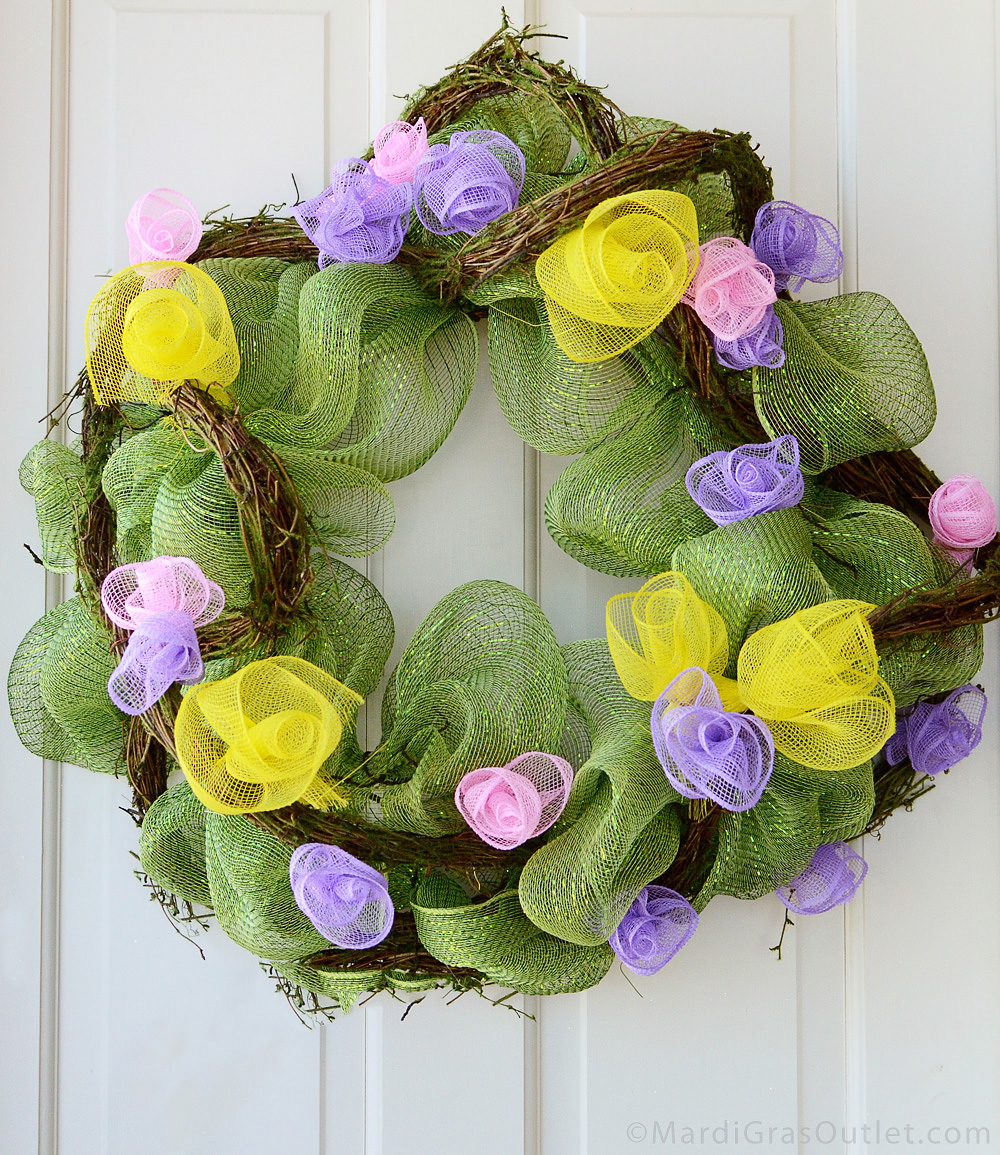
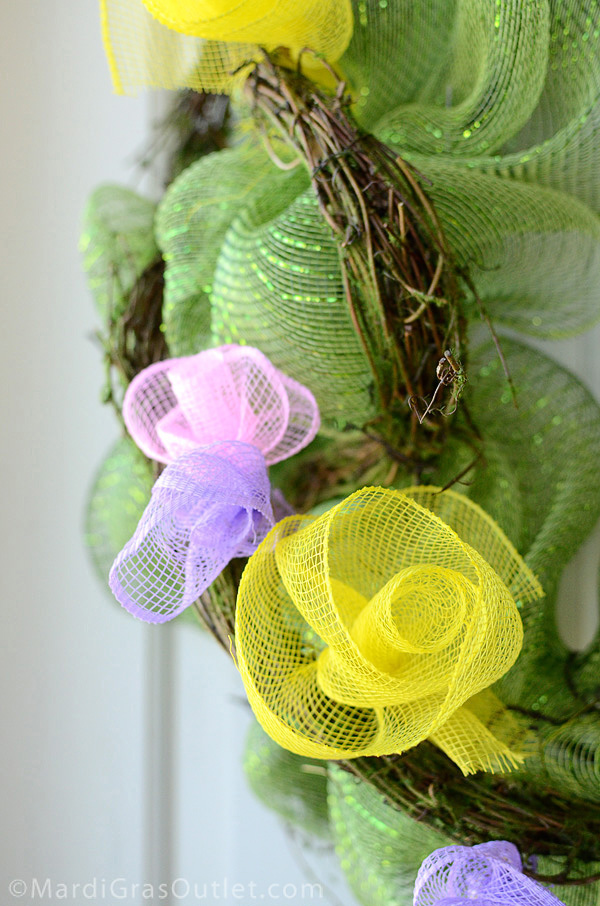
Using Deco Mesh ribbon and craft wire, make a variety of deco mesh flowers. The wreath shown here uses 11 lavender flowers, 6 light pink flowers and 4 yellow flowers. You can make more or less, and choose different colors depending on your personal preference.
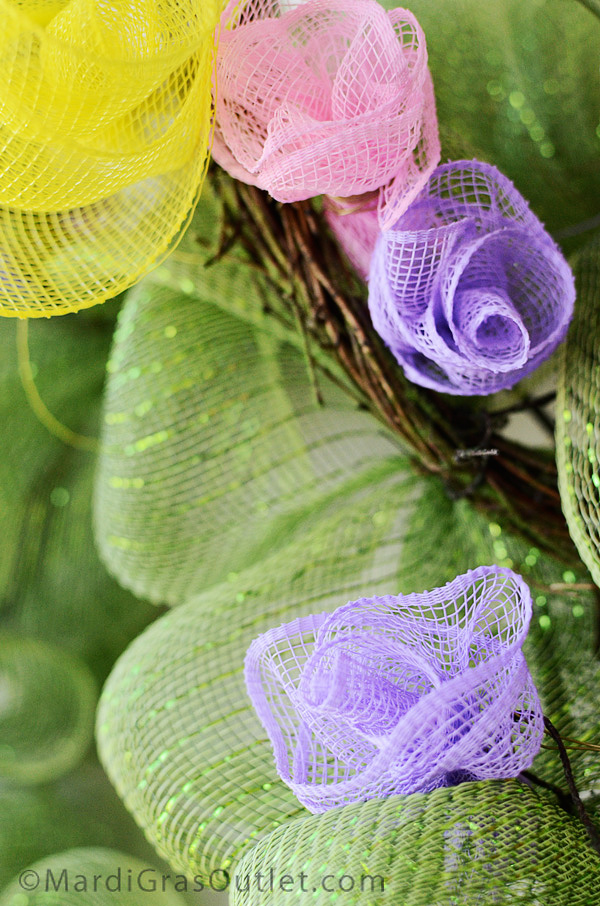
The yellow flowers use the 4-inch wide deco mesh ribbon, which makes a bigger sized flower. 
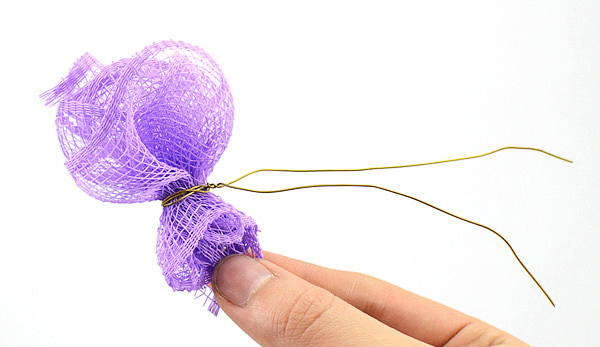
These photo instructions use the 2.5" lavender ribbon, but you can follow these same steps for other colors and sizes of deco mesh ribbon. 

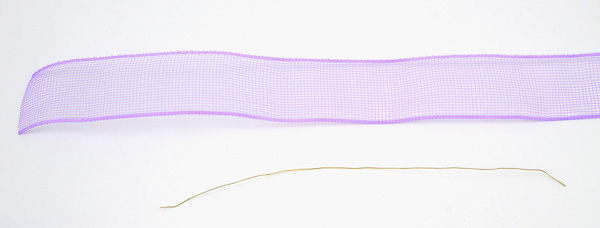
First, cut a length of ribbon around 20" long. The length can vary, depending on what size you want to make your deco mesh flower. Cut a piece of craft wire that is about 1 foot long. You will use the wire to hold the rosette together and to attach the flower to the wreath.
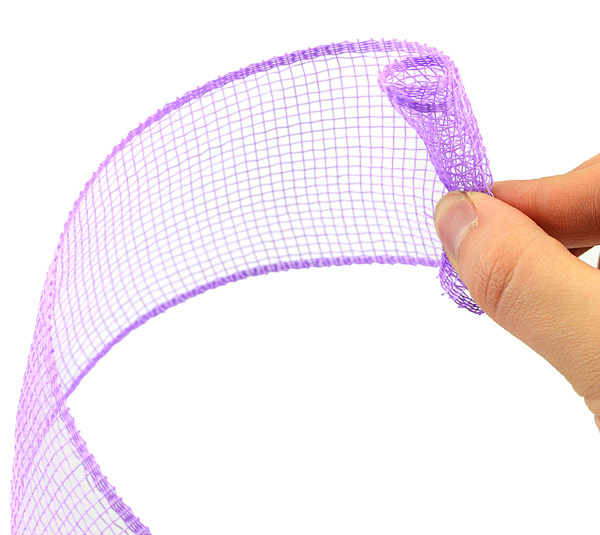
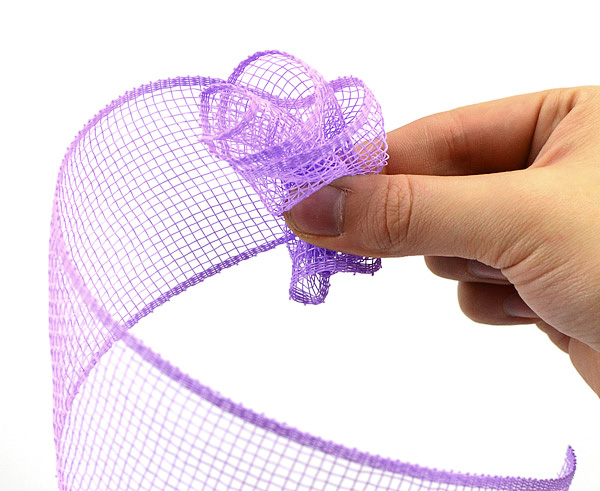
Start rolling one end of the ribbon tightly, several times. Keep holding it by pinching almost halfway up the roll. Holding it this way help to keep the flower even and lined up as you roll the ribbon.
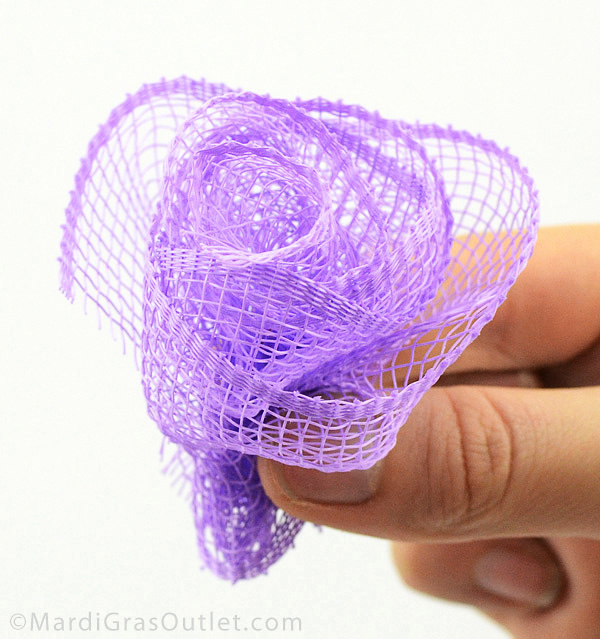
Once you have rolled the ribbon tightly to start, start folding or crimping the ribbon as you roll. This way, the flower will be more open-looking. 

Keep rolling, folding and holding the flower tightly until you reach the end of the ribbon. Don't worry about making it look perfect, the more flowers you make the easier it will get.

Now, use the craft wire and wrap it around the flower where you have been pinching the mesh. Wrap it several times, and leave some excess wire so that you can attach it to the wreath.

spring flower wreath
Finally, tie the flowers to the wreath. Many of them are attached directly to the grapevine garland, and some are in groups of 2 or 3 and scattered around the wreath.

deco mesh flowers tutorial

deco mesh spring wreath ideas

Our Deco Mesh Carrots Tutorial is another option for your spring decorations. 

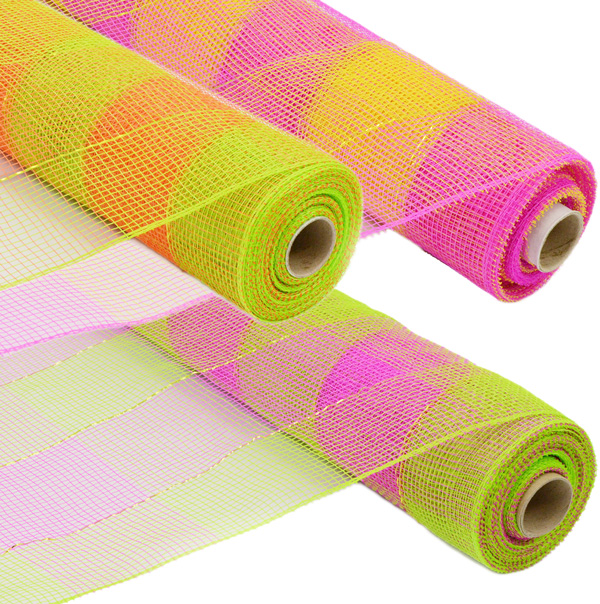
This spring wreath can work with other colors of deco poly mesh rolls and ribbon as well. Below are some new spring mesh styles: Fuchsia/Lime Check, Fuchsia/Yellow Check, Orange/Lime Green Check (click on the name to purchase).

LinkWithin

Related Posts with Thumbnails