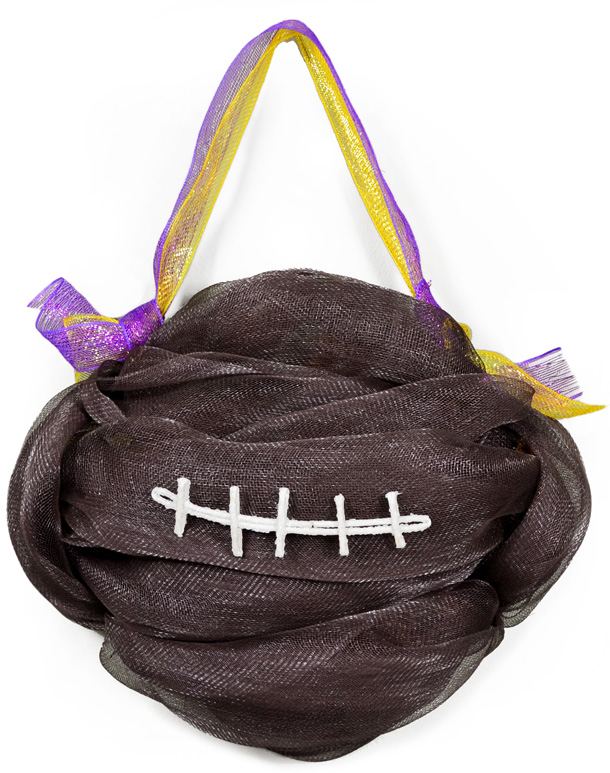
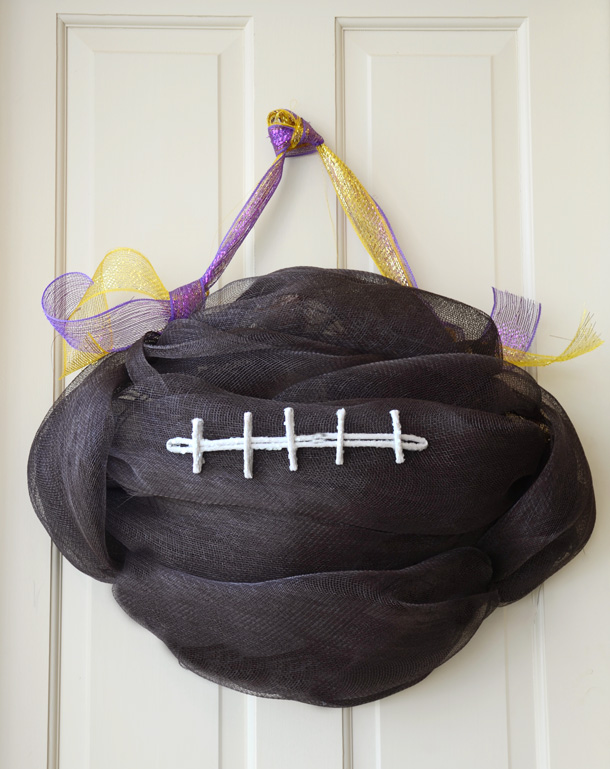
Football season is here! And everyone loves to support their favorite team, from high school football favorites to city-wide college and NFL teams. A perfect way to support your team is to decorate your door with this fun football wreath made of deco mesh and a
brown work wreath form. Here is the step by step tutorial, so you can create a football of your own.
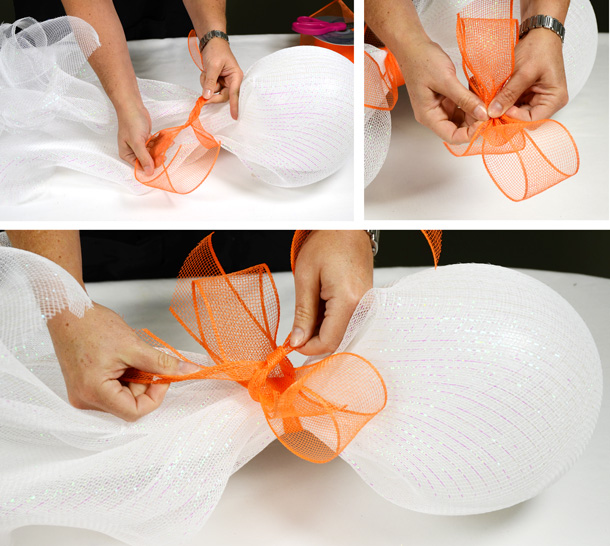
Customized your football to your school colors and mascot. Add team colored emblems to the front or team colored ribbon. We are partial to the Tigers (Geaux LSU!) so we added sparkly purple and gold ribbon to hang our football decoration.
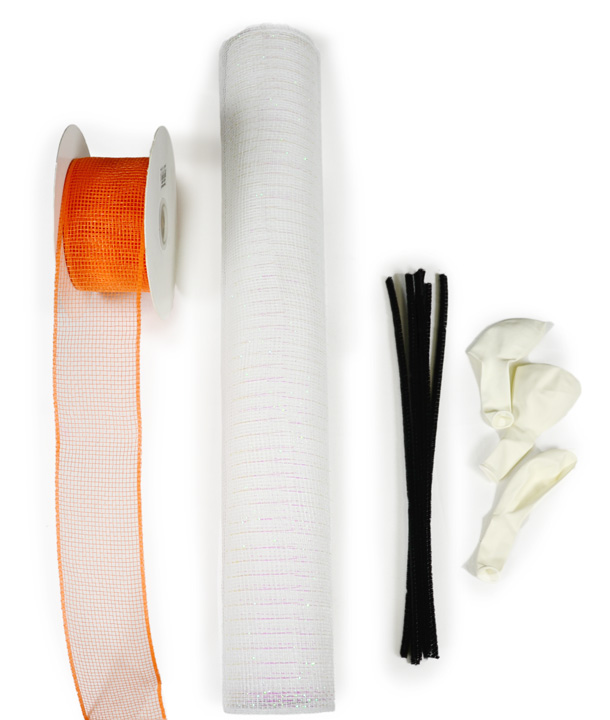
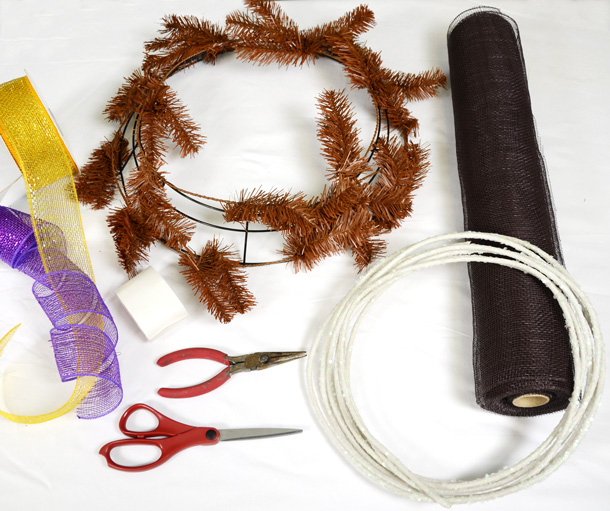 Supplies:
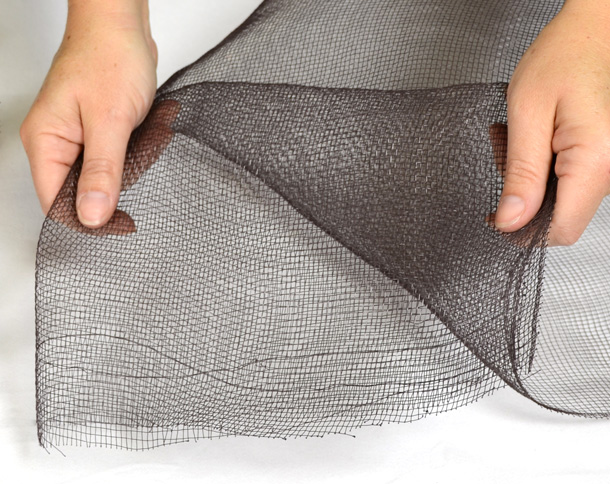
Brown Deco Mesh- 21" wide roll
Chocolate Brown Work Wreath Form-24"
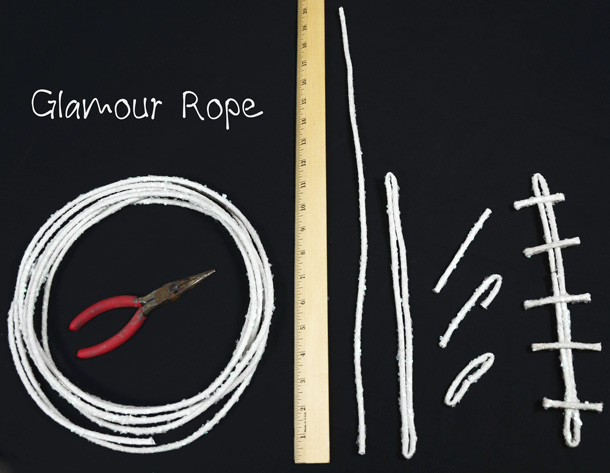
Wired glamour rope- white
Scissors
Wire cutters
glue of your preference (Elmer's glue dots shown
), wire or thread
Optional- team colored ribbon (2.5" deco mesh ribbon in
metallic purple and
gold)
How to create this Football Door Decoration:
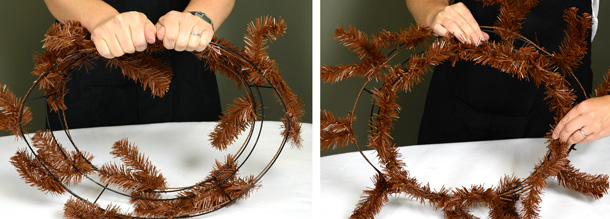
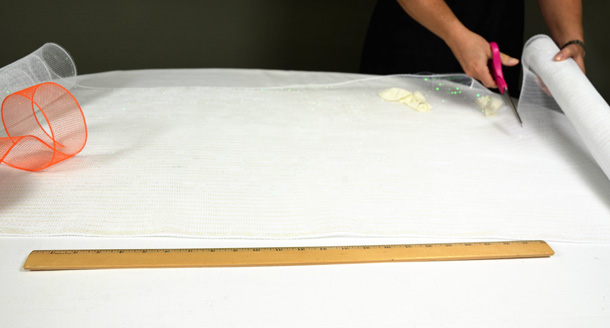
STEP 1: Start with a standard round
24" chocolate brown work wreath. Working on a solid surface, push down on the top of the
wreath form to shape the form into a oval or football shape. Aim for a slight pointy shape on each end. Make sure the pointed ends have a wire tie.
STEP 2: Just as in our
pumpkin wreath tutorial, we will be using the
wire wreath form in an unusual order (see note below). Instead of circling around the wreath form, you will be attaching the mesh across the form. For this football creation, you do not use the inner ring ties so you can wrap these ties around the inner ring to hide them and keep them out of the way.
NOTE: A
work wreath form is a standard wire wreath form with pre-attached tinsel ties that come in assorted colors. The standard way to use the work wreath form is to attach mesh or ribbon around the form, starting on the inner ring of ties. After the first ring is filled, move out to the second ring. For more information using a work wreath from, see this
post. To purchase wreath forms, click
here.
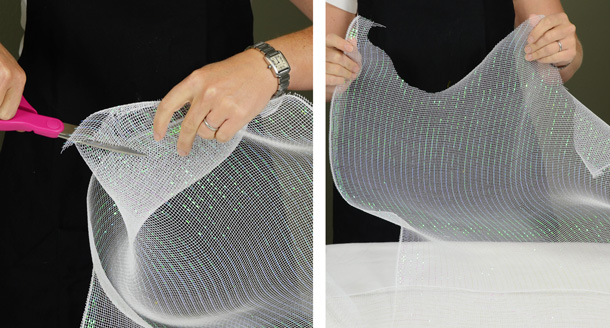
STEP 3: Attach the
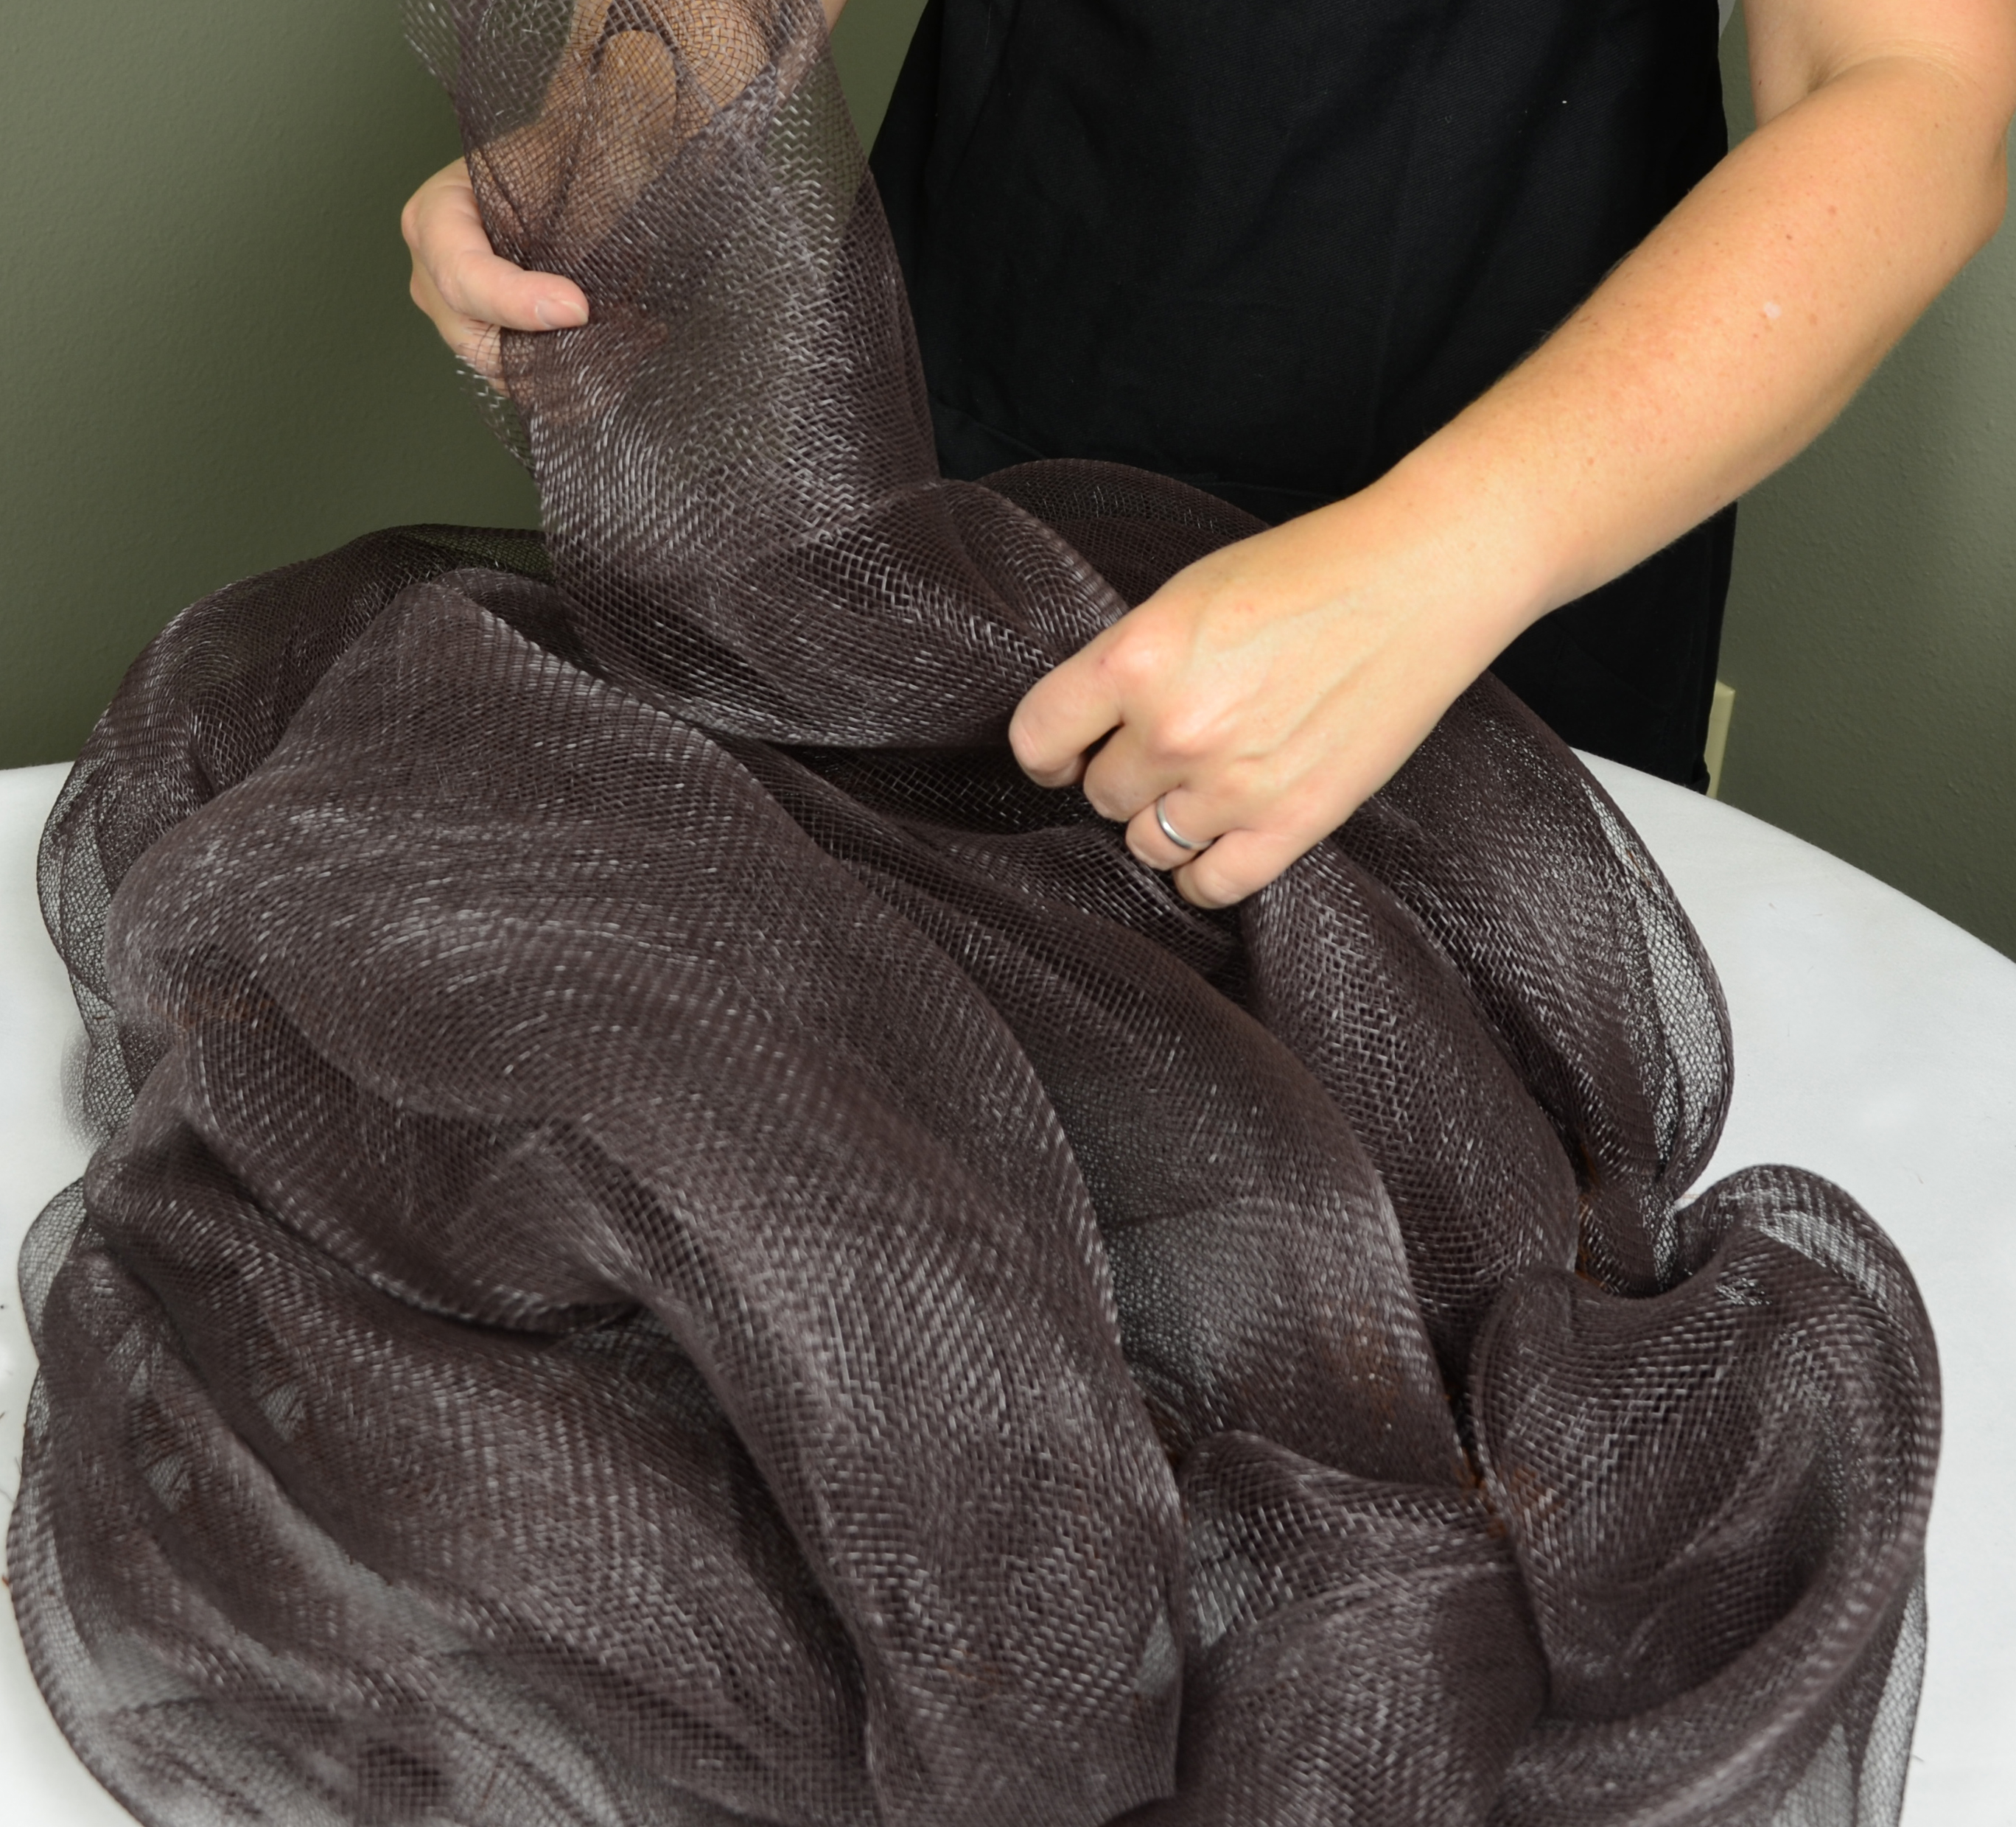
brown 21" wide mesh to the
brown wire wreath form. Again, we do this a bit different than the standard wreath method. Instead of bunch the mesh into a tie, the mesh is folded once, then folded over again twice. This makes the mesh lines across the football neater and more linear (like the lines on a football). It also make the mesh more opaque since you are only going across the form once in each place. The photo above shows the mesh folded once.
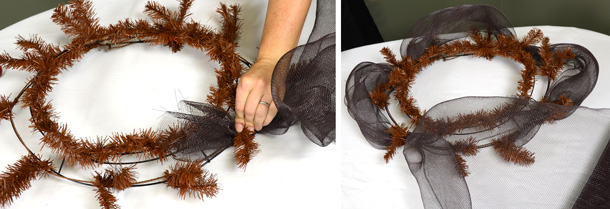
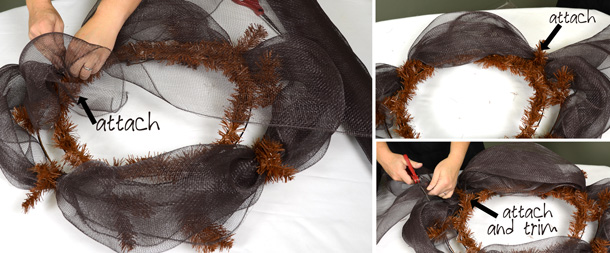
STEP 4: Place the wreath form in front of you. Start at the bottom right corner of your oval (as shown). Insert the folded end of the mesh between two wire ties and twist to secure.
STEP 5: Continue around the outer ring of the form. Remember fold the mesh (not bunch) as you attach it into the wire ties. Attach the mesh in one short loop on the end. Then move on from the top right to the top left. Another short loop on the end- then back to the tie you began with. Do you see the football shape forming?
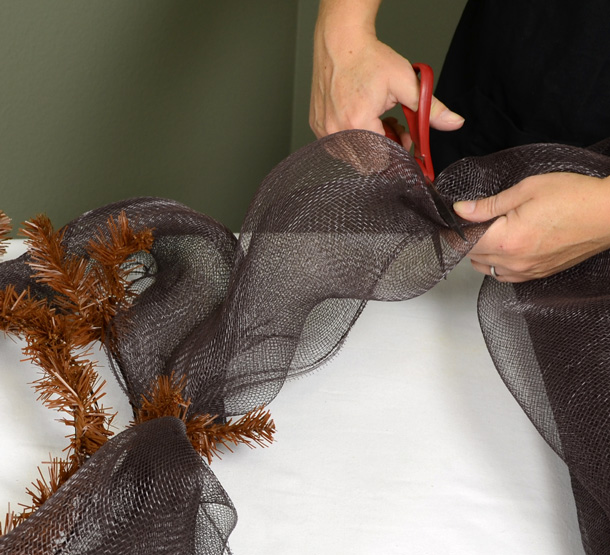
STEP 6: A bit further down from the final tie, cut the mesh off from the roll (as shown). Tuck this mesh tail in the side loop. This extra mesh will help to fill in this part of the football.
STEP 7: Take the folded up end of the mesh and attach at the top left corner- into the same tie you used for the outside circle of mesh (as shown). Cross the wreath form at the top and attach folded mesh into the tie you used on the other side. Now circle back over, coming back to the tie you started with. Open this tie and attach the mesh. Leave a bit of a tail on the mesh piece and cut off here. Tuck this tail into the side hoop to fill it out- just as you did on the other side.
STEP 8: Repeat this step across the wreath form. For the next piece, start on the far right tie (the one on the point). With folded mesh move over to the other side. Insert mesh into this side tie. Then move back over to the tie you started with and cut the mesh off. Tuck in excess tail of mesh.
STEP 9: Repeat again at the wire ties on the bottom left and right corners. Once you are finished fluff and adjust the mesh as needed to create that football shape. You want linear lines of mesh crossing the football just like the leather seams on a real football.
TIP: To fill areas of the mesh that may need more puff- cut individual pieces of mesh and stuff in from the back of the wreath form.
Create your football laces:
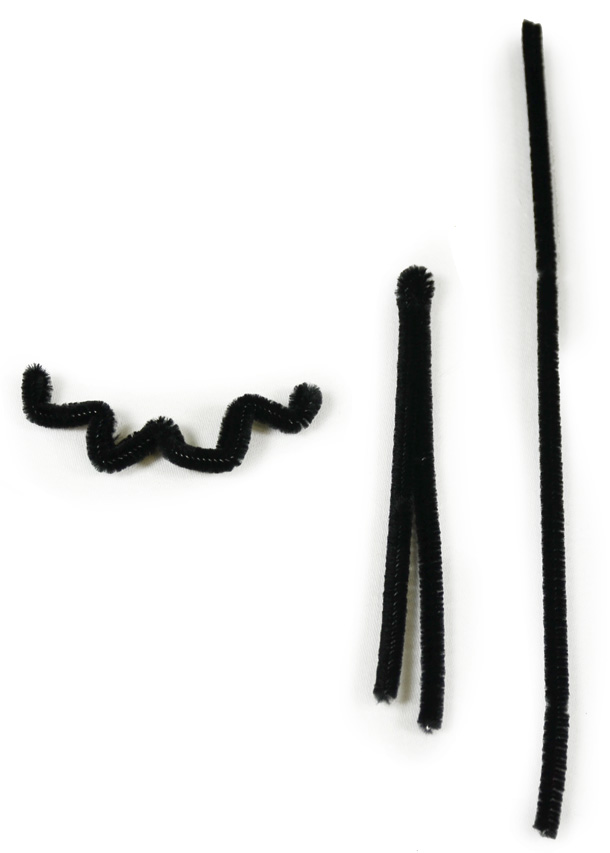
with white wired glamour rope and the wire cutters
STEP 1: Cut a piece of glamour rope approximately 24" long. Fold this wire piece in half.
STEP 2: Cut 5-8 more small pieces of wire (Eight laces is standard on a real football; we used five.) STEP 3: Fold these wire pieces in half as shown.
STEP 4: Attach these small piece to your long piece of wire by wrapping the folded pieces around the wire. This forms your mock laces for the football.
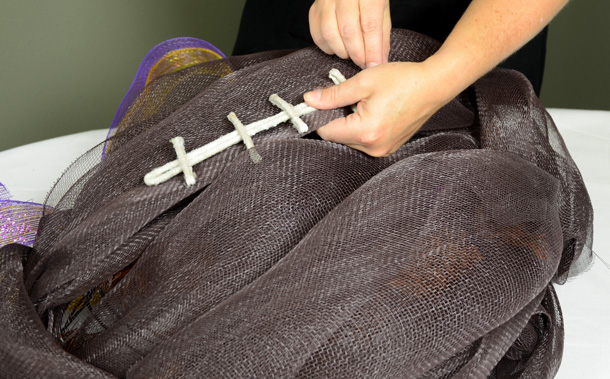
Attach laces to the front of the football with glue, string or wire. We used super sticky glue dots.
With the addition of a purple and gold ribbon at the top, our football is complete.
Good luck on your football creation- and good luck to your team...
unless of course... your team is playing LSU!
There are so many ways to use deco mesh and work wreath homes,
click here for more tutorials and ideas!
Mardi Gras Outlet's blog to receive our emails full of ideas and inspiration! Simply add your email in the subscription box below to sign up.


