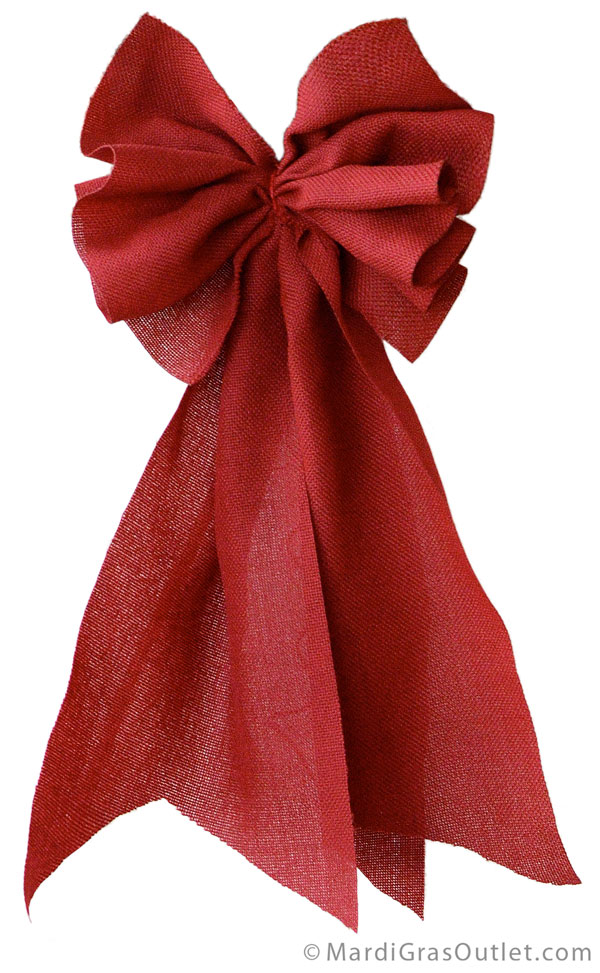
The beautiful way fabric looks gathered inspired us to combining two of our favorite things: ruffles and bows. This new ruffle bow technique that can be used with wider ribbon and mesh creates a simple, pretty ruffled bow that shows off the natural burlap texture and uses less ribbon than traditional looped bows. The tutorial below shows you how to create this bow using a rich red that is perfect for fall or Christmas. This bow can be made in any ribbon or fabric for any season as long as the fabric is at least 9" wide.
SUPPLIES (click on the product name to purchase at www.mardigrasoutlet.com)
2. Wire or string options-
3. Scissors
COST/TIME
The total cost per bow would be about $4 each. This cost will depend on your supply choices. You can make about 3-4 bows from one 10 yard roll of burlap ribbon, depending on how full you make the bow loops and the length of the bow tails. The bow shown below is about 12 inches across and nearly 2 feet long.
Blended Burlap is a faux burlap material that is a great choice for outdoor decorations or for use with wet arts and crafts media. While natural burlap is made of jute and can not withstand the elements with out falling apart, this synthetic burlap is made with polyester and is safe to use outdoors.
You can follow these same steps, but use different colors of Deco Mesh or Burlap to make a custom bow for any holiday or occasion. Click here to see more color and pattern options in Burlap.
STEP 1
Cut a length of Burlap about 20-24 inches long. Lay it lengthwise on a flat surface.
STEP 2
Begin to pinch and pull the burlap towards you, being sure to pinch the fabric tightly at the center.
STEP 3
Continue to pull the burlap towards you until you get to the end, making sure not to bunch. You want a nice, even, ruffled effect.
STEP 4
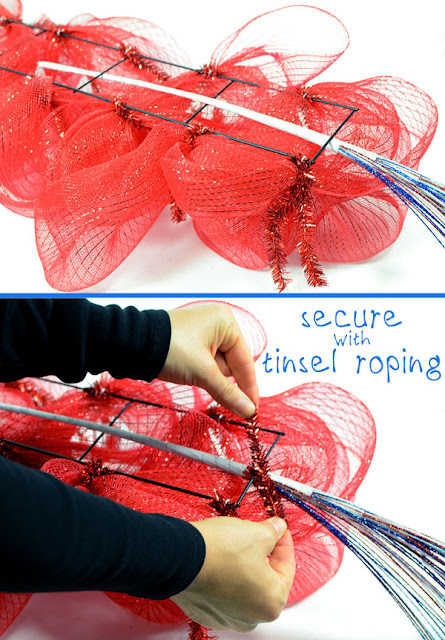
Pinching the center tightly, secure the middle of the bow. We used Tinsel Roping in Metallic Red because it is so easy to tie in other accents directly underneath or on top of the wire, and it adds a little extra shine to your project. Be sure to leave yourself a few extra inches of tinsel roping on each end to making tying easier.
STEP 5
Add the tails to the top of the bow by cutting a length of burlap twice the length you would like each tail. Then simply tie the center of the fabric underneath the center of the bow with the same tinsel roping.
STEP 6
Now you can trim the tails. We folded our burlap in half and then cut upwards at a diagonal from the outside corners in order to make a split-tail style bow. You can also simply cut the bow upwards at a diagonal from inside to outside to make a tail that is an angle cut.
This diagram shows you a few possibilities on how to trim your bows tails.
The finished Bow- Ready to hang!
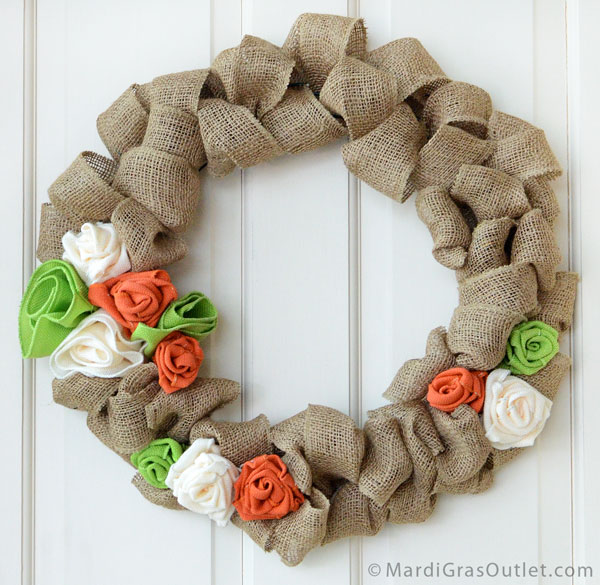
Here we've used the bow on a burlap bubble wreath. We trimmed the tails a little shorter and added some floral accents. The tutorial on how to make this wreath can be found by clicking here.
We would love to see how you use this burlap bow style in your decor! Email us at ideas@mardigrasoutlet.com with your creative pictures. Happy Crafting!


