Great Christmas decorations ideally make a big impact and are inexpensive! This cute lighted Christmas tree made with
deco poly mesh and a tomato cage is both. And it's really easy to create! The tutorial below shows you how to create one with budget-friendly supplies like a simple wire tomato cage and basic green deco mesh. At 3 feet tall, this tree makes a big statement- great for stair landings, fireplace surrounds, buffet tables, porches, front doors or anywhere else you want a touch of Christmas cheer. You can also use it as a topiary by placing it on a planter.
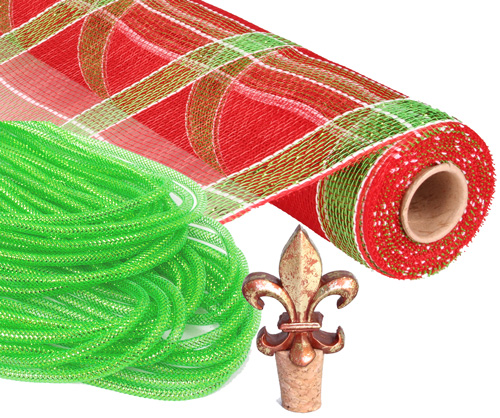
Deco poly mesh is a type of soft plastic netting that has a full puffy shape. It is durable enough for the outdoors, so this Christmas tree would be a perfect way to light up an entryway or front yard. Deco
mesh rolls and
ribbon come in many different colors, patterns and finishes for you to choose from.
MardiGrasOutlet.com sells deco mesh and other supplies you will need for this project.
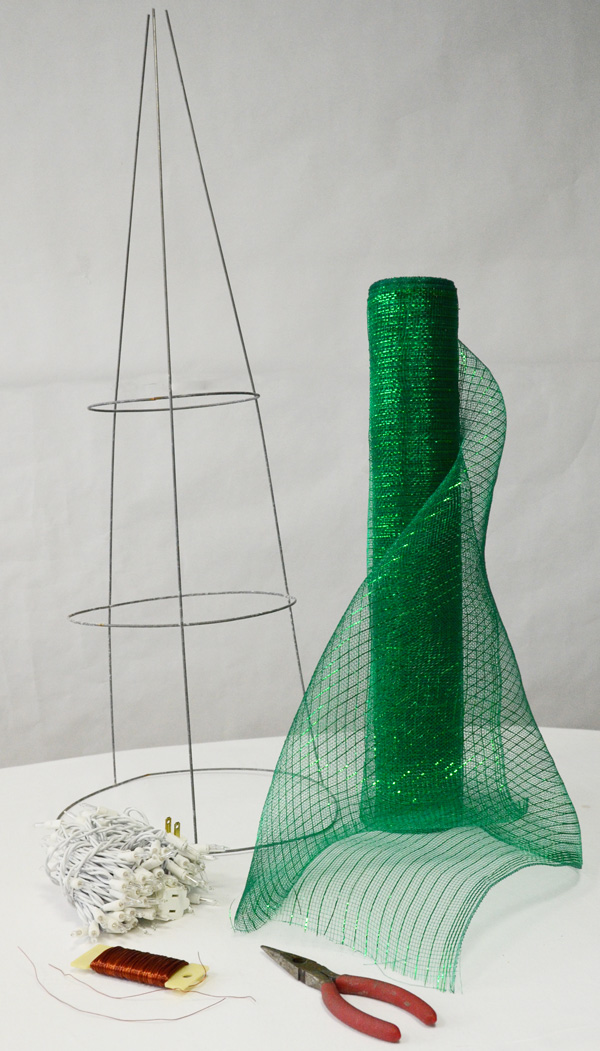 SUPPLIES:
For this tree you will need:
(1) Tomato cage
Wire Cutters & Scissors
Optional:
DIRECTIONS
STEP 1
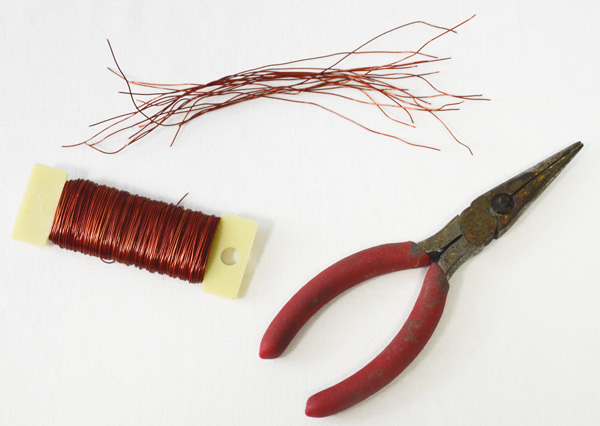
Using wire cutters, cut 4"-6" lengths of
craft wire. You will need around 25-30 of these to attach the
white lights and the
deco mesh to the tomato cage. If you are attaching
ornaments, cut more wire.
STEP 2
Start attaching the
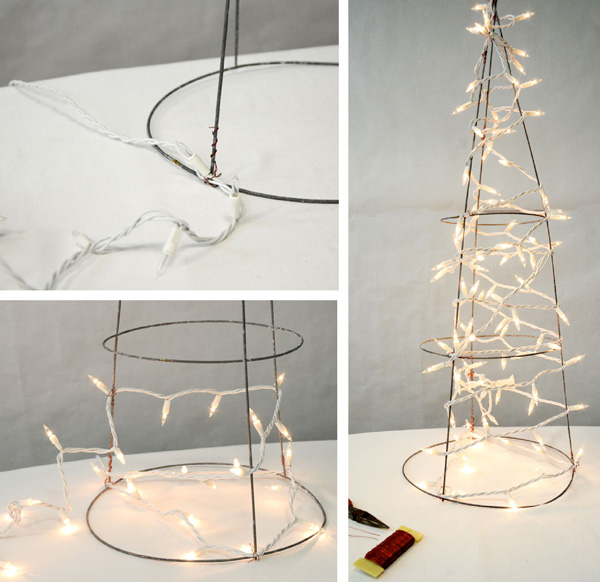
light strand to the bottom of the tomato cage. We started with the first light after the plug and twisted the craft wire around the cord and wire cage. Wrap the light cord around the tomato cage, working your way all the way up and leaving only a little slack.
Use the
craft wire you cut to secure and hold up the cord. It wasn't necessary to tie craft wire every time the cord touched the tomato cage, just every once in a while.
When we reached the top of the cage, there was still a length of lights left. Simply wrap it around again
going down. Leave the plug end in the middle of the cage. The first plug should be left hanging out from the bottom, so that you can plug in your tree in later.
STEP 3
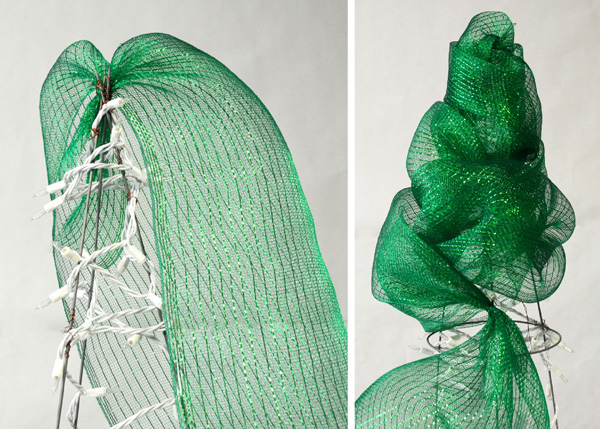
First, bunch the end of the mesh and attach to the top of the tomato cage with a piece of craft wire. Notice in the left photo how the cut end of the mesh is hidden and facing down, leaving only a nice puff for the top. Wrap the mesh around once and attach to a vertical bar.
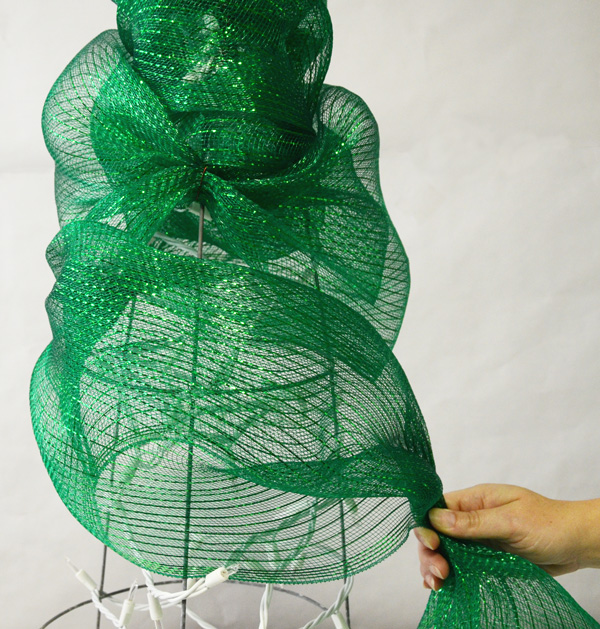
As you bring the mesh down and around the tomato cage, bunch and attach the mesh at every other vertical bar with craft wire. It also helps to fold as you gather the mesh for better looking puffs.
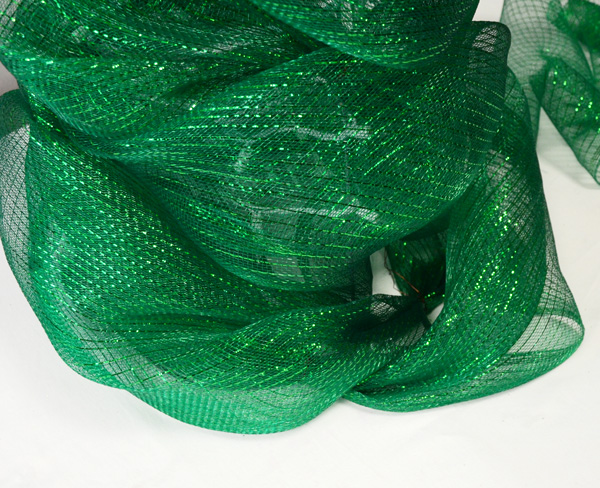
Notice how each new puff hides a previous wire tie where you attached the mesh. This is why it is important to skip over the next vertical bar of the tomato cage as you go down and around.
STEP 4
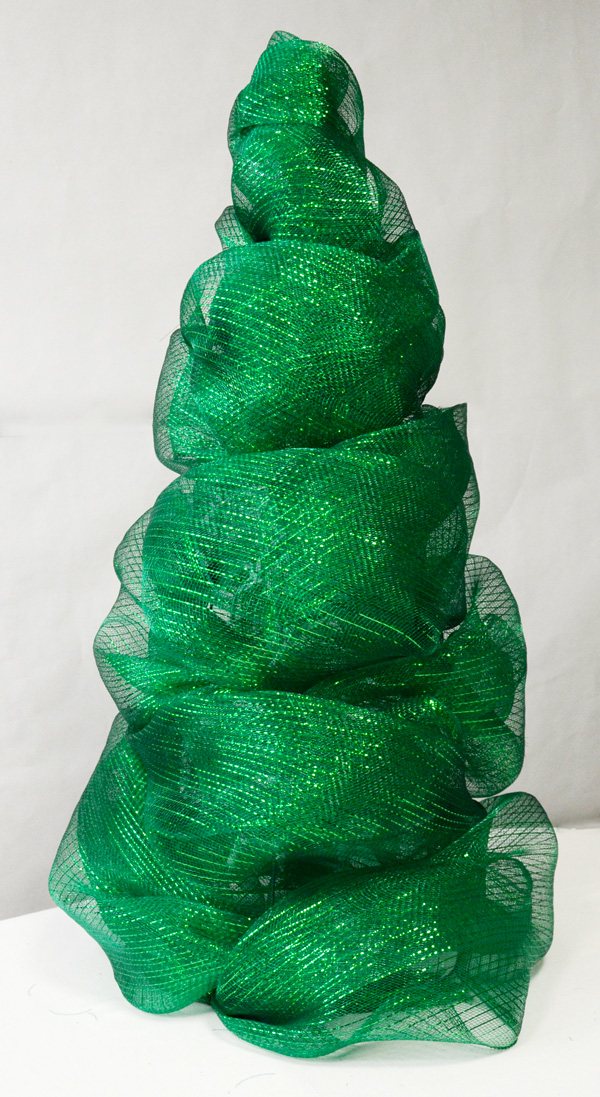
When you reach the bottom, make sure the mesh goes around and covers the cage base before you cut the mesh. This tree used one roll of deco mesh, with a couple feet to spare. Hide the last wire tie and the end of the mesh behind a puff. Your Christmas tree should look like this!
To spice up the plain green Christmas tree, we added
gold and
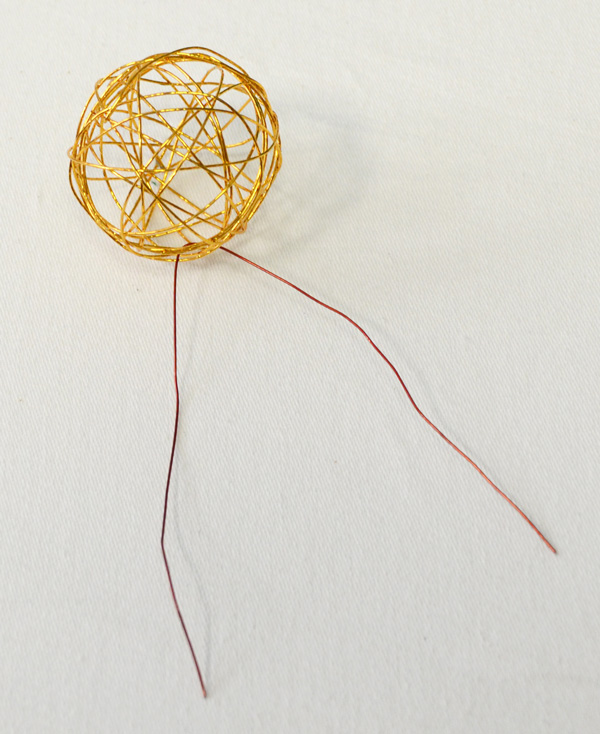
red decorative wire ball ornaments.
Click here for more colors of wire balls. To attach them, take a piece of craft wire and loop it through a section of the wire ball. Twist the craft wire and then attach the ornament to the tomato cage or mesh. You can also use hot glue to adhere ornaments that can not be wired on.
The tree was topped off with a bow made of
4" Metallic White Iridescent Ribbon. See our previous post,
Making a Bow, for directions on how to make this pretty Christmas Bow. That tutorial uses 10" wide deco mesh, but works the same for 4" wide ribbon.
 |
| Deco Mesh Christmas Tree - lights turned off |
For the full list of video tutorials on making deco mesh wreaths, garland and more,
click here.

