April 25, 2011

Masquerade Mask Cut-out Coloring Page

A new free coloring page that offers two crafts in one!  A festive coloring page that children can color, decorate and accent with glitter, sequins or feathers. And a fun Masquerade Mask craft that they can cut-out to create their very own mask. This a a great party craft for a Mardi Gras or Masquerade event.

To download the PDF file of this free Mardi Gras Masquerade Mask, click the link below:

For the entire selection of  free Mardi Gras coloring page downloads, click here:

Feel free to pass along  this free Mardi Gras Masquerade Mask coloring page, but please credit it back to Mardi Gras Outlet!


April 21, 2011

Black & Gold Masquerade Mask Centerpiece Tutorial


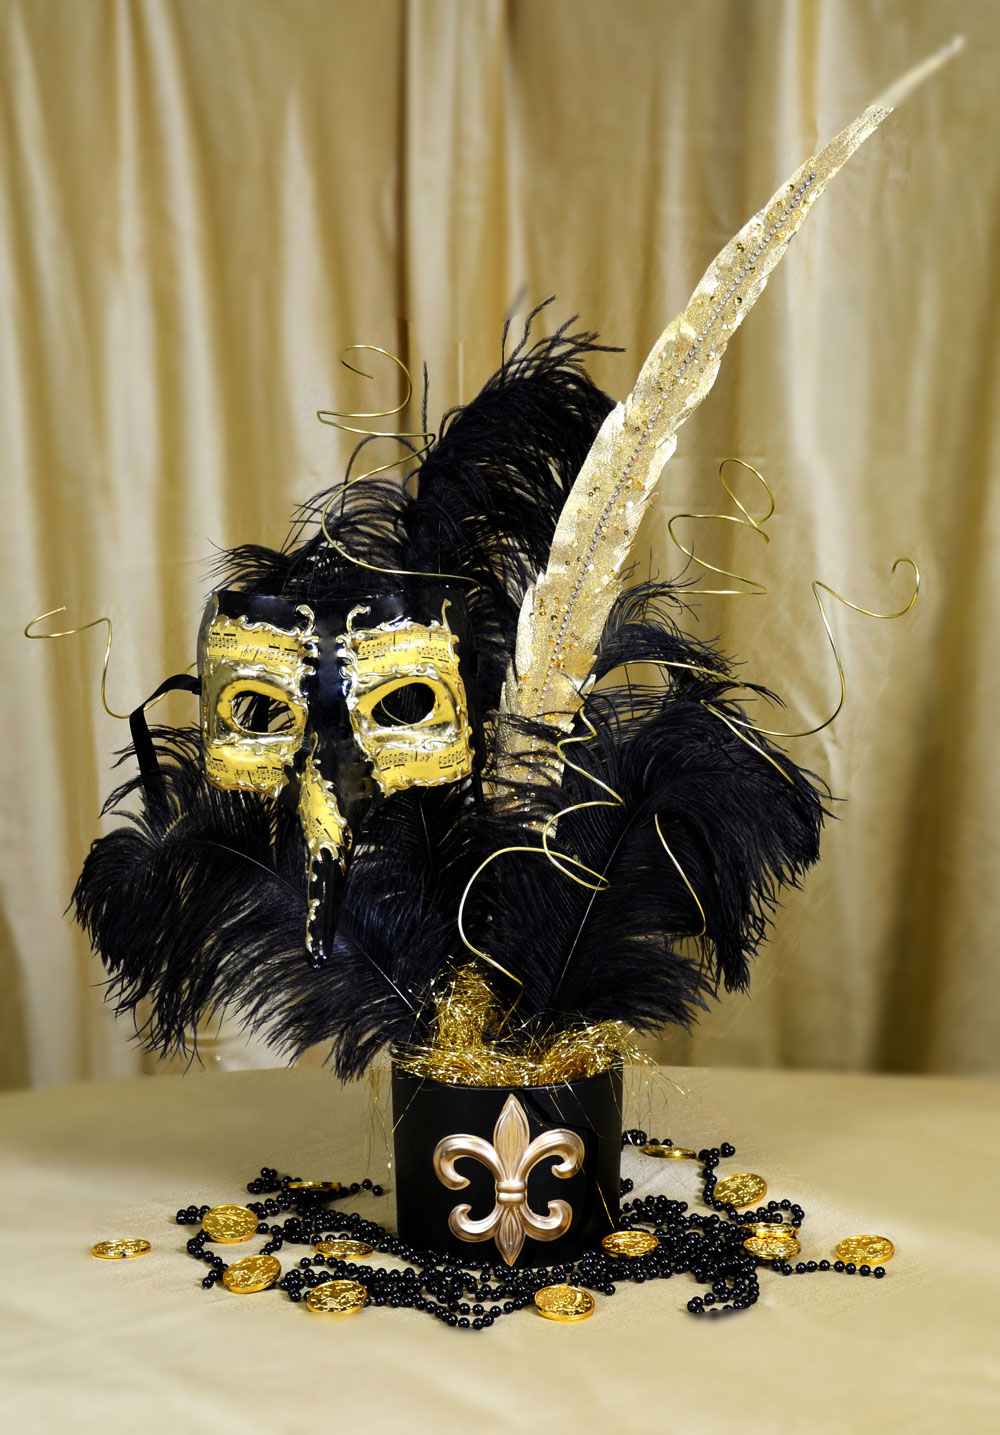
Black and Gold Masquearde Mask Centerpiece
A striking combination of sparkling gold set against dramatic black creates a perfect color scheme for an elegant Masquerade event. Masquerade parties are not just for Mardi Gras. A Masquerade theme is great for sweet sixteen or Casanova Venetian MaskLa QuinceaƱera parties, school proms or non-profit fundraisers. Masquerade parties create an opportunity to dress up and become someone else for the evening (behind a mask.)

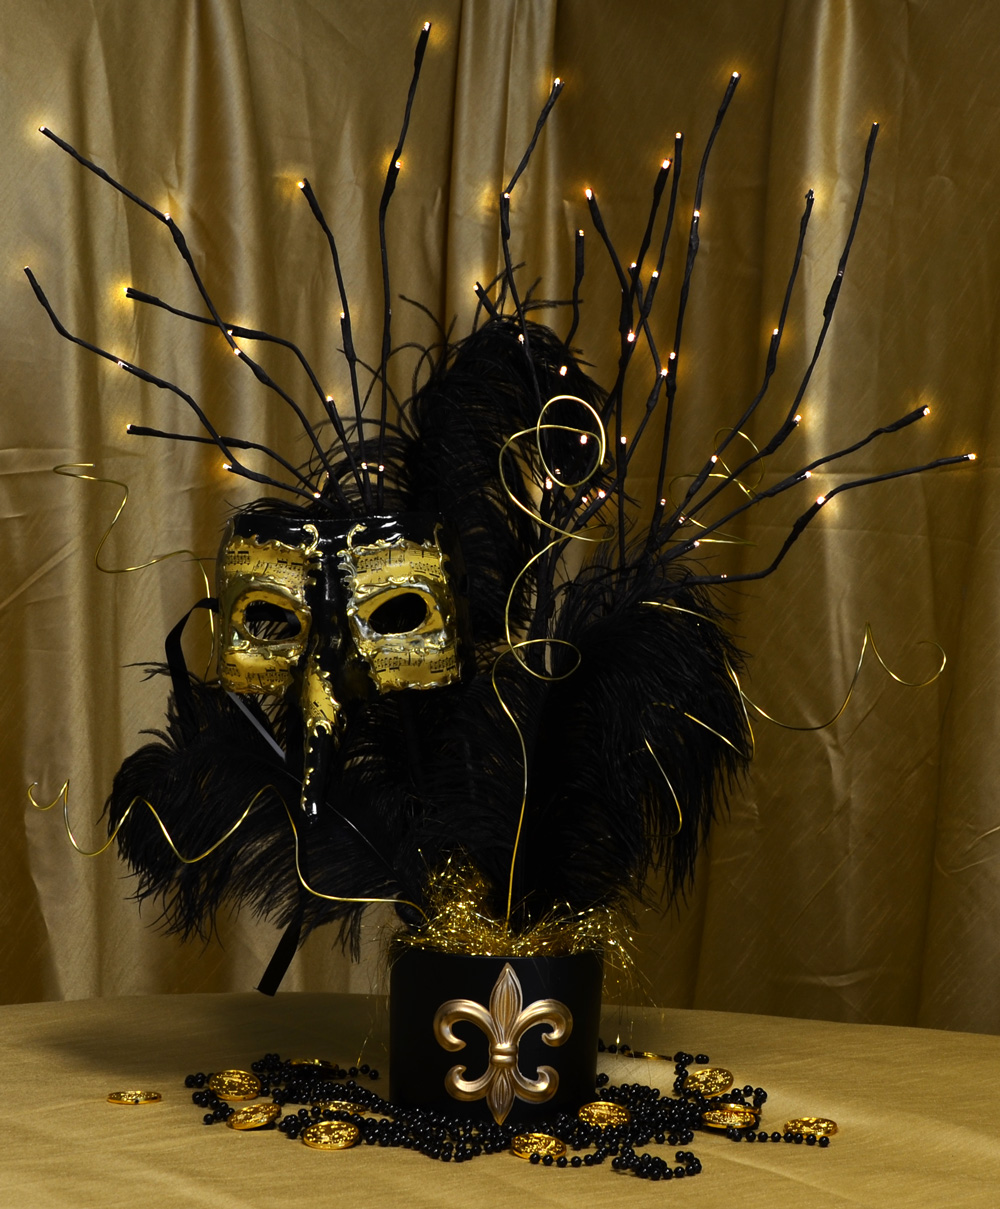
Beautiful antiqued sheet music is appliqued on the face and nose of this  Casanova Venetian Mask. The black background with raised gold leaf detail was the inspiration for the black and gold color scheme and centerpiece.

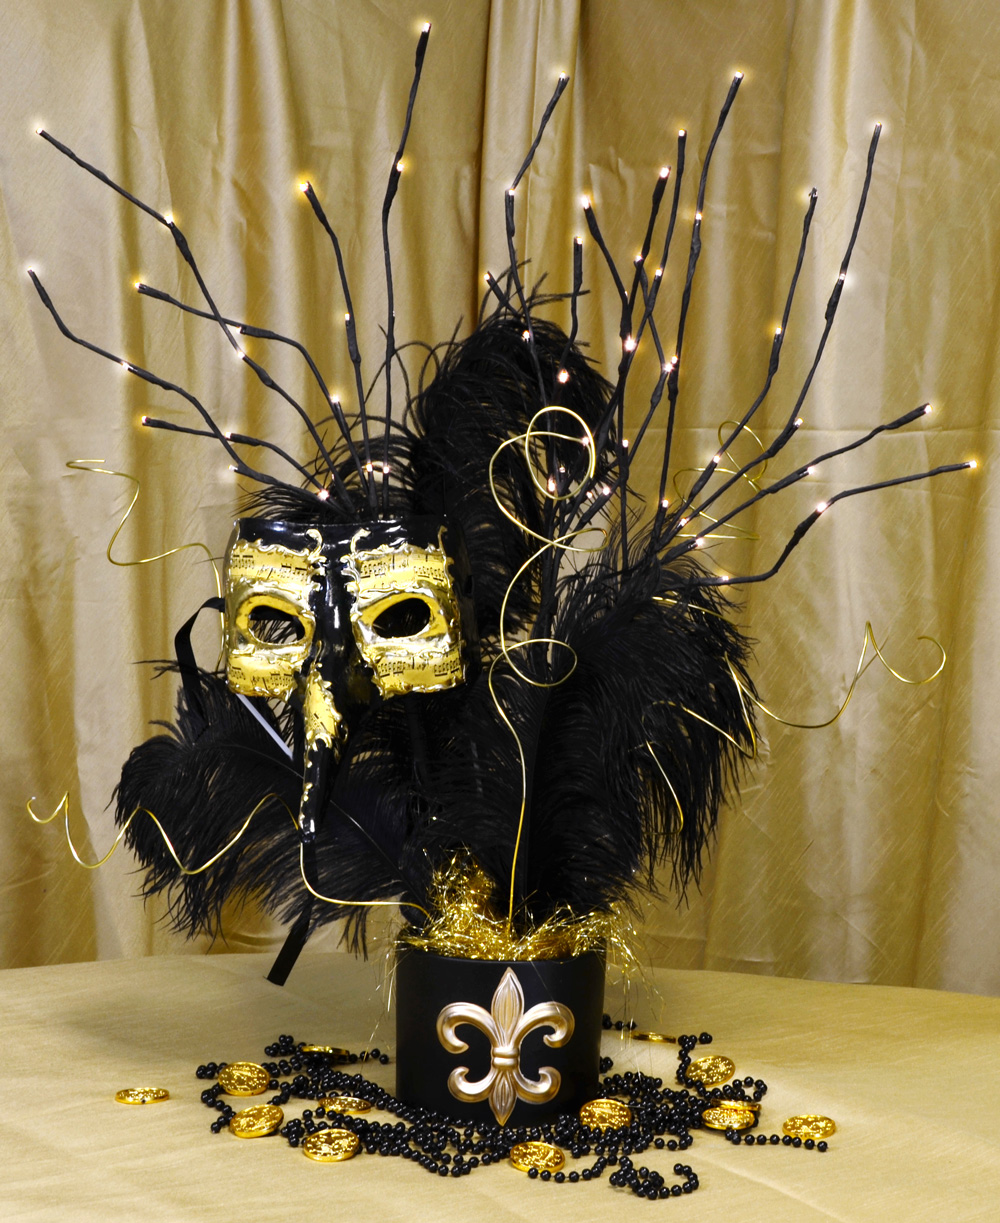
Masquearde Lighted CenterpieceSet the stage for a dramatic black and gold masquerade event, with one of these fun centerpieces. We created two different versions with the same mask . To carry out our black and gold color scheme  these centerpieces are set on tables topped with matching gold faux silk table toppers

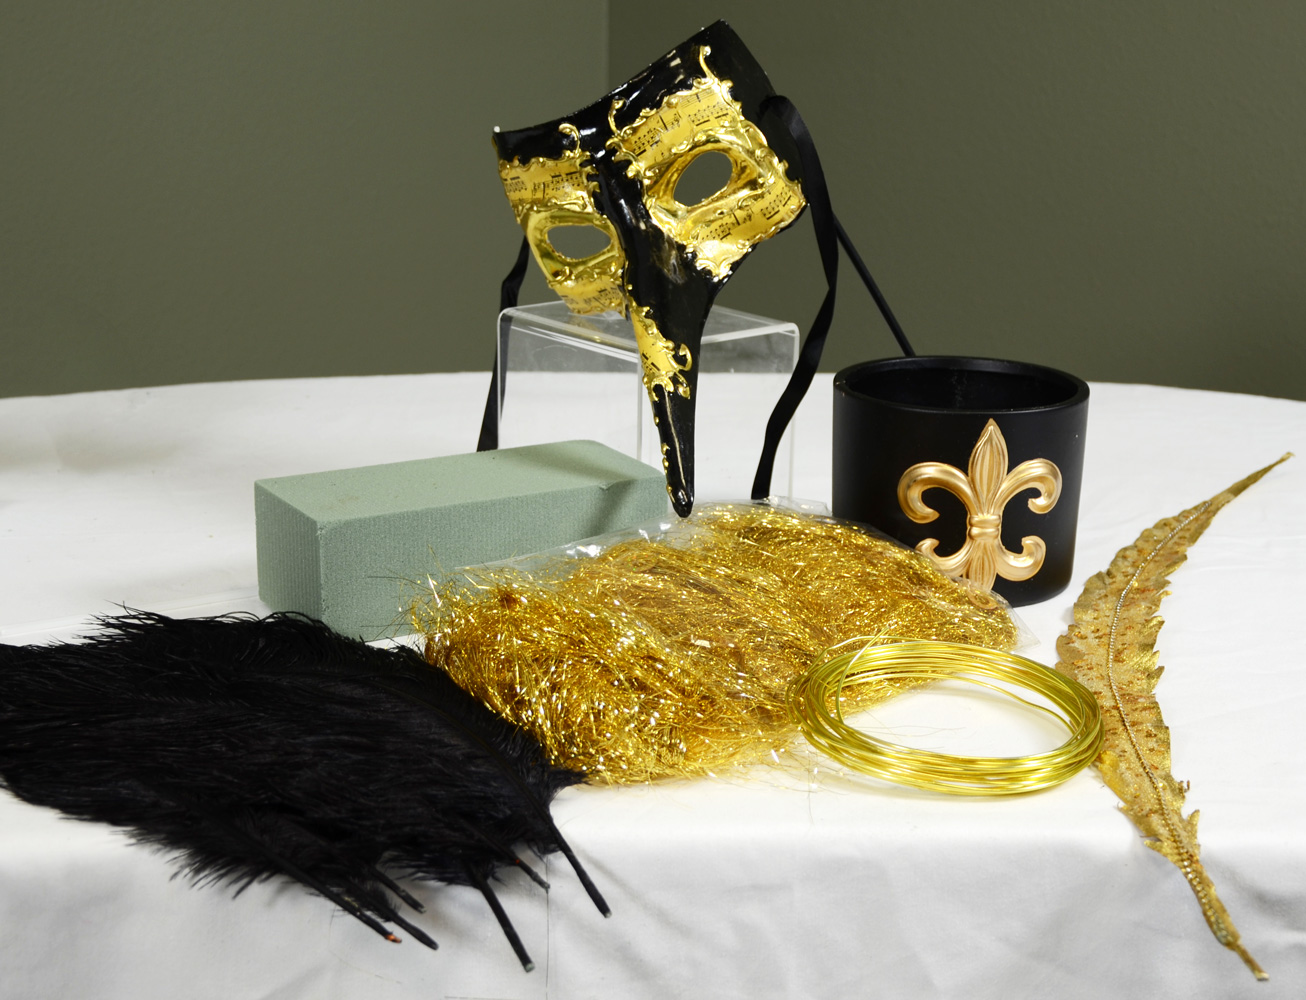
Black and Gold Mask Centerpiece Supplies
Supplies used to create this Mask Centerpiece:

Casanova Long Nose Mask-black & gold
Black and Gold Fleur de Lis Vase
Black Ostrich Plume Feathers
Gold Faux Feather Floral Pick
Gold Craft Wire
Angel Grass Shred- gold
plastic balloon sticks -(optional for added height)
sturdy wooden stick/dowel
wire cutters
hot glue (skillet or gun type)


Black and Gold Mask Centerpiece
TUTORIAL: How to create this Black and Gold Masquerade Mask Centerpiece

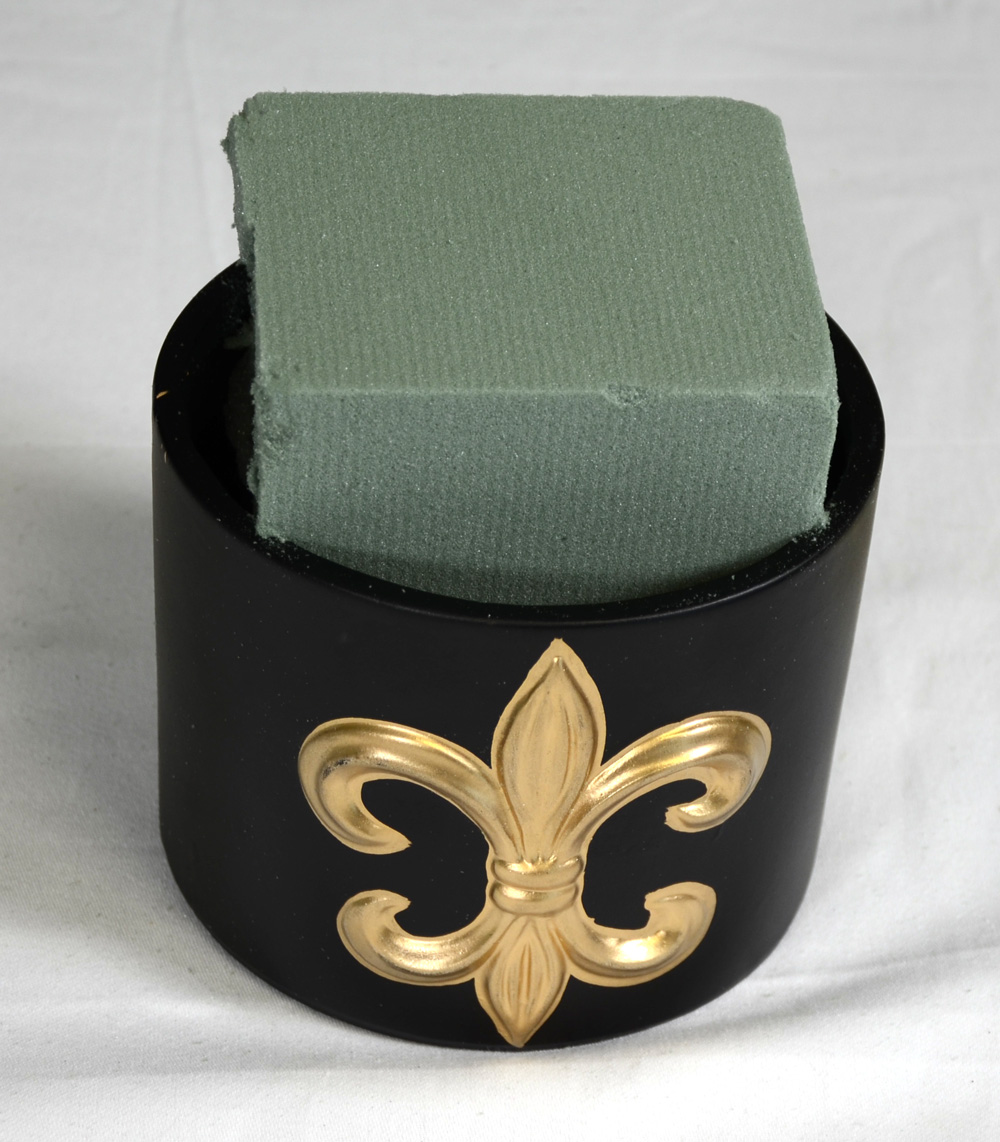
Cutting floral foam for centerpiece
Floral foam in fleur de lis vase


STEP 1: Start with the black and gold vase that features a gold Fleur de Lis. To anchor the centerpieces, use standard green floral foam (the type for dry arrangements not wet). Cut the foam rectangle down to a size that will fit in this round Fleur de lis vase.  Insert foam into the vase. Push it down until the foam is level with the top of the vase. It should fit snugly in the vase.


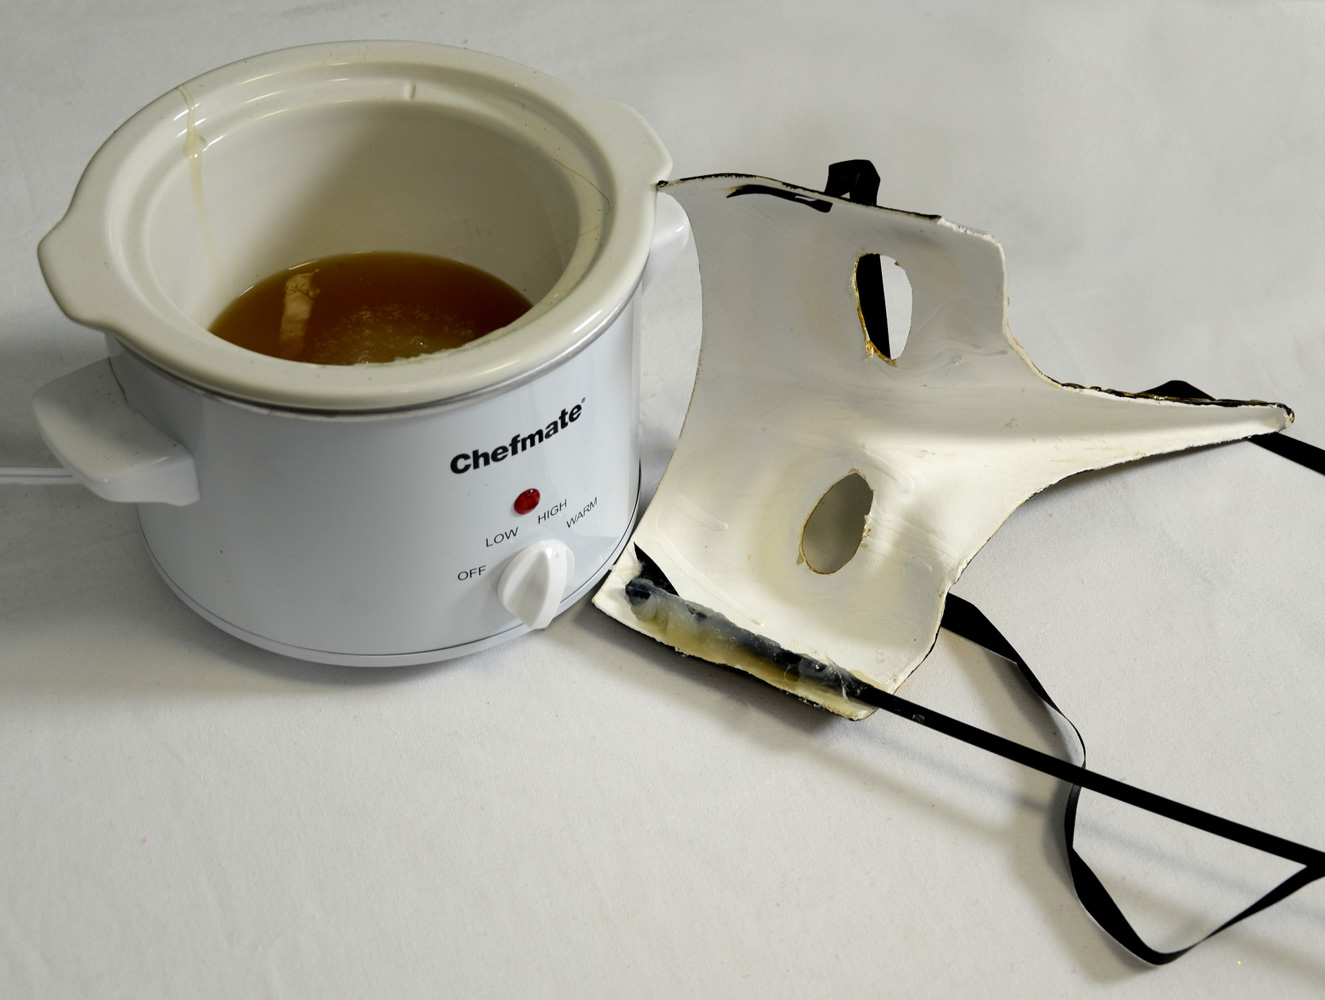
 Glue stick on Venetian Mask
STEP 2: Glue a wooden stick or dowel onto the mask on the left side on the back of the Casanova mask. Hot Melt glue that is heated in a inexpensive crock pot makes craft projects easy and hands free. Simply dip the item you want to glue (the stick) into the melted glue and then attach the stick to the paper mache mask. Let the glue dry completely before picking up the mask.

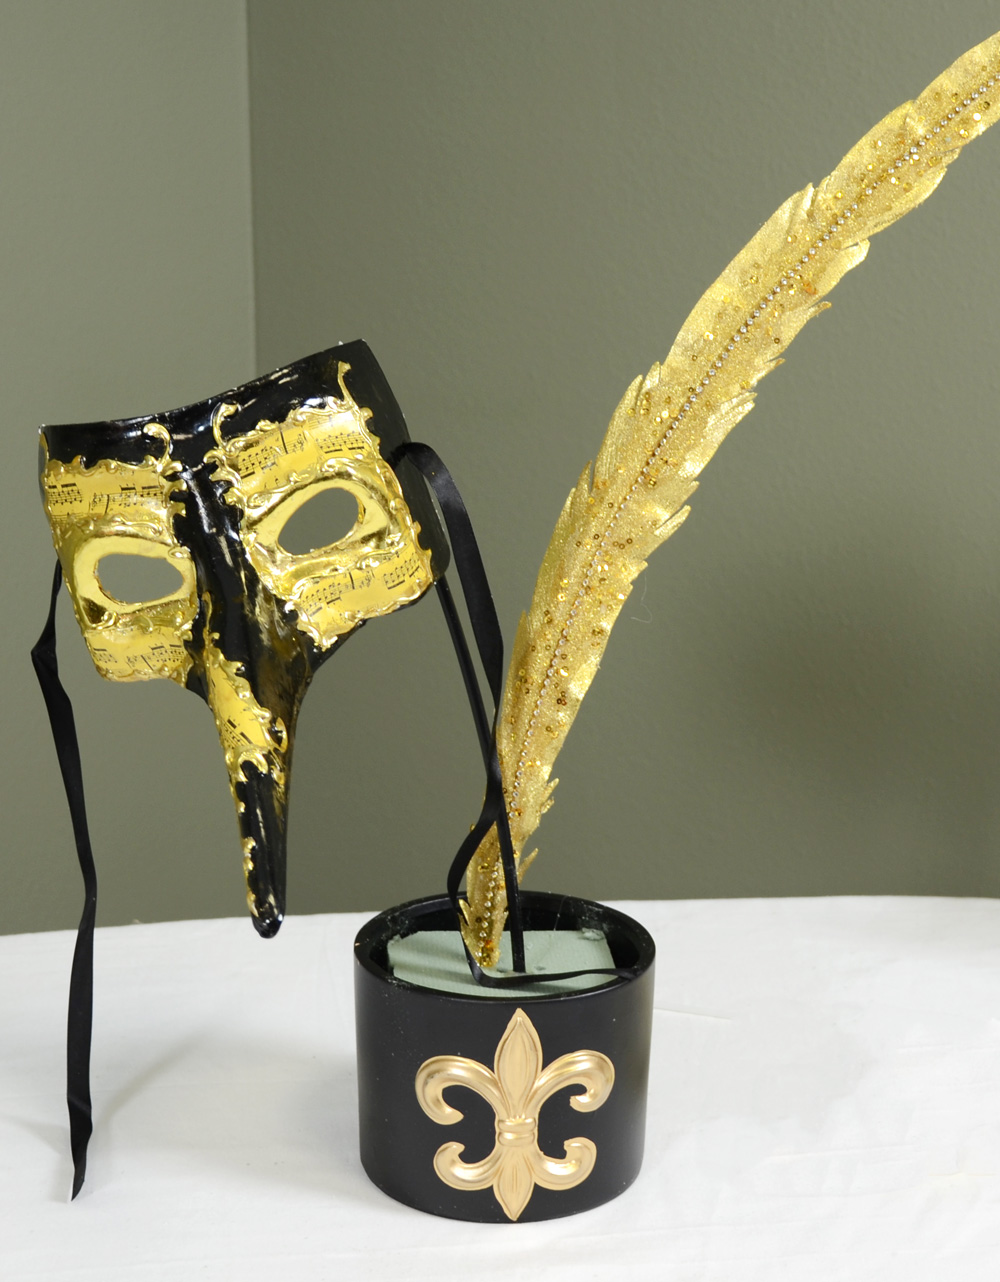
Insert floral picks into foam
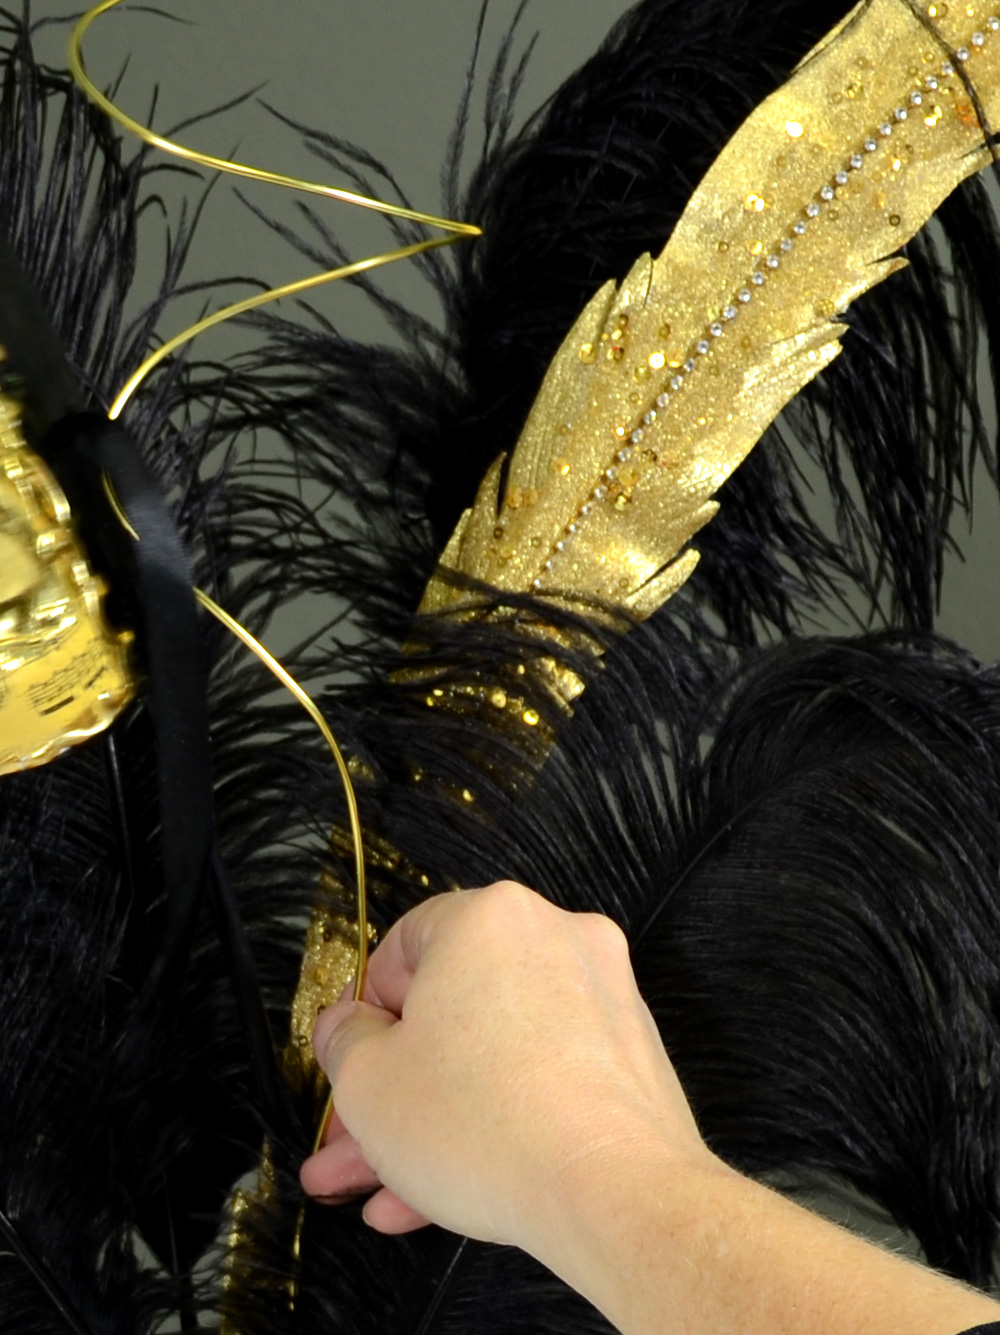
STEP 3: Insert the stick on the Casanova mask into the floral foam. On the opposite side of the foam, insert the wire of the gold feather floral spray . The wire on the gold floral spray may need to be cut down to achieve this preferred height.

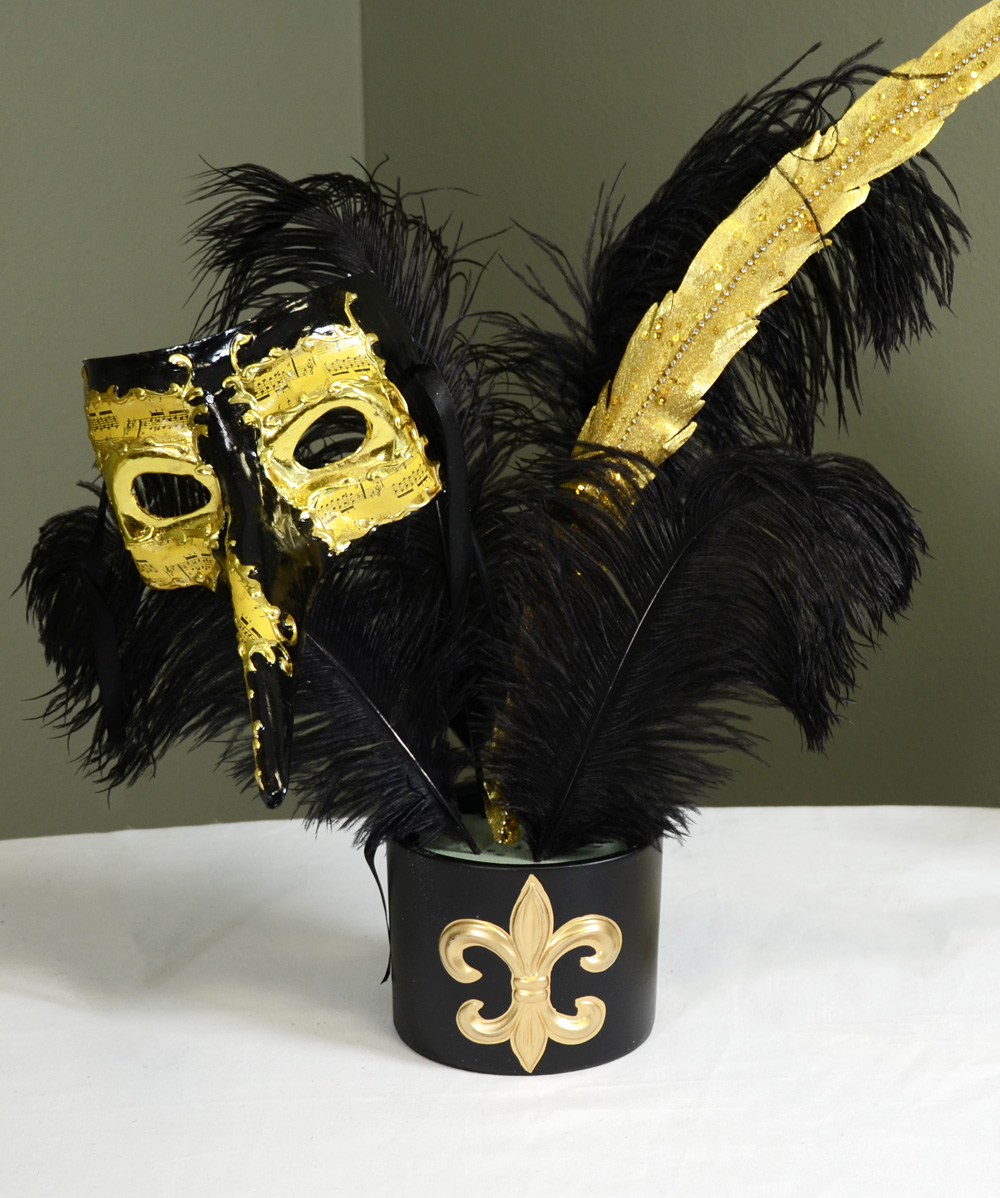
 Add black feather plumes

STEP 4: Add in the black plume feathers. Layer the feathers in the front, sides and back of the centerpiece.
This arrangement features 6 feathers that are 14-16" tall.

 Adding height to feather plumes

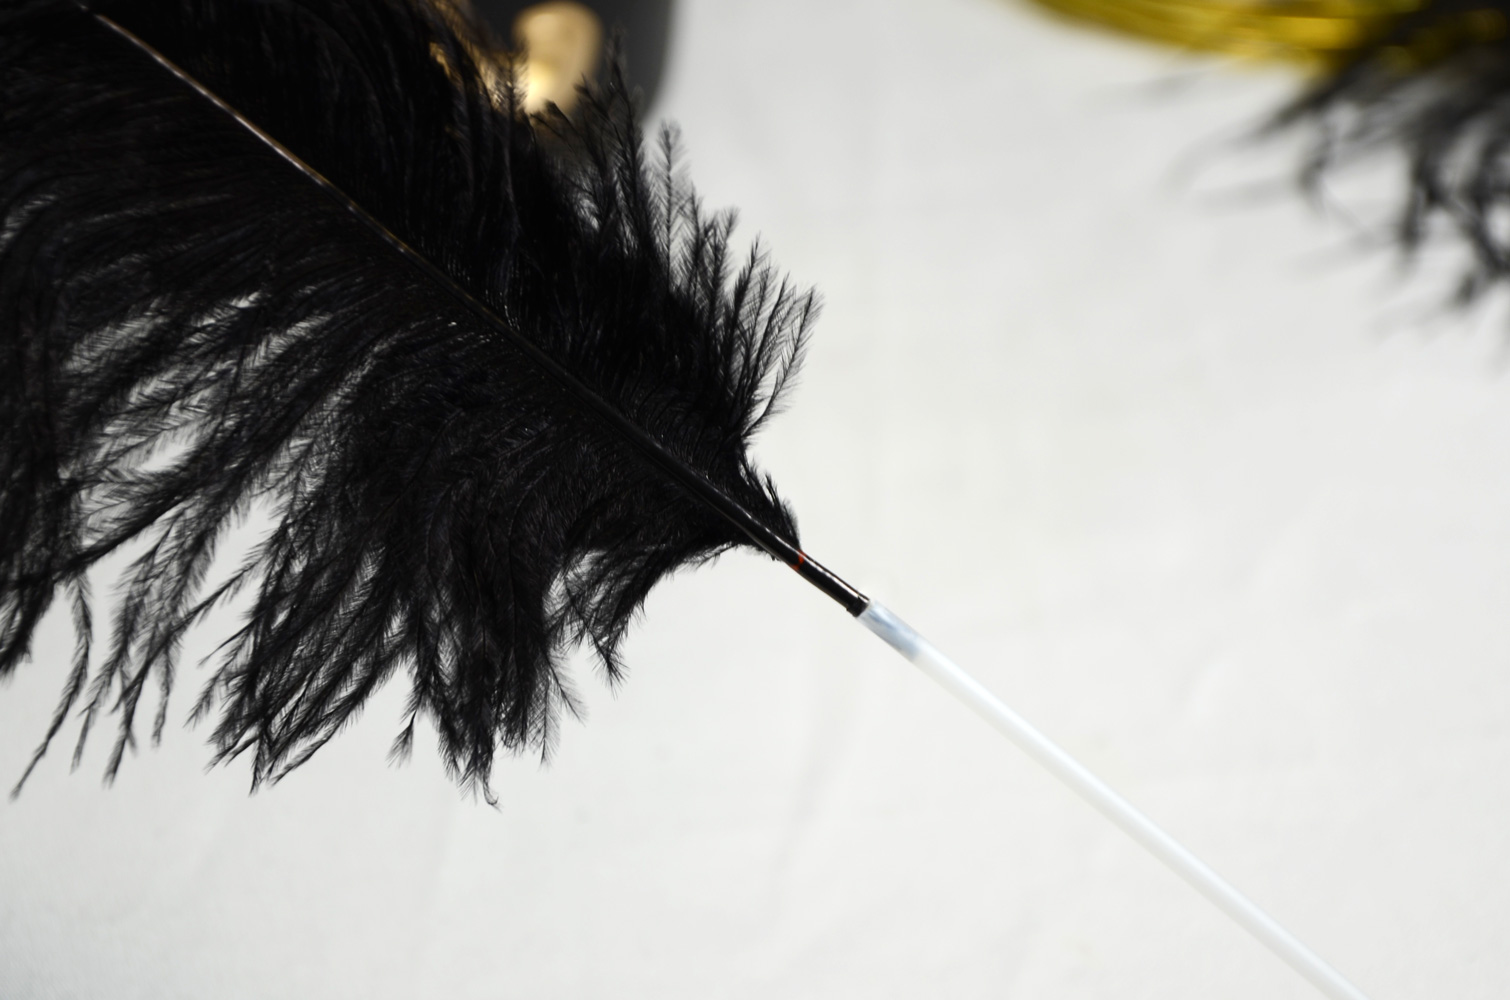
To add some additional height to the plumes, a small plastic balloon stick is used. These balloon sticks are hollow. Glue the quill end of the feather into the center of the plastic stick as shown here. This addition of the plastic balloon stick will give the feather another 12" of height.

Another option would be to wire/glue the feather onto an extra length of  floral wire.


 Gold craft wire curls
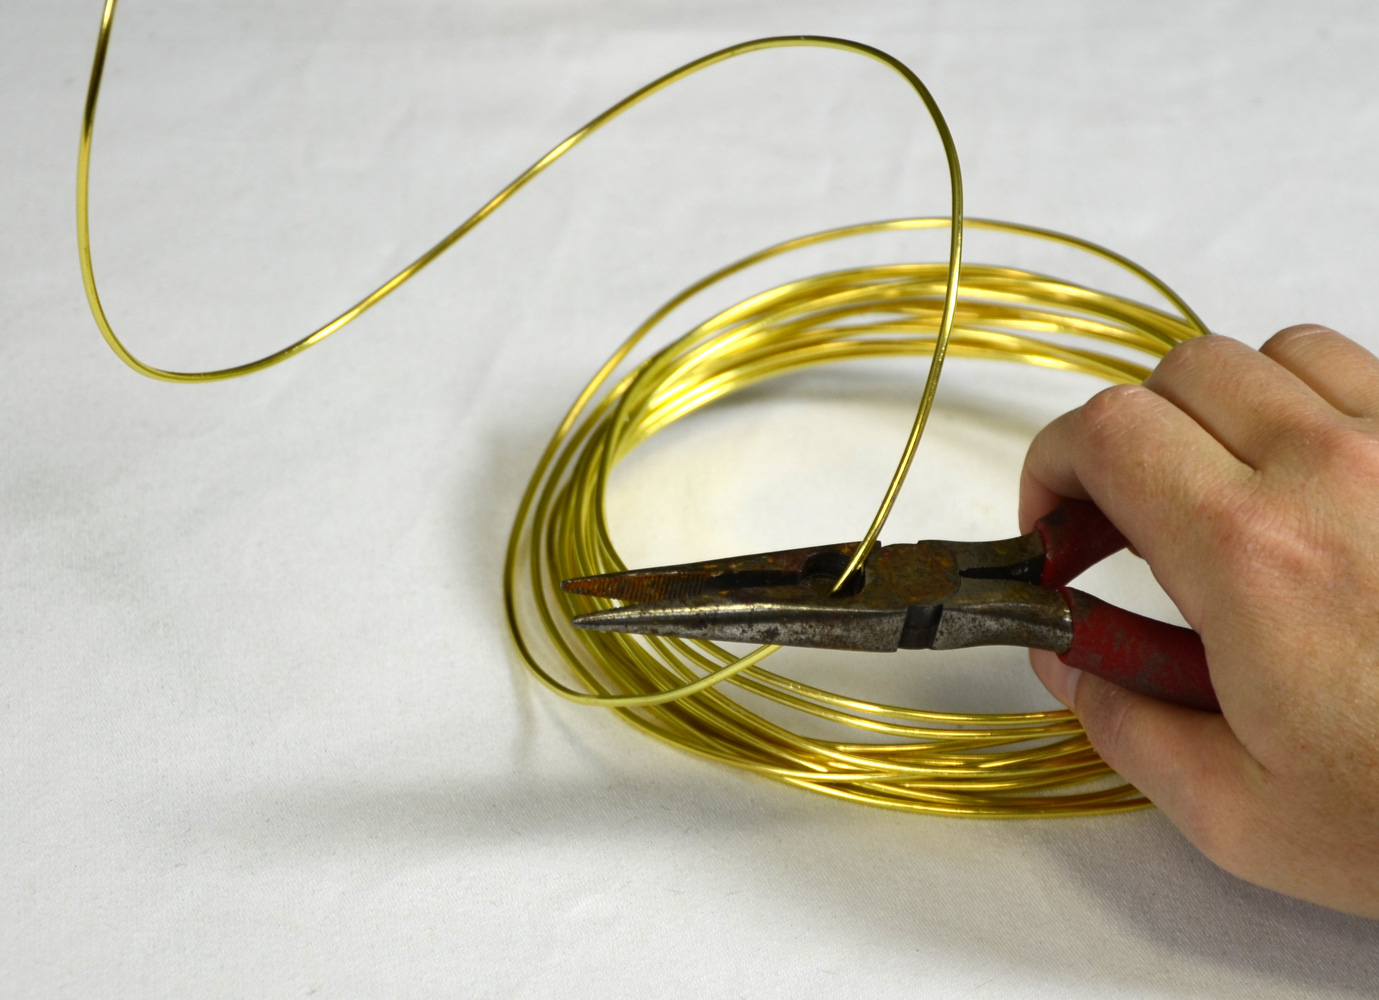
STEP 5:  Create metal curl picks out of the gold craft wire. Cut a length of the gold craft wire approximately 2 feet long. This craft wire is easy to cut and shape. Create fun curl shapes with the craft wire, leaving one end straight so it can be inserted into the floral foam. You can form this craft wire into any shape you prefer.

Insert gold wire curls into Mask Centerpiece
Insert the wire curl into the floral foam. Repeat this process for each curl. This centerpiece features 5 wire curls.

 Gold Shred on top of vase
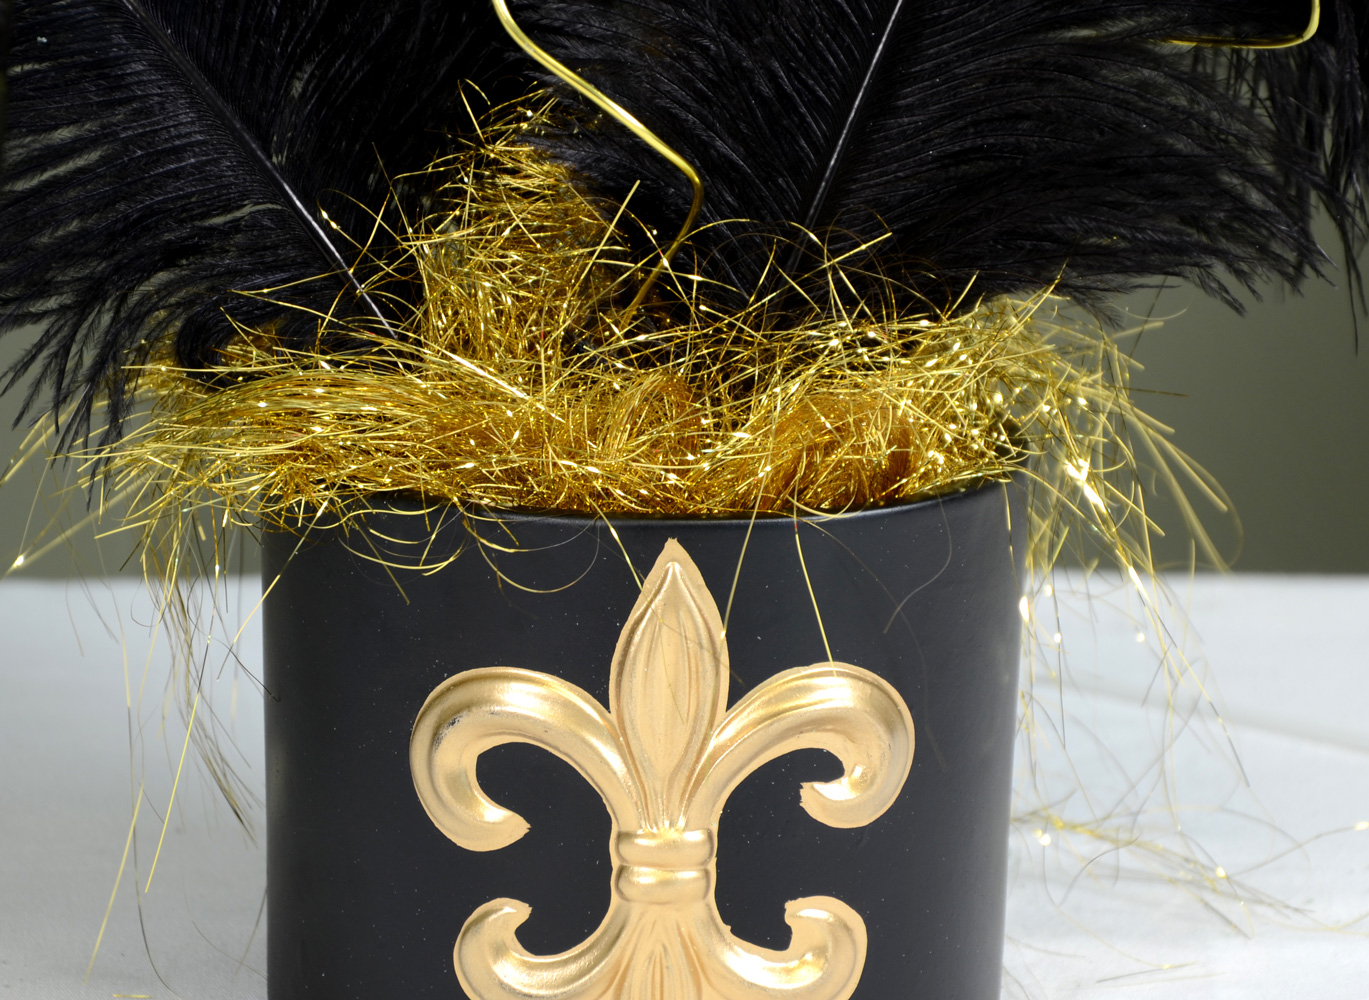
STEP 6: Finish off the top of the vase with gold shredded angel hair grass. This shred covers the green foam and adds another touch of metallic gold sparkle to the arrangement.

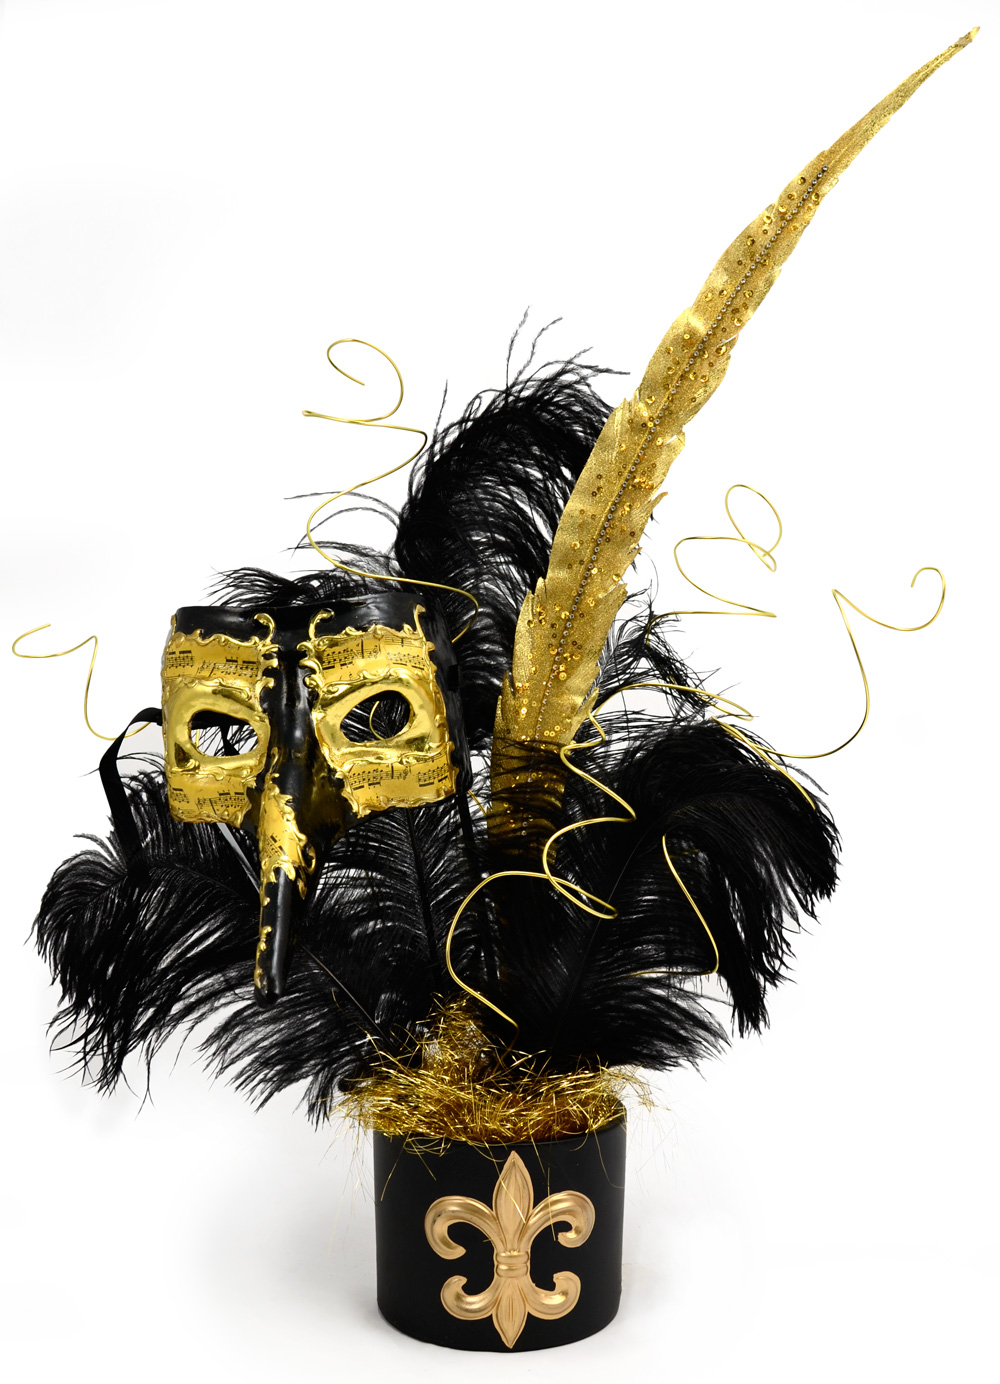
Completed Mask Arrangement

The complete Masquerade Mask arrangement

A second variation of this arrangement:

 Alternate Lighted Mask Arrangement
The gold feather floral pick has been replaced with three lighted LED branches. These battery operated illuminated branches add a natural element to the centerpiece and add mood lighting to your table scape.


LAST STEP: Finish off your table scape by placing a  square gold table topper over plain black table linens.

 Complete the tablescape with linens and beads
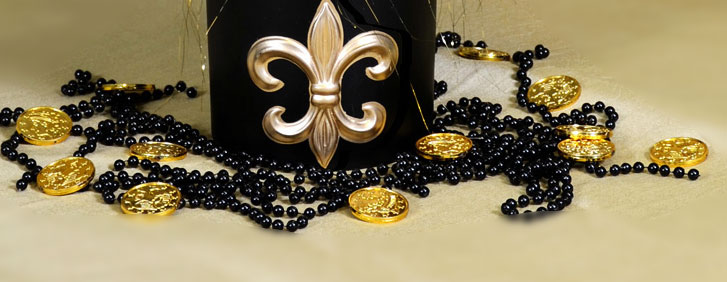
Table confetti of plastic gold coins and black bead necklaces add the finishing touch to the black and gold theme.
 Jeweled Jester Mask

For other masquerade masks options, see the entire selection of Masks.

We have even more party decorating ideas using masks:
Custom Mardi Gras Mask Centerpiece
Mardi Gras Wreath Ideas
Submersible Lights, Mask and Flowers Arrangement


 Apricot Phantom Stick Mask


April 19, 2011

Crawfish Boil Hand Soap- a seafood boil essential

crawfish boil hand soap
When spring arrives crawfish boils are a favorite pass-time for people in Louisiana. As soon as the weather permits, the seafood feast begins. The only problem this creates is how to get the smell and spices off your hands once you're finished peeling.

There are many old wives tales for cleaning smelly hands after peeling seafood at a crawfish, crab or shrimp boil.  We will try anything: lemon wedges, crushed crackers, tomato juice or toothpaste! 

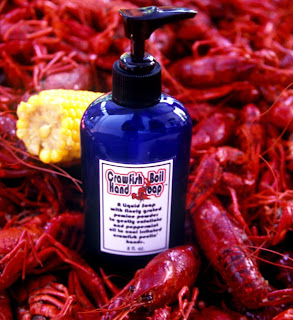
Now we have a new option that really WORKS! Crawfish boil soap is a premium liquid hand soap that incorporates finely grated pumice stone and peppermint oil. This soap not only cleans your hands, but soothes irritated crawfish peeling hands. It works well for crab or shrimp boils as well.

 
The original Crawfish Boil Hand Soap is created in Shreveport, Louisiana by a company that specializes in handmade cosmetics and gourmet spa products.
 
Crawfish Boil hand soap in action
This liquid soap gets stinky crawfish and spicy seasonings off  your hands and much more! This product actually removes dirt, odors, grease (you name it) and is gentle enough to use every time you wash your hands. It's also highly concentrated, so a little goes a long way.  Keep a bottle in your kitchen for onion and garlic hands, in your workshop for greasy hands, and one by the water hose for when you clean your catch!
 
The Crawfish Boil Hand Soap comes in a pretty blue bottle with easy pump dispenser. (8 fl. ounces per bottle)
 
Looking for a unique gift for the crawfish boil host/hostess? Bring Crawfish boil Hand Soap and their guests will love you for it!
To purchase Crawfish Boil Hand soap, click here!

Let the good times BOIL!

April 5, 2011

Draped Deco Poly Mesh Ceiling Tutorial


In the blog post "Draped ceiling transforms gym from drab to dramatic", brightly colored poly deco mesh and twinkling white lights were used to create a dramatic ceiling for a large space. This false ceiling helped to transform a plain school gym into an extraordinary space for a special event. After a few requests for more specific directions, I am posting the tutorial here. Sorry it took so long to get the specifics into a post.

Here are some basic descriptions of how we created this fun draped ceiling. I also included answers to some of the question we received.  Please feel free to comment with additional questions if the description or instructions are not clear.

How much poly deco mesh will you need for the draped ceiling?

The false ceiling is created with 21" wide rolls of poly deco mesh and strands of white lights. A roll of deco poly mesh is 10 yards(30 feet) long.  The quantity of lights and deco poly mesh that you will need is largely dependant on your particular event and location. It will depend on the size of the space you want to cover  and how many rows of lights and deco mesh you want to install.

In past projects, like the one pictured below, a false ceiling was created but on a smaller scale. In both versions pictured here the false ceiling extends out 10 yards or 30 feet (1 roll of deco poly mesh) on each side making it 60 feet wide total. 

 This event was the first time that the false ceiling was created in the gym. Here they used 4 rows of deco poly mesh and lights down each side (8 rolls total). 

For this event, twice as many deco mesh rolls, 8 rolls per side (16 total) and lights were used. The effect is more dramatic, but more work.

So the basic supplies you will need largely depends on the look you want to achieve and the space you want to cover. If you use the method described here, the draped ceiling will always be approximately 60 feet wide, but how far front to back you want to cover, largely depends on you.

The basic wire rigging

The rigging for the drape was basic steel cable. The one pictured here  is from Ace Hardware . Your local hardware store sells this and usually you can purchase it by the foot. I would recommend getting some assistance at the hardware store with a recommended  cable weight depending on the length and weight your cable needs to hold. The mesh and lights are not heavy, but better safe than sorry.  We ran three cables the length of the gym so you will need enough cable for your gym length x 3 (for the three cables) plus extra length for hoisting. We used clamps (will need 6 total) on the ends to secure the three cables into eye bolts (6 total) that were anchored in the walls.

One cable ran higher in the center. Two lower cables ran on each side. Each of these wires was approximately 28-30 feet out from the center. Make sure to anchor the eye bolts very well into the wall. Our bolts were cemented into the wall days in advance to make sure they were very secure.

For some great photos and tips on wire cable, clamps and eye bolts see this blog post, My friend wire rope on Modern in MN.

The set up:

We laid out the 3 cables down the gym floor below where they would be raised. The cables ran the length of the gym (in the center and two sides). Leave extra length on each end of the cables so you will be able to hoist it up once it is done. 

The deco mesh comes in 10 yard rolls that are rolled on a small cardboard tube. The dimensions of our gym enabled us to use one deco mesh roll per side of the drape (10 yards.) The deco mesh is loosely attached to a cardboard roll on the end (reinforce this with added glue).  We glued another tube to the beginning of the roll. You could use small PVC pipe or mailing tubes.   So now each roll of deco mesh has two rolls attached, one a the beginning and one at the end (like a scroll). We used these pipes/rolls to attach the deco mesh to the wire by threading the cardboard tubes along the center wire. Alternate deco mesh  going toward one side and the next one running toward the other side. Use as many rolls of deco mesh as you want to achieve your desired result of covering the ceiling (see photos above).

After the tubes were threaded on the center wire we threaded the other ends/sides onto the side wires. This is all done while the wire is on the floor.

Next we added the white twinkle lights. We used standard white Christmas tree style lights that ran the length of the deco mesh. We used one long piece (can be multiple strands connected) to run from one side of the wire, up and over the center wire and back down to the other end. Continue laying out the lights like this across the length of the wires. Once everything is hoisted up, you will need to run extension cords to light these so keep this in mind. Make sure you have access to electrical outlets. Be careful to string only the recommended number of lights together or you will blow the fuses on the strands (a problem we had the first year).  Using LED lights will also alleviate this problem.

Please NOTE: Before you finish and hoist the lines up, make sure to test the lights. It is a lot easier to fix problems on the floor than when the lights are in the air.

With everything in place and still on the floor, use zip ties, wire or something comparable to secure the cardboard tubes and light strands in place on the wire. This keeps the tubes and lights from sliding or bunch when you hoist the wire line into the air.

Once all this was complete, we threaded the ends of the wire cable through the eye bolts secured in the wall and hoisted up the wire to the height we wanted. With a little man power the cables were held in place and the ends secured with a clamp. We hoisted the two lower sides, then the taller center. You may need a tall extension ladder to get up high enough to elevate your center line.

Arrange the extension cords for your lights, taping down any cords that may be a tripping hazard. One of our side wire lines ran the length of the bleachers so we hid the extension cords along the bleachers.

Once the ceiling was hoisted up we added hanging deco mesh balls. These were simply tied from the deco mesh and center line with clear fishing line. For the tutorial on creating these, see Festive Hanging Pom Pom Puffs

An added bonus: the poly mesh decorations and wire rigging can be used again for other events. We saved ours after the event and plan to use it again in the future.

 
With about $100 worth of poly deco mesh rolls, you can create this fun false ceiling for any event. This inexpensive draped ceiling treatment would be the perfect for a school prom or dance. It creates a big impact with a small budget.

I hope this tutorial was helpful and answered some of the questions. Feel free to post additional questions here and we will try to answer them.
 
Good luck with your project!

LinkWithin

Related Posts with Thumbnails