Pages

September 29, 2011

Christmas Wreath with Deco Mesh: A Video Tutorial

Dreaming about your Christmas color scheme for the year? Pops of lime green against bright red offer a modern color variation on the traditional red and green.  This lime green and red Christmas wreath video tutorial is the 3rd in the Christmas series of informative video tutorials using this modern color scheme. Our poly deco mesh video tutorial guides you through the easy steps to create this festive red, lime green and gold wreath. In less than 15 minutes, you can create you own designer wreath for less than designer prices.


Additional video tutorials for coordinating products like these can be found here:
Christmas tree wall cone or garland

For this wreath, you will need these supplies that you can purchase at MardiGrasOutlet.com.

Here is the video tutorial:


What is Deco Mesh?
 Deco mesh is a synthetic sinamay mesh product that is both resilient and water resistant. It comes on rolls of varying widths-from 2.5" to 21" wide. This mesh works beautiful outdoors so it is the perfect product for creating wreaths and garland. For all the available styles of deco mesh rolls, click here

What are Work Products?
Work products are a line of forms in different shapes used to create custom wreaths, trees or balls. The form is basically a wire base with added tinsel wire ties. The ties are used to attach garland or ribbon. While the work forms work very well with deco mesh, you do not have to use mesh. Fabric, ribbon or fresh greenery would all work in the forms. To see all the sizes and shapes of forms, see here

To view our complete list of our video tutorials,
visit the Mardi Gras Outlet Channel on


September 27, 2011

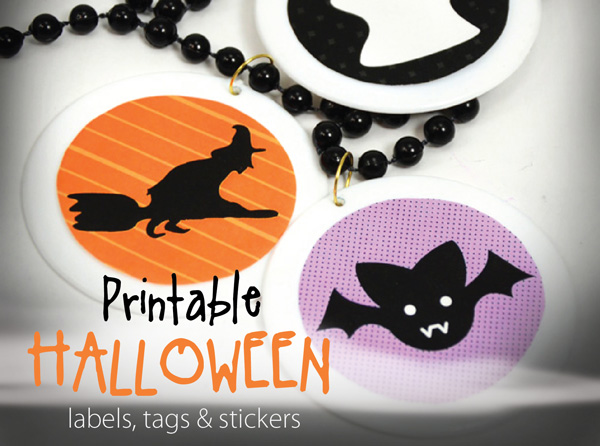
Free Printable Halloween Tags and Stickers

Free Halloween Designs

Witches, bats and ghosts...oh my! It must be time for Halloween.

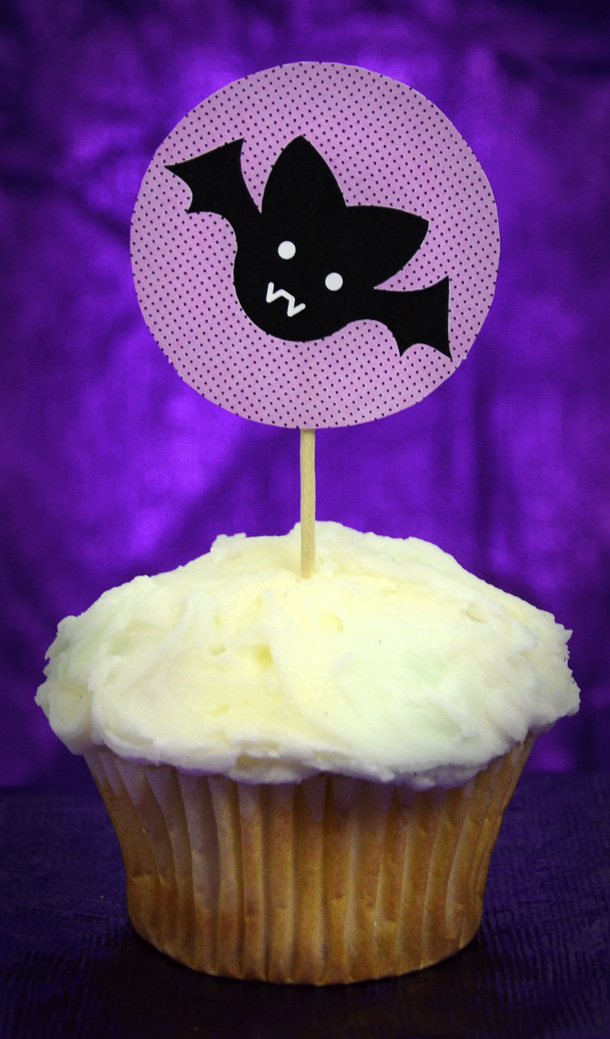
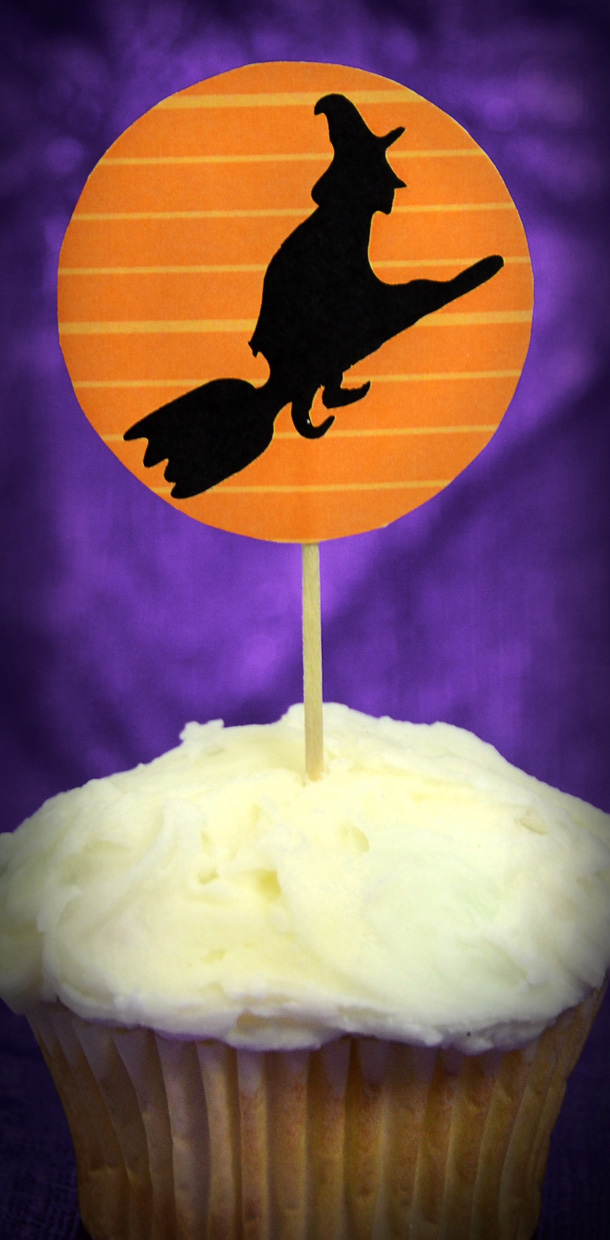
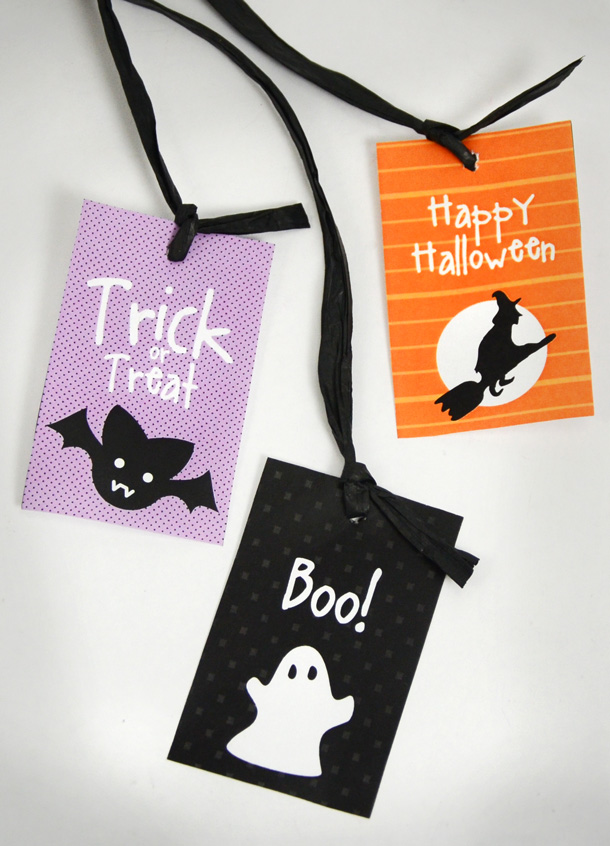
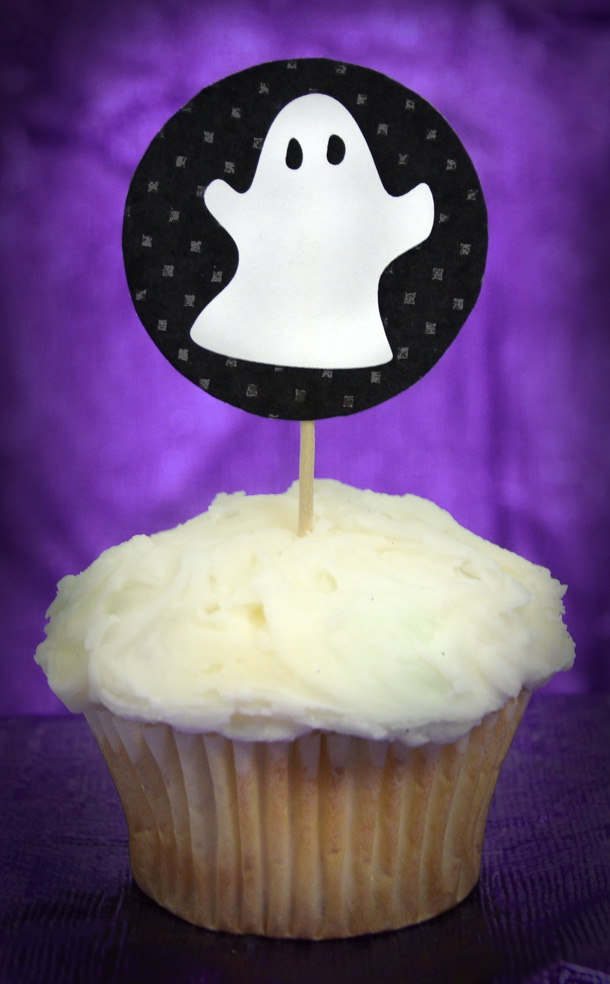
Create one-of-a-kind favors, treats or Halloween beads with our free Halloween printable designs. Print these cute labels at home to create your own unique party favors. Our Halloween designs are pictured below on cupcakes, party beads and gift tags, but the possibilities are endless.  Use the designs on paper cups, water bottles or labels.
Halloween stickers PDF fileHalloween tags PDF file
Download the free printables by clicking the links (above or at the bottom of the post) to PDF files with our exclusive bat, ghost and flying witch designs in round or rectangular tags.

Print these designs onto 8 1/2 x 11 inch card-stock or sticker paper to create your unique party goods.

Halloween Cupcake Topper Printable BatHalloween Cupcake Topper Printable Witch

Print the round designs on sticker paper. Use a 2-inch craft circle cutter or scissors to cut out each circle. Stick two stickers back to back over a toothpick to make these cute, spooky cupcake toppers.

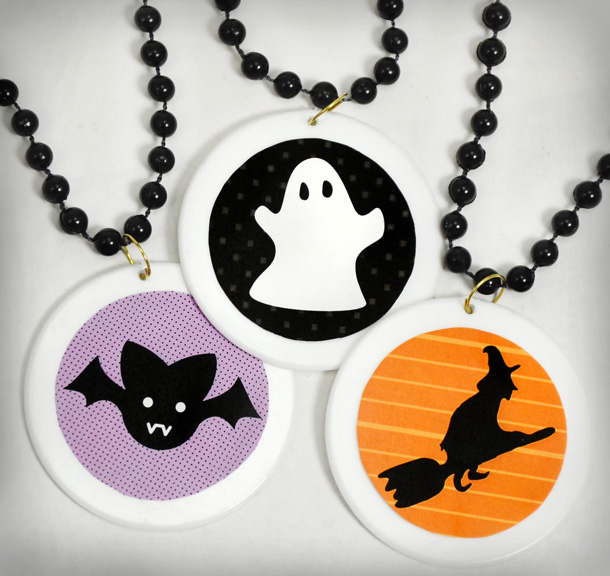
Custom Halloween beads

Custom Halloween party beads!
These Halloween beads make great party favors or special treats to hand out to trick-or-treaters instead of candy! To create these Halloween beads, round stickers are added to plain blank discs that hang on strands of black beads. These blank discs are available in a variety of colors and bead styles. Simply add your design to the disc for easy, inexpensive custom Halloween beads.
 For styles and colors of blank disc beads, click here.

Halloween printable tags

Attach the rectangular tags with ribbon to bagged candy, party favors and gifts. Use a hole punch at the top of the rectangular tags and thread each with black ribbon or twine.

Download the free printables by clicking the links below.
You will need a PDF reader to open the file.

Halloween cupcake design

Enjoy and Happy Halloween!


Update:
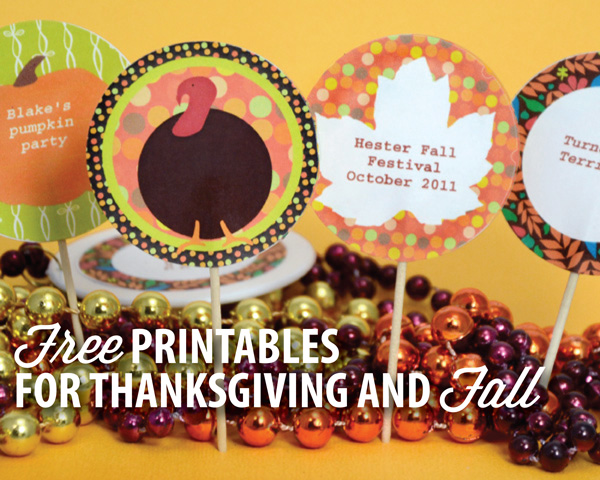
We have even more Free Printables! Check out our turkey, fall leaf and pumpkin graphics.


September 22, 2011

Creative Uses for Mardi Gras Stickers

Creative ways to use Mardi Gras Sticker

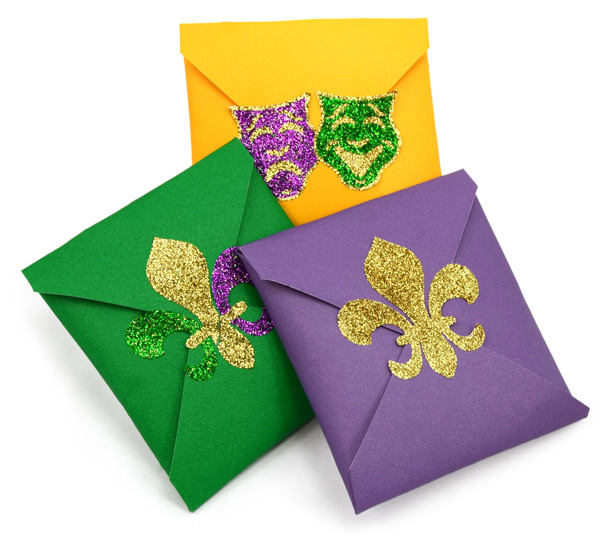
Mardi Gras StickersLooking for creative ways to customize your decor or event with a Mardi Gras or Louisiana theme? These new glitter stickers are the perfect way to jazz up almost anything. We're using fleur de lis and drama mask stickers, but you can use these same ideas for other types of themed stickers as well.


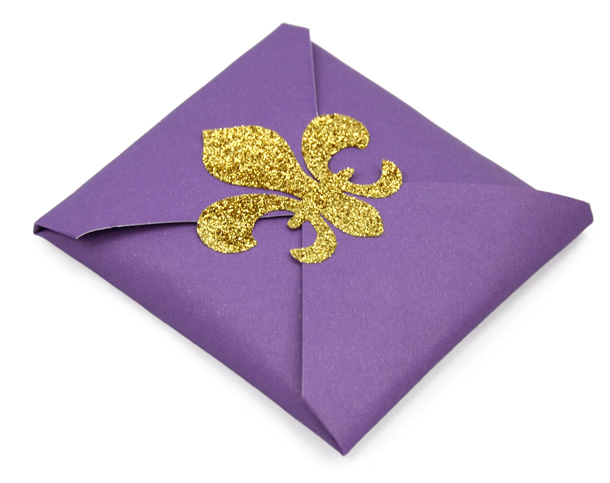
 Praline wrap with fleur de lis stickerPraline wrap!
You can also use stickers to wrap and seal small treats like pralines, candy and cookies (like fleur de lis shaped sugar cookies). To the left is cute gift wrap idea that uses card stock and a gold fleur de lis sticker.

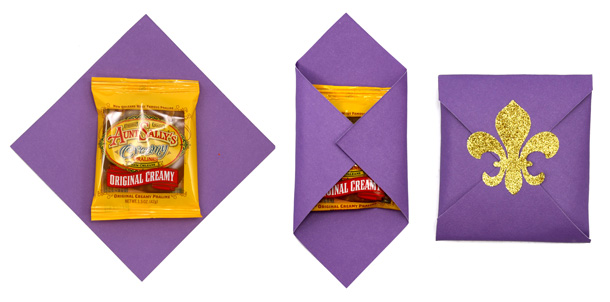
This only takes a few minutes! Cut a square of paper and place the praline in the center. Bring the corners from both to the center. Then bring the bottom and top corners to the center, and seal it with the sticker.
How to create a praline wrap
Decorate!
Glitter stickers add Mardi Gras flair to plain candle votives or vases. These clear purple vases  are the perfect base for centerpieces, but can also be used as candle holders.
Mardi Gras Stickers on vases
Gift Wrap!
Stickers can embellish gift bags, party favors or treat bags. Pictured below  are some Mardi Gras colored cello bags that have an extra sparkle from the glitter stickers.

Fleur de lis stickers on treat bags

Here are some more sticker ideas: Customize place cards, invitations and stationary; decorate disposable tableware such as napkins and cups; or add onto notebooks, folders and lunch boxes  for easy identification and extra fun.
Add the stickers to plain candles
But most of all, have fun and be creative!

You can find the all products shown here at Mardi Gras Outlet.com

September 19, 2011

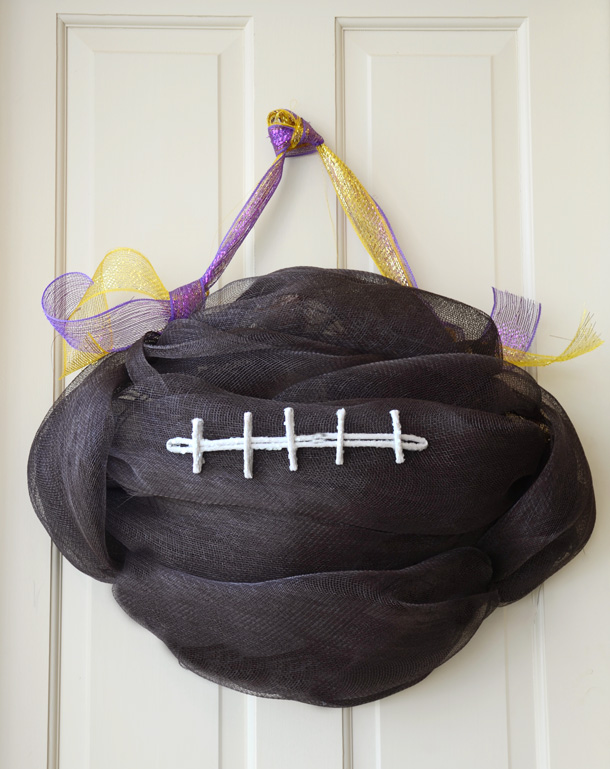
DIY: Football Door Decoration with Deco Mesh

 deco mesh football wreath tutorial

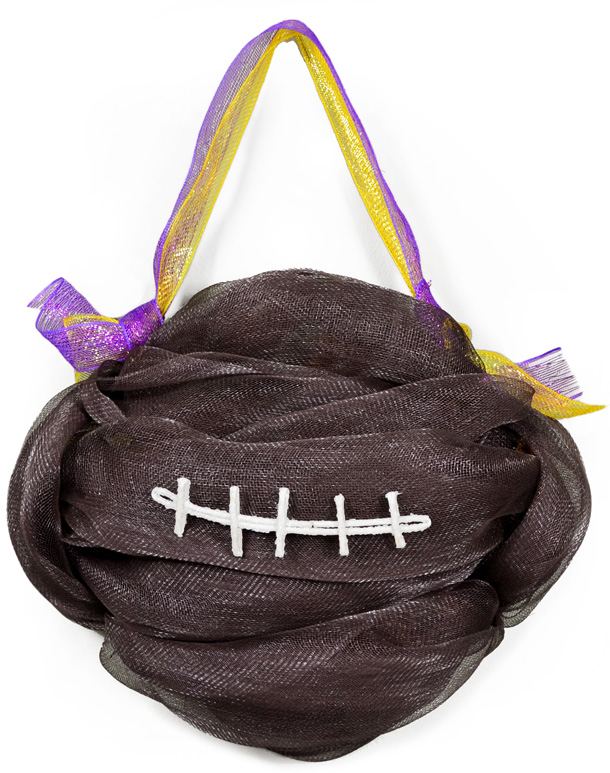
Football season is here! And everyone loves to support their favorite team, from high school football favorites to city-wide college and NFL teams. A perfect way to support your team is to decorate your door with this fun football wreath made of deco mesh and a brown work wreath form.  Here is the step by step tutorial, so you can create a football of your own.

Customized your football to your school colors and mascot. Add team colored emblems to the front or team colored ribbon. We are partial to the Tigers (Geaux LSU!) so we added sparkly purple and gold ribbon to hang our football decoration.
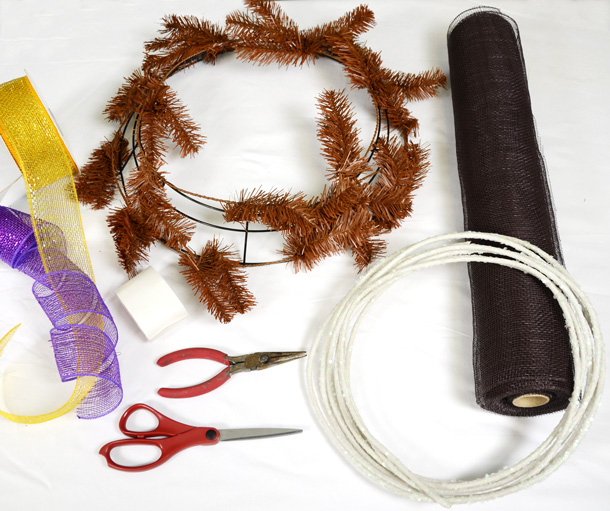
Football wreath suppliesSupplies:

Brown Deco Mesh- 21" wide roll

Chocolate Brown Work Wreath Form-24"

Wired glamour rope- white

Scissors
Wire cutters
glue of your preference (Elmer's glue dots shown), wire or thread

Optional- team colored ribbon (2.5" deco mesh ribbon in metallic purple and gold)

How to create this Football Door Decoration:
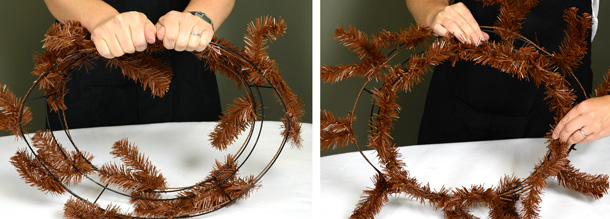
STEP 1: Start with a standard round 24" chocolate brown work wreath. Working on a solid surface, push down on the top of the wreath form to shape the form into a oval or football shape. Aim for a slight pointy shape on each end. Make sure the pointed ends have a wire tie.

STEP 2: Just as in our pumpkin wreath tutorial, we will be using the wire wreath form in an unusual order (see note below). Instead of circling around the wreath form, you will be attaching the mesh across the form. For this football creation, you do not use the inner ring ties so you can wrap these ties around the inner ring to hide them and keep them out of the way.

NOTE: A work wreath form is a standard wire wreath form with pre-attached tinsel ties that come in assorted colors. The standard way to use the work wreath form is to attach mesh or ribbon around the form, starting on the inner ring of ties. After the first ring is filled, move out to the second ring. For more information using a work wreath from, see this post. To purchase wreath forms, click here.
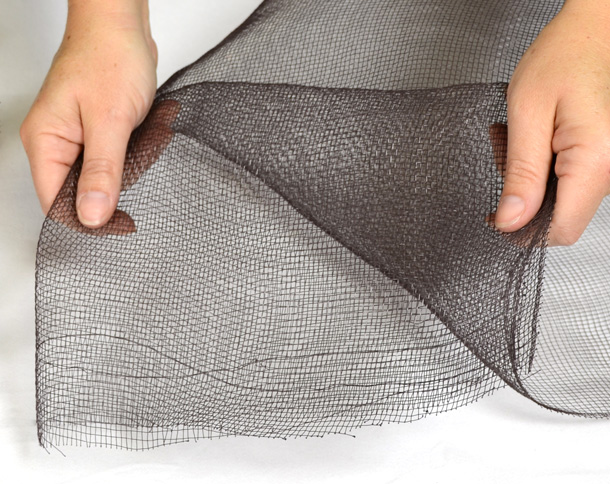
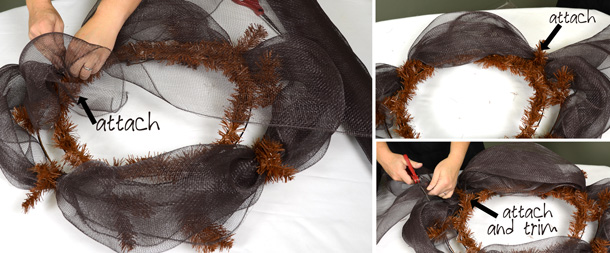
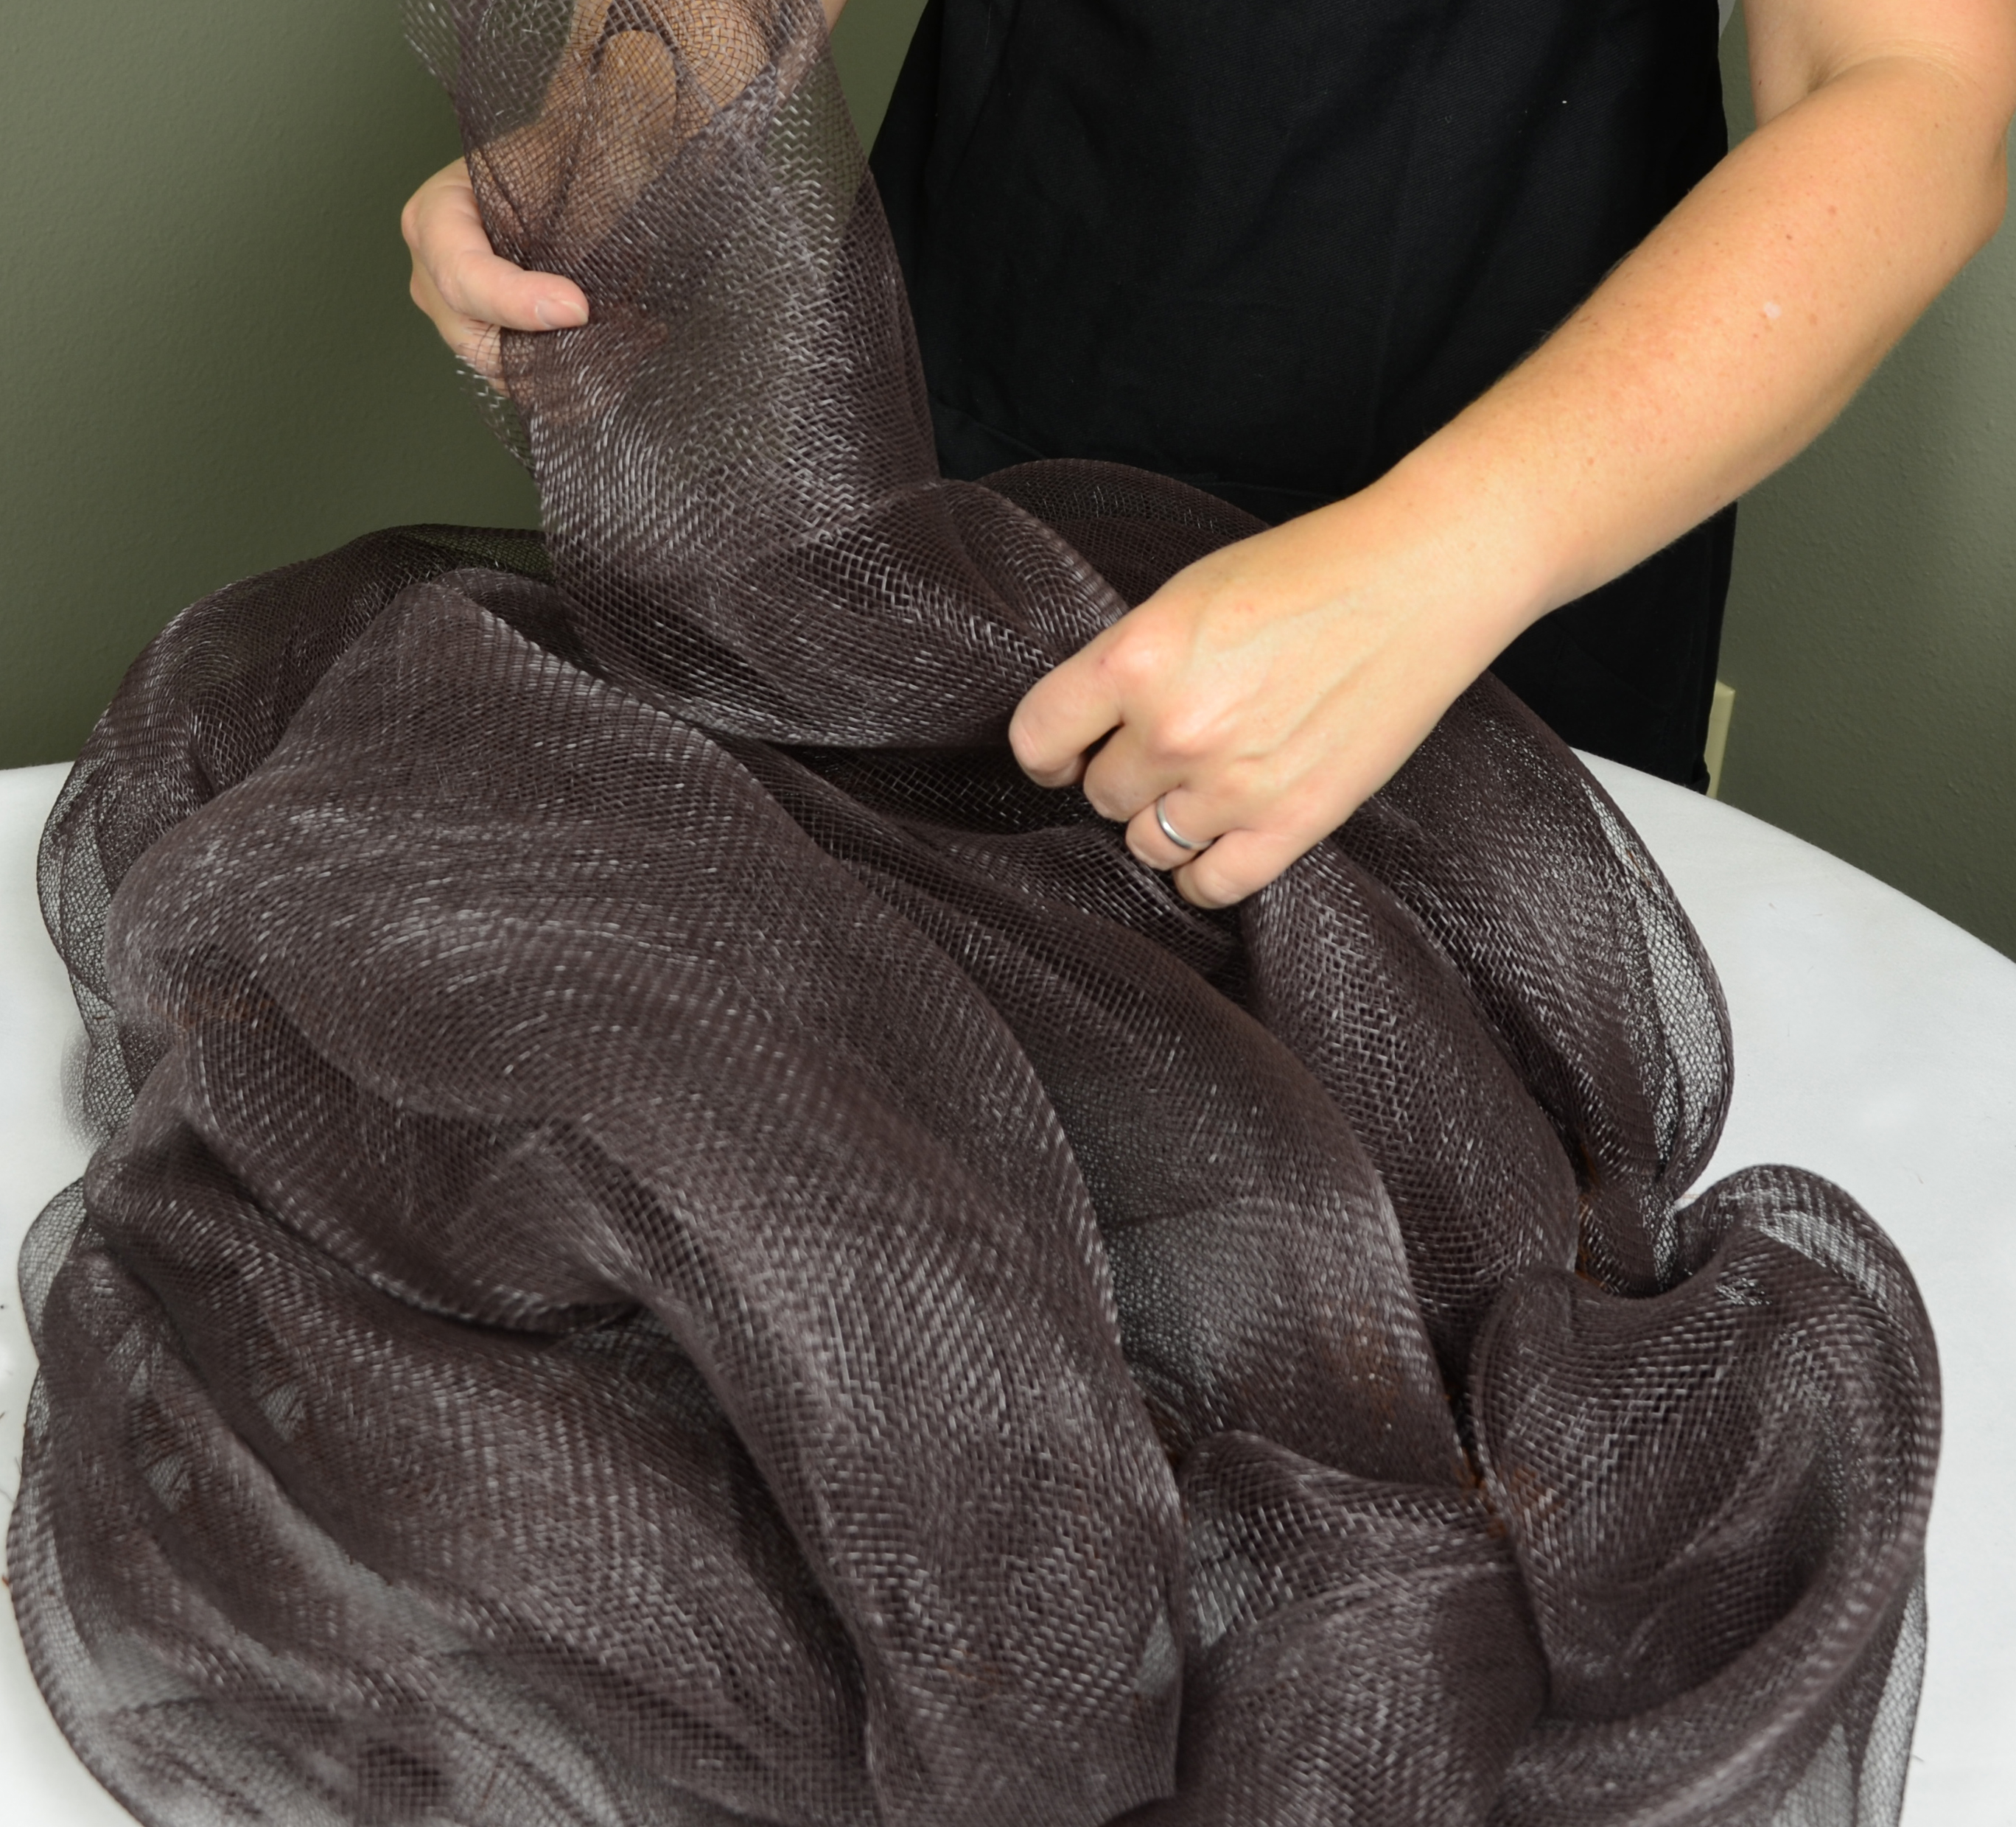
STEP 3:  Attach the brown 21" wide mesh to the brown wire wreath form. Again, we do this a bit different than the standard wreath method. Instead of bunch the mesh into a tie, the mesh is folded once, then folded over again twice. This makes the mesh lines across the football neater and more linear (like the lines on a football). It also make the mesh more opaque since you are only going across the form once in each place. The photo above shows the mesh folded once.


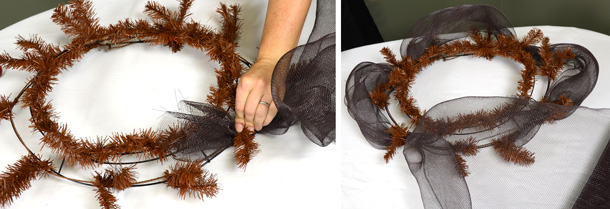
STEP 4: Place the wreath form in front of you. Start at the bottom right corner of your oval (as shown). Insert the folded end of the mesh between two wire ties and twist to secure.

STEP 5: Continue around the outer ring of the form. Remember fold the mesh (not bunch) as you attach it into the wire ties. Attach the mesh in one short loop on the end. Then move on from the top right to the top left. Another short loop on the end- then back to the tie you began with. Do you see the football shape forming?

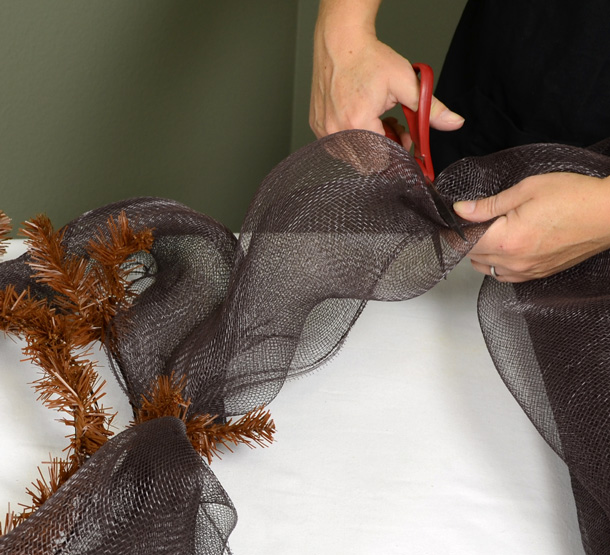
STEP 6: A bit further down from the final tie, cut the mesh off from the roll (as shown). Tuck this mesh tail in the side loop. This extra mesh will help to fill in this part of the football.

STEP 7: Take the folded up end of the mesh and attach at the top left corner- into the same tie you used for the outside circle of mesh (as shown). Cross the wreath form at the top and attach folded mesh into the tie you used on the other side. Now circle back over, coming back to the tie you started with. Open this tie and attach the mesh. Leave a bit of a tail on the mesh piece and cut off here. Tuck this tail into the side hoop to fill it out- just as you did on the other side.

STEP 8: Repeat this step  across the wreath form. For the next piece, start on the far right tie (the one on the point). With folded mesh move over to the other side. Insert mesh into this side tie. Then move back  over to the tie you started with and cut the mesh off. Tuck in excess tail of mesh.


STEP 9: Repeat again at the wire ties on the bottom left and right corners. Once you are finished fluff and adjust the mesh as needed to create that football shape. You want linear lines of mesh crossing the football just like the leather seams on a real football.
TIP: To fill areas of the mesh that may need more puff- cut individual pieces of mesh and stuff in from the back of the wreath form.


Create your football laces:
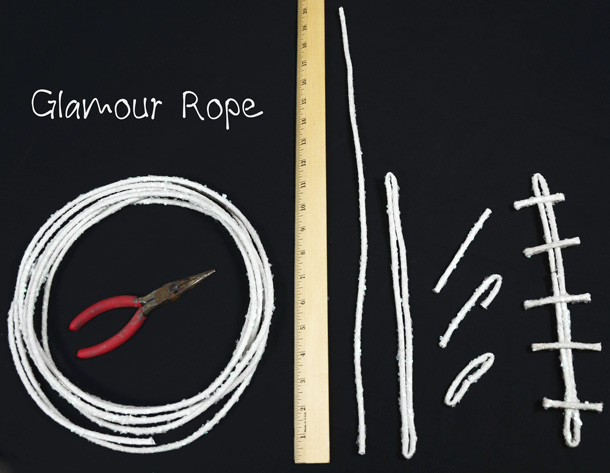
with white wired glamour rope and the wire cutters

STEP 1:  Cut a piece of glamour rope approximately 24" long. Fold this wire piece in half.
STEP 2:  Cut 5-8 more small pieces of wire (Eight laces is standard on a real football; we used five.) STEP 3:  Fold these wire pieces in half as shown. 
STEP 4:  Attach these small piece to your long piece of wire by wrapping the folded pieces around the wire. This forms your mock laces for the football.
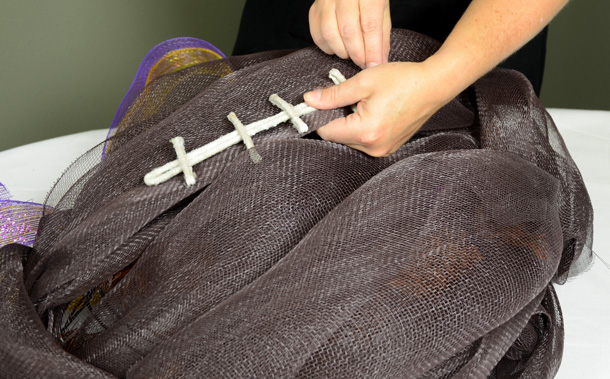
Attach laces to the front of the football with glue, string or wire. We used super sticky glue dots.


 With the addition of a purple and gold ribbon at the top, our football is complete.
Good luck on your football creation- and good luck to your team...
unless of course... your team is playing LSU!

There are so many ways to use deco mesh and work wreath homes, click here for more tutorials and ideas!

Mardi Gras Outlet's blog to receive our emails full of ideas and inspiration! Simply add your email in the subscription box below to sign up.
Enter your email address:


Delivered by FeedBurner

September 15, 2011

Making a Bow with Deco Mesh


Creating a beautiful and professional-looking bow for the holidays or special occasions is much easier and faster than you think, all thanks to Deco Mesh. Deco Mesh is a type of soft plastic fabric mesh that is great for wreaths, garlands, Christmas tree decorating, gift wrap and much more. Plus, it holds its shape and is durable enough for outdoor decorating.


This Christmas bow uses a brand new product - 10 inch wide deco mesh ribbon, which comes in many colors, patterns and finishes.

We used the Metallic Red/Lime Stripe roll. The only other supplies you will need are scissors and some craft wire or 2 pipe cleaners.


DIRECTIONS
1. Form a loop at the end of the roll of 10 inch mesh. The first and center loop should be the smallest; this one is around 2 inches in diameter. Gather the loop into one hand, holding the bunched mesh between your thumb and index finger.


 2. Make a second loop by bunching about a 9" length of mesh and bringing it to your other hand that is holding the loops of mesh. Try folding as you gather the mesh for a full look.


3. Repeat 3 more times. Continue making loops, going back and forth from both sides of your initial center loop. Each set of new loops should be larger than the previous ones you made. It really helps to have one hand hold the bow and the other gathering and forming loops.

3. Secure the bow by threading craft wire or a pipe cleaner through the loops you have been holding. Twist the wire tightly several times. Now you can trim the mesh. 
4. For the bow tails, cut about a 3' length of the same 10" mesh. Start rolling it at the middle. This helps the mesh look fuller for the tails. 

5. Attach the tails at the rolled center to the bow, going around where you secured the bow with wire. Use a pipe cleaner or craft wire to do this.

    Now your bow is finished!
Many other colors and patterns are available in the 10 inch deco mesh so you can create a bow for any occasion.

Don't be afraid to experiment with the size of the loops and the number of loops on your bow!

Browse our blog for other great tutorials using deco mesh. To watch a video on how to make a bigger bow with 21 inch wide Deco Mesh, click here.

All of the supplies used in this tutorial and other deco mesh products are available at MardiGrasOutlet.com


September 11, 2011

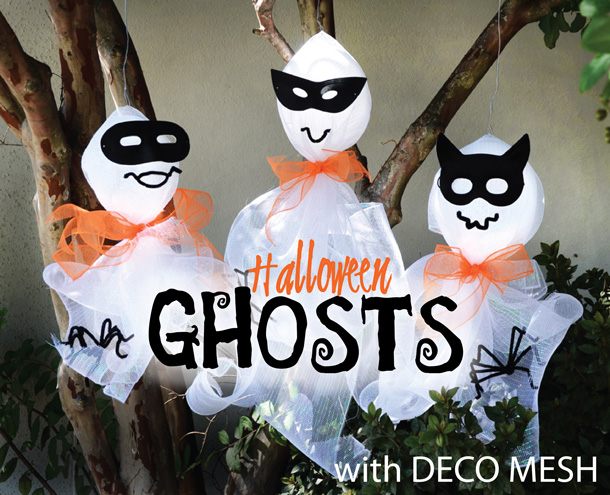
DIY: Halloween Ghosts made with Deco Mesh

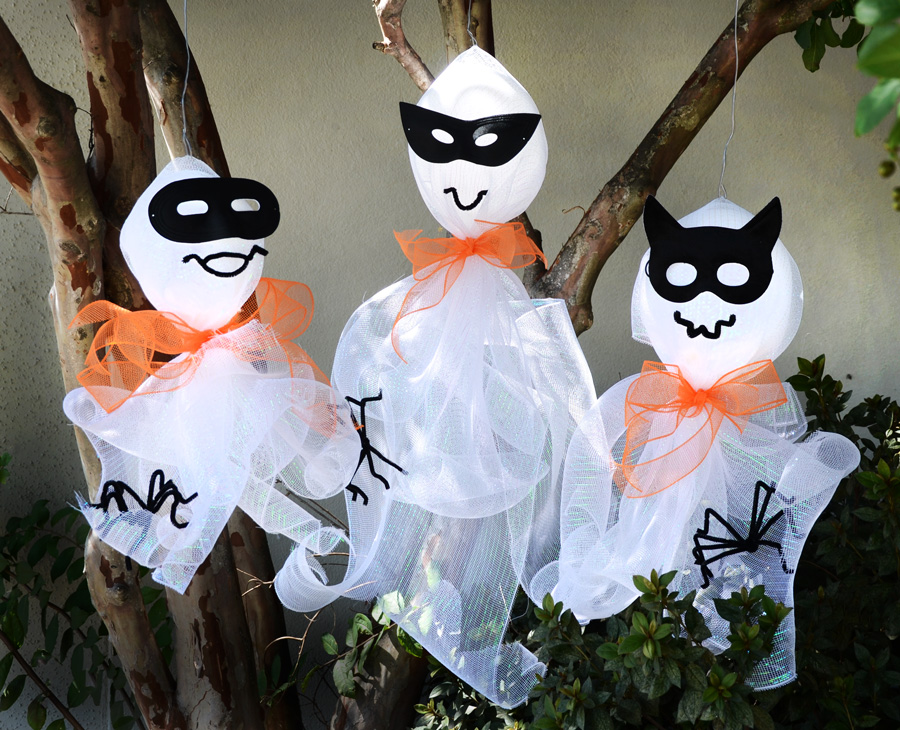
deco mesh Halloween ghosts

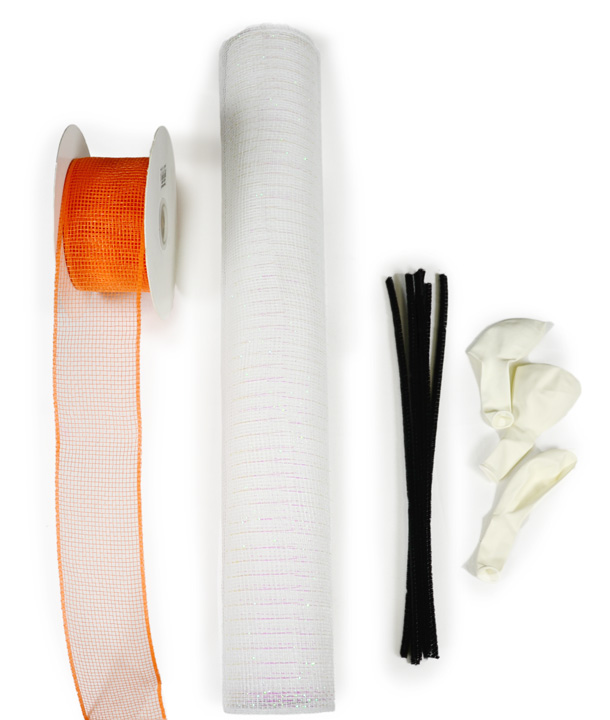
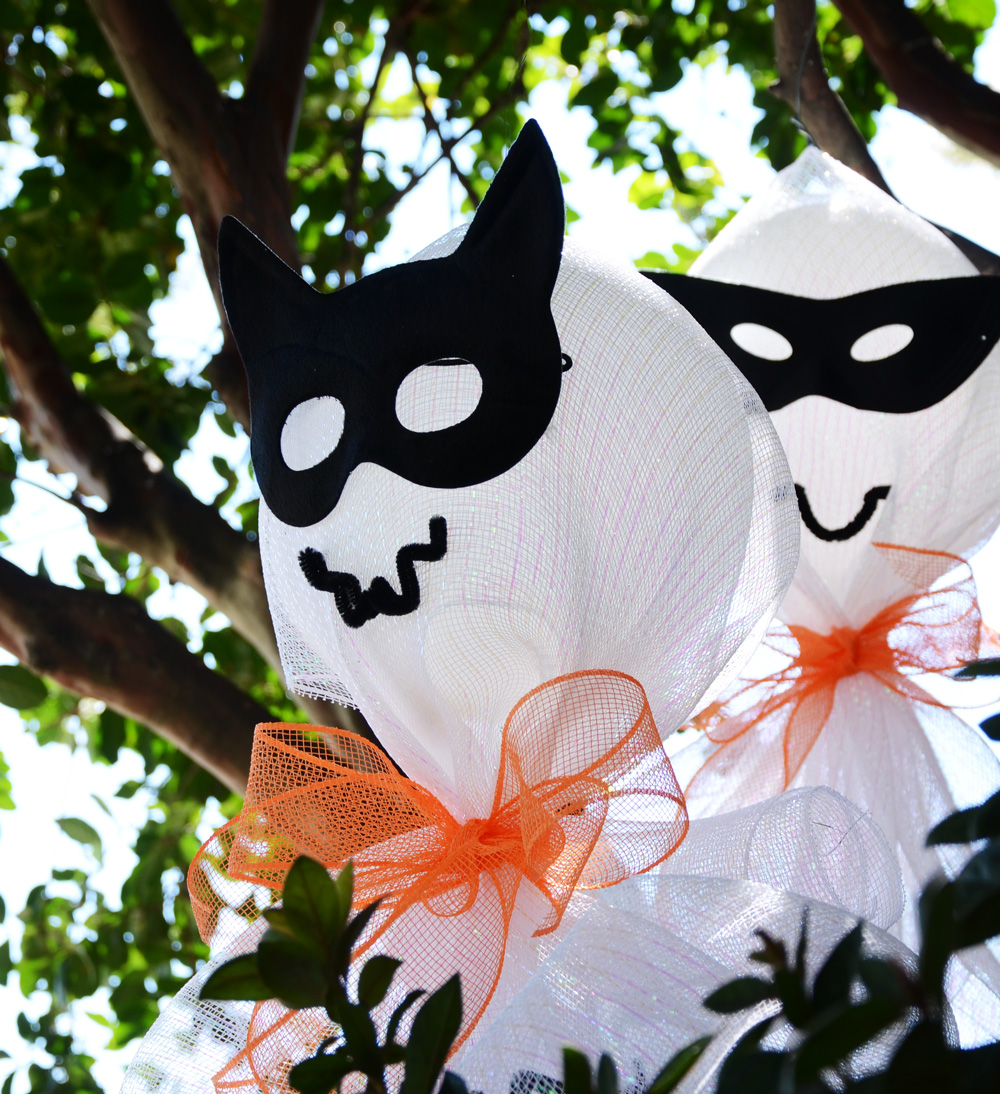
As promised, here is the tutorial for these cute deco mesh Halloween ghosts. With inexpensive white deco mesh, black masquerade masks and white balloons create these breezy whimsical ghosts for easy Halloween decorations.

SUPPLIES
(will make apx.4-5 ghosts depending on the length of deco mesh cut)

black pipe cleaners (5 per ghost)
11" white latex balloon (1 per ghost)
adhesive of your choice (glue dots)
scissors
wire or string (for hanging the ghosts)

Lay the deco mesh on a flat surface. Cut a piece of white deco mesh approximately 5 feet long. The longer the piece of mesh, the larger the ghost. The three ghosts pictured above are made with three different lengths of mesh.

Layer another piece of mesh across going the opposite direction (form a cross shape). Cut this piece the same length as the first.  

Trim and finish off the ends of both pieces of deco mesh with a large irregular zig-zag pattern.

Fill one of the white latex balloons with air. The balloon should be the size of a large cantaloupe. Place the balloon in the center-cross point- of the mesh. Gather up the first piece of mesh around the neck of the balloon and hold. Gather up the second piece of mesh. Hold in place.

Tie a piece of the 2.5" orange deco mesh ribbon around the neck of the ghost to secure. Cut an addition loop of ribbon approximately 3 feet long. Create a big loop and tie into the ribbon on the neck to form a bow.


Make a ghost mouth:
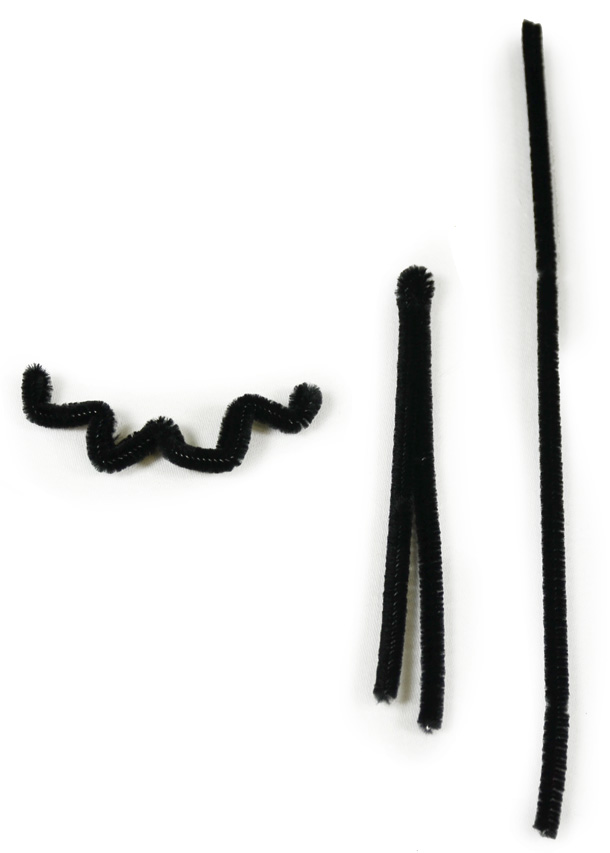
The fun part is creating a mouth for your ghost with a black pipe cleaner.
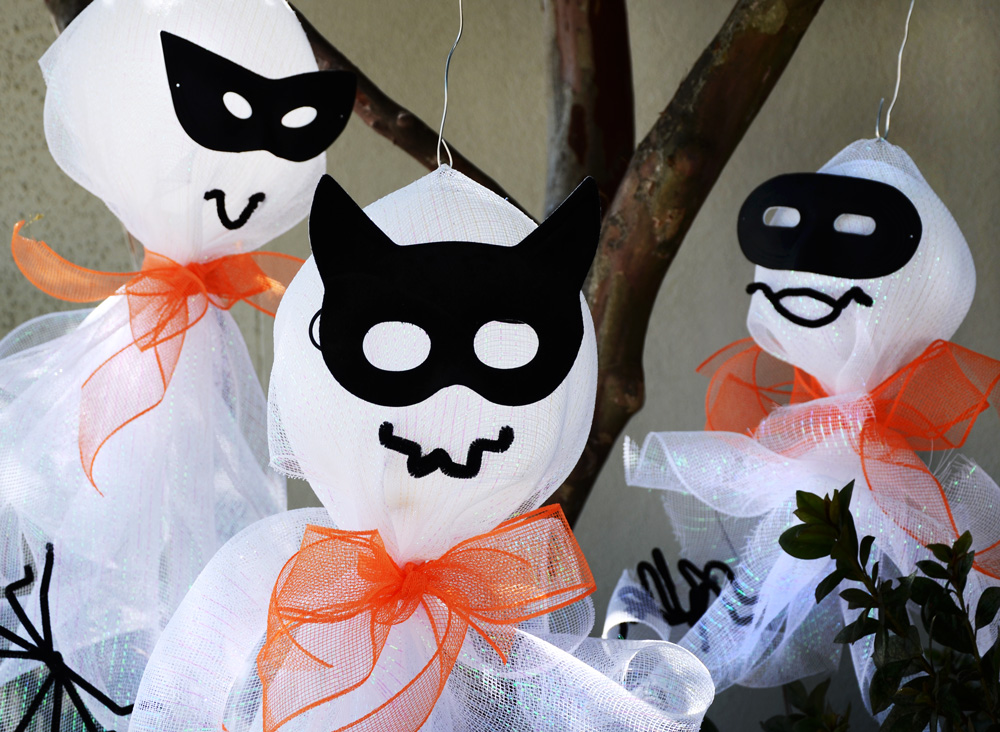
Bend it in half and form it into what-ever silly mouth shape you like. We created three different versions on our ghosts featured above- pick one you like!
Attach the black mask and pipe cleaner mouth to the ghost head with your preferred type of adhesive. We used glue dots. Depending on the weight of your mask you may need additional adhesive.


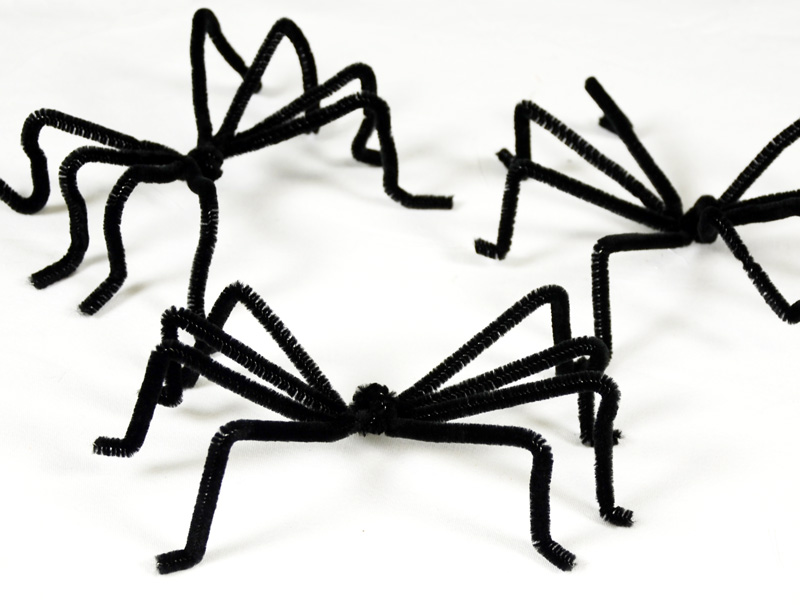
pipe cleaner spiders

Each of our ghosts has one of these cute spooky spiders! 

How to make spiders out of black pipe cleaners

How to create spooky pipe cleaner spiders:

Twist four black pipe cleaners together in the center as shown.

Bend each of the 4  legs on each side into a V shape to make the spider legs.
Our bunch of whimsical ghosts 

Bunch of mesh Halloween ghosts

Wire, mono-filament or string tied to the top of these whimsical ghosts allow you to hang them indoors or out. The deco mesh is weatherproof !