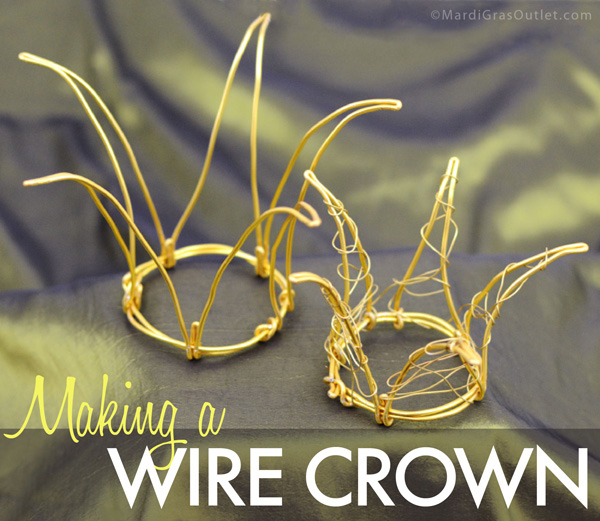
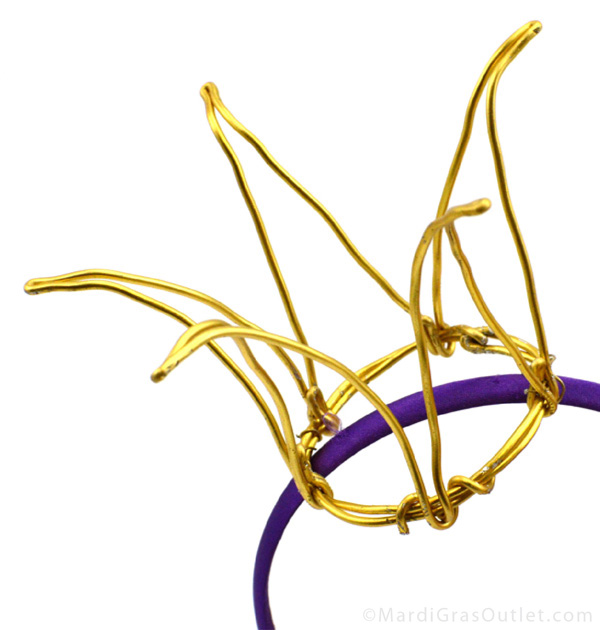
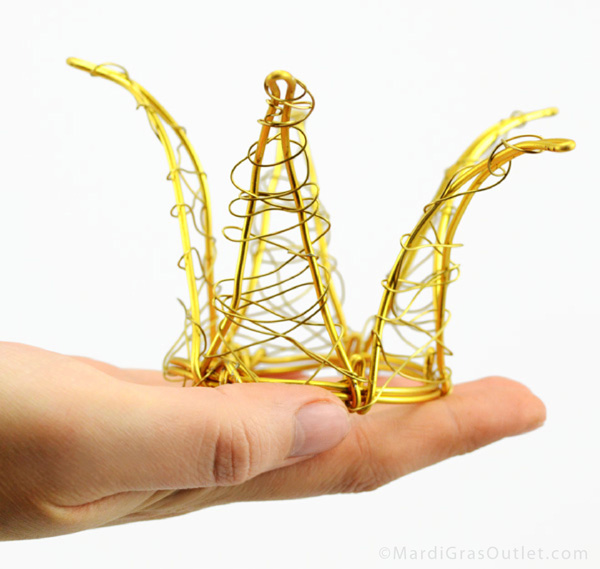
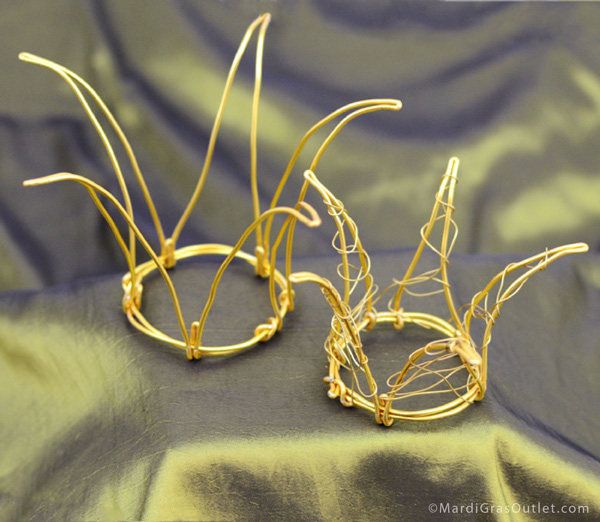
Celebrate the arrival of Carnival season and Three Kings day (January 6th) by crafting your own small whimsical crown. Made with aluminum craft wire, these precious tiny crowns can be used as decoration on a tablescape, cake topper or worn as a fascinator on a headband. We've created two versions, one with a thick-gauge aluminum wire, and the other filled in with thin gold floral wire.
Don't you think they are both fit for a king?
Put the crowning touch on a king cake with a tiny gold wire crown.
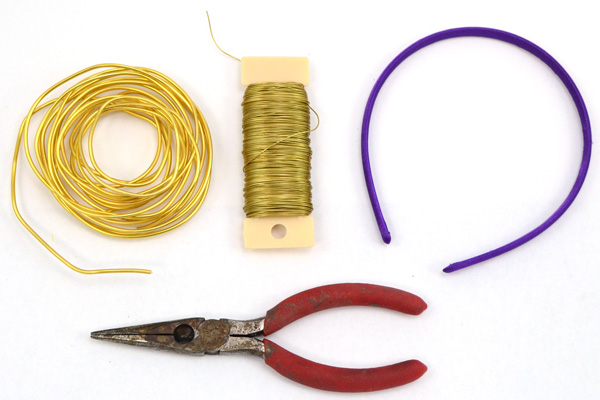
SUPPLIES
To purchase these products from www.mardigrasoutlet.com, click on the individual product link below for a complete supply list.
- basic Headband
- wire-cutters/pliers
Cost/Time
The cost of two the two basic wires is $6.50. This does not include the cost for the headband or wire cutters. We only used about 1/6 of the roll of wire. The wire crown took under 15 minutes to make.
STEP 1: MAKE A ROUND BASE
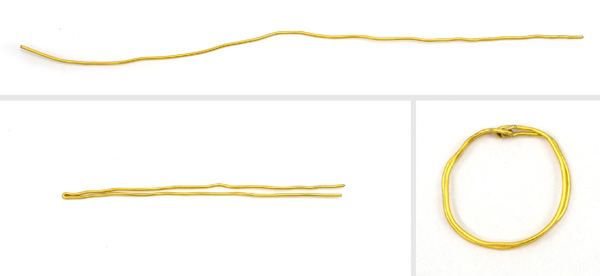
Cut a 16 inch to 18 inch piece of 2mm Aluminum Craft Wire with wire cutters. Fold the wire in half. Finally, create a circle and loop the two ends together. Use pliers to press and twist the wire ends together securely.
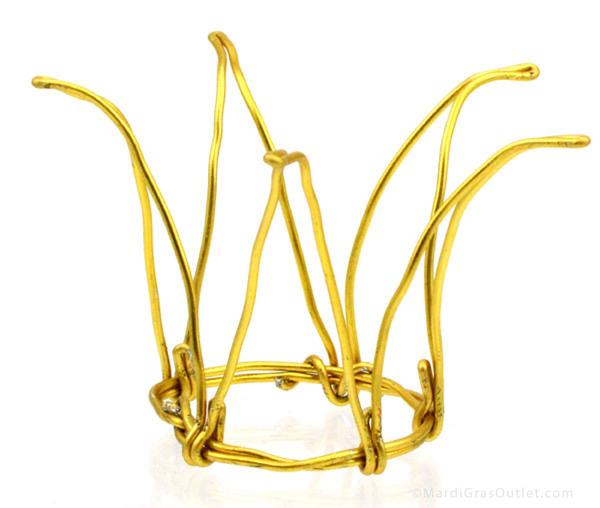
This finished wire crown will have a 2.5 inch diameter base, and will be about 3 inches tall. You can alter the size of the crown to your liking.
STEP 2: MAKE THE SPIKES
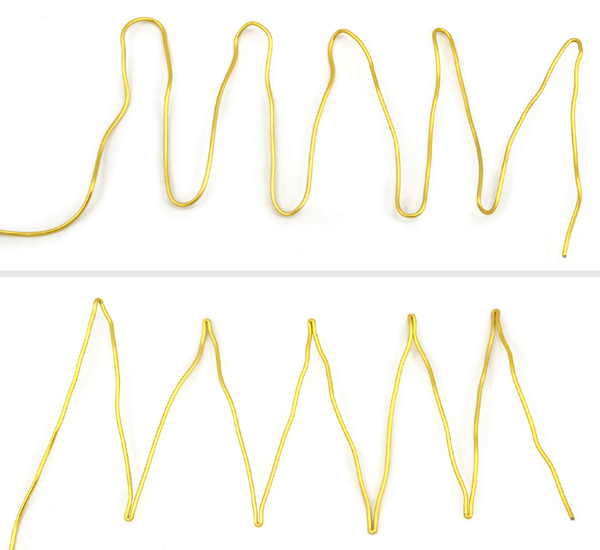
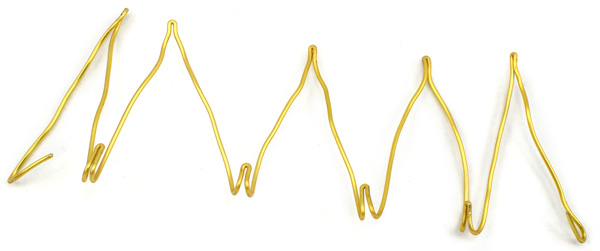
Fold the aluminum wire into zig-zags that are about 4 inches tall. We made 5 spikes, but you can form more or less, and vary the height of the spikes. Use the pliers to pinch the top and bottom spikes so that they come to a point.
Then bend the bottom ends so that they curve up like hooks.
STEP 3: SECURE THE SPIKES TO THE BASE
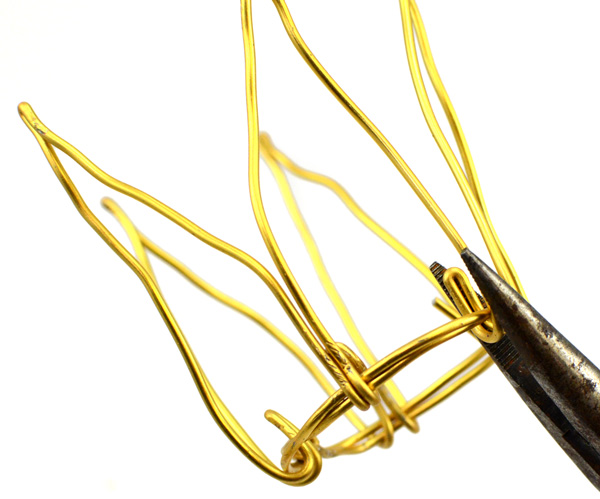
Curve the row of spikes to follow the round base. Use pliers to start pinching the hooks around the round base, with the end on the inside. Space them out evenly.
Bend the tips of each spike outward for a crown shape.
STEP 4: ATTACH TO THE HEADBAND
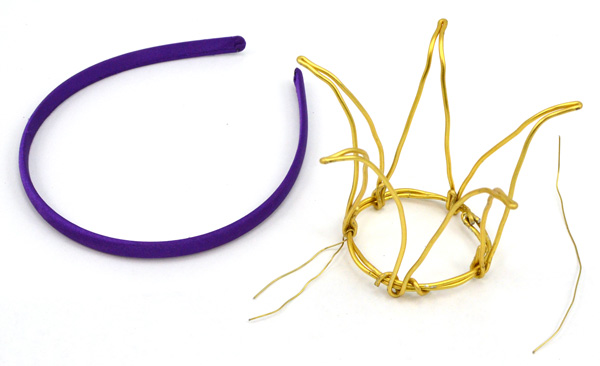
Cut two short lengths of the gold floral wire and wrap it around the crown's base and the headband to secure the crown.
OPTIONAL STEP: FILL IN THE CROWN SPIKES
We simply used more of the thinner floral wire and wrapped it around each spike. Keep wrapping until it looks filled in.
We hope you all had a wonderful Holiday and a Happy New Year.



Wow! VERY cute! My daughter (age 30) and I love fascinators for every occasion possible...this is a great idea. Thanks for sharing it.
ReplyDeleteOh yes, a heightened adult version of this crown would make a great fascinator, adding feathers and lace would be precious!
Delete