

Our children are back in school and football chatter abounds. This means fall is around the corner. It's time to decorate your door for the changing season.This autumn inspired metallic copper wreath will bring you into fall and beyond.

A brand new work wreath product - the tinsel work wreath- is used to create this wreath. This basic wreath work form is the same size and style as regular work wreath forms but uses smaller tinsel ties. These tinsel ties blend in with your wreath filler. This form comes in many different sizes, colors and styles. Check out all the different styles by clicking here.

Here is the tutorial for making these cute fall wreath styles!

Supply List
To purchase these products from www.mardigrasoutlet.com, click on the individual product link below or click here.21" Poly Mesh Roll: Deluxe Metallic Copper
24" Tinsel Work Wreath Form: Metallic Copper
Scissors
COST/TIME:
This project takes approximately 20 minutes. The estimated total cost of supplies for the basic wreath is about $18 as shown. Using the 24" wreath form, you will have poly deco mesh product left over.Each Poly Mesh Roll comes with 10 yards of fabric. For our project we used the 24" wreath form which uses approximately 5-8 yards of mesh. If you would like a larger wreath, try the 30" wreath form, which will use a whole 10 yard roll of Deco Mesh. Other Work Wreath Form color options can be found here and alternative colors of deco poly mesh here.

Step 1- Gathering the Mesh
Make every poof or loop of Deco Mesh by first gathering the mesh from each side, do not wrinkle or bunch. By gathering it you ensure that it will be easier to adjust and make fuller, airier puffs.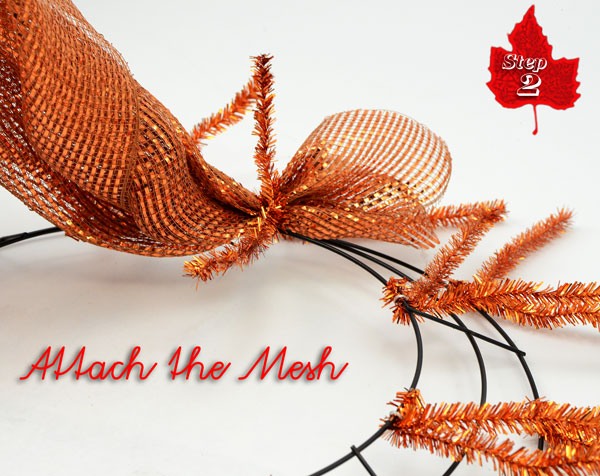
Step 2- Attach the Mesh to the Work Wreath
Place the Deco Mesh down in the CENTER or innermost ring of the wreath and twist the tinsel ties tightly to secure the mesh onto the form. The extra tinsel ties become your method of attaching additional design accents and ribbon.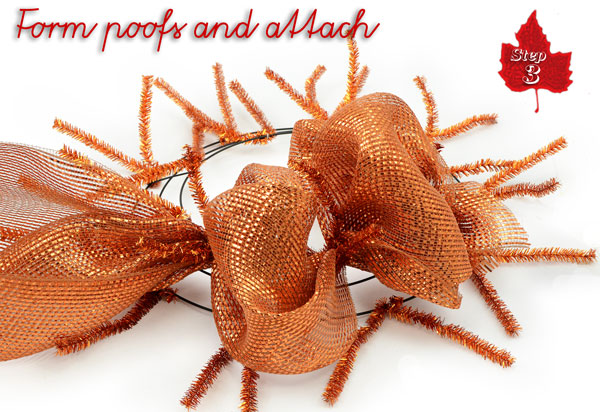
Step 3- Form loops
Larger loops will create a more voluminous wreath. And smaller loops a more compact wreath. Whatever size you choose, aim for consistent loop size around the entire form. Attach the mesh to the form at every pair of tinsel wire by twisting and work your way around the center ring.
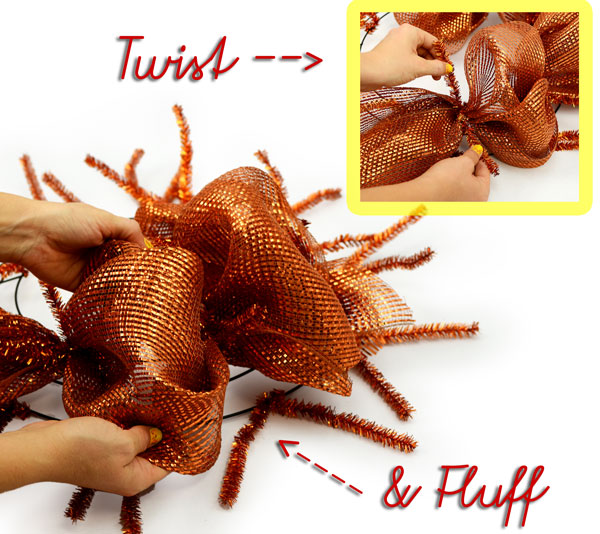
It is important when making loops or puffs to GATHER the Deco Mesh, do not bunch or wad it together. Bunching the mesh will cause it to look wrinkly and dense instead of airy and light.

Step 4- Transition to the Outer Ring of the Work Wreath
When you have made loops around the entire inner circle of the wreath, re-attach the mesh to the same tinsel you began at. This ensures that you do not have any gaps in coverage. Without making any cuts to the fabric, bring the deco mesh to the OUTER circle of the wreath, making a loop in between the inner and outer circles.
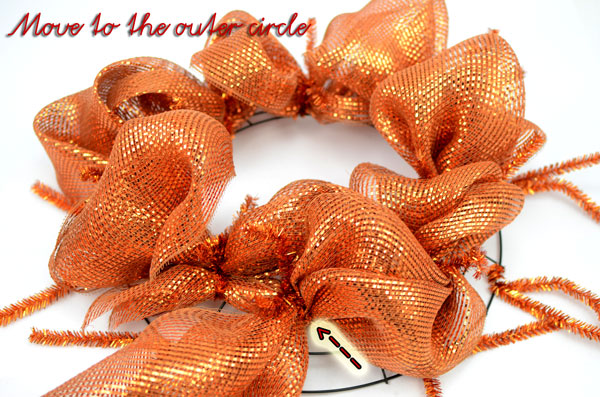
Continue forming loops around the outermost circle of the work wreath.
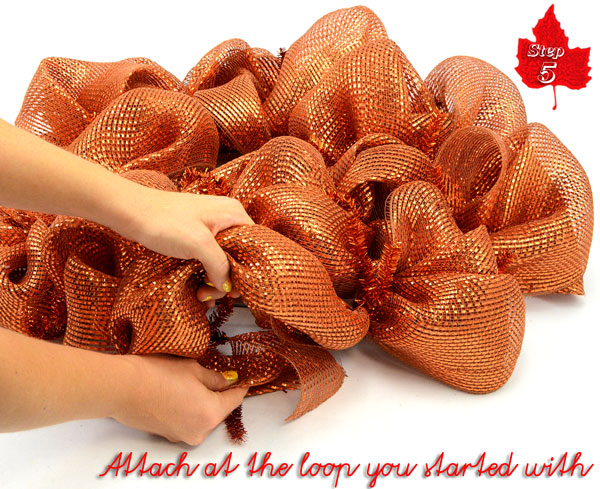
Step 5- Attach and Finish
Once you have worked your way around the outer circle, cut the Deco Mesh only after you have gathered enough to make your final loop. Attach it back into the tinsel garland twist you started the outer circle with, this prevents gaps in coverage. You can fold the Deco Mesh underneath itself or simply trim away any excess.
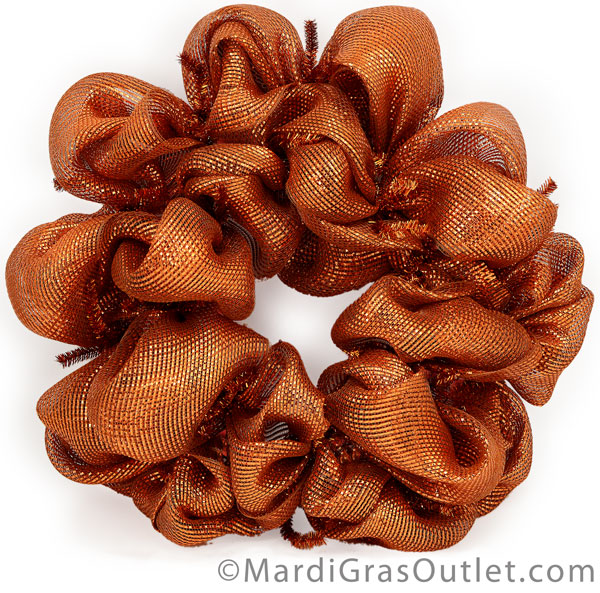
The Finished Product- the basic wreath
Add Trim and Accessories!
From this basic wreath form you can create many different looks to go through all the fall holidays. Using the same tinsel ties, add in accents or ribbon to create the look you desire. Here are some examples to inspire you. This wreath goes from fall to Halloween to Thanksgiving with a few simple changes. 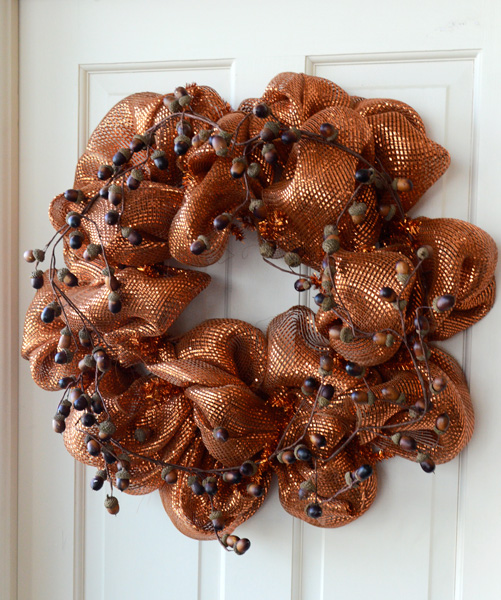 |
| Fall Acorn Wreath |
An acorn garland woven around the form creates the perfect simple fall wreath.
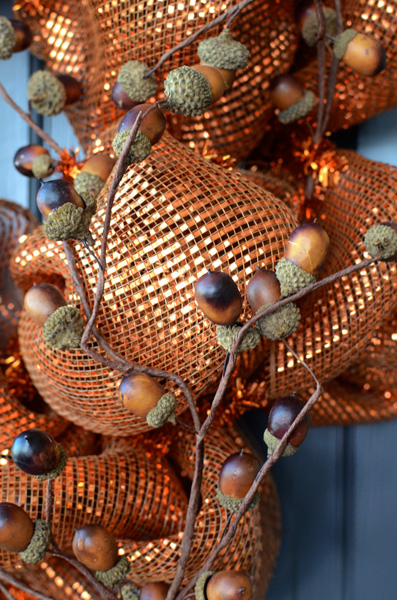
Love the cute tiny faux acorns on the garland!
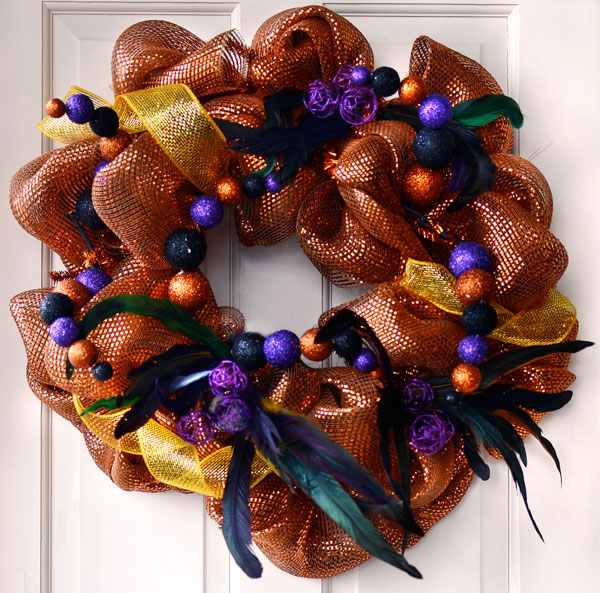 |
| Halloween Feathers Wreath |

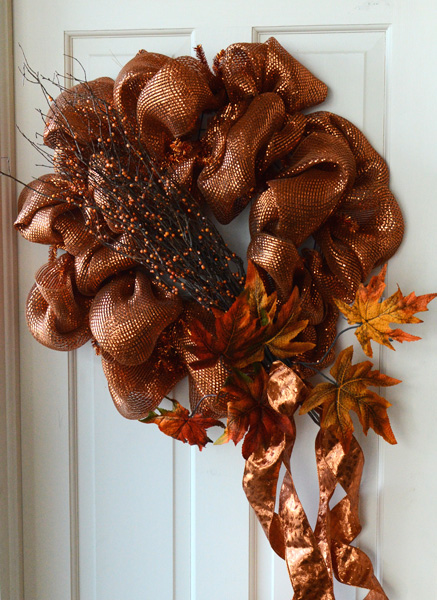 |
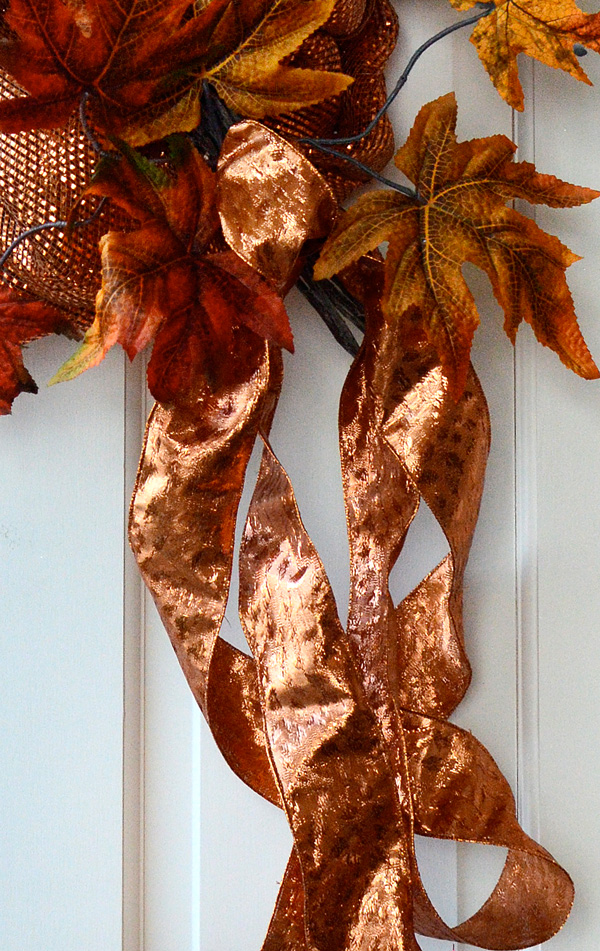
| Bittersweet and Fall Leaves Wreath |
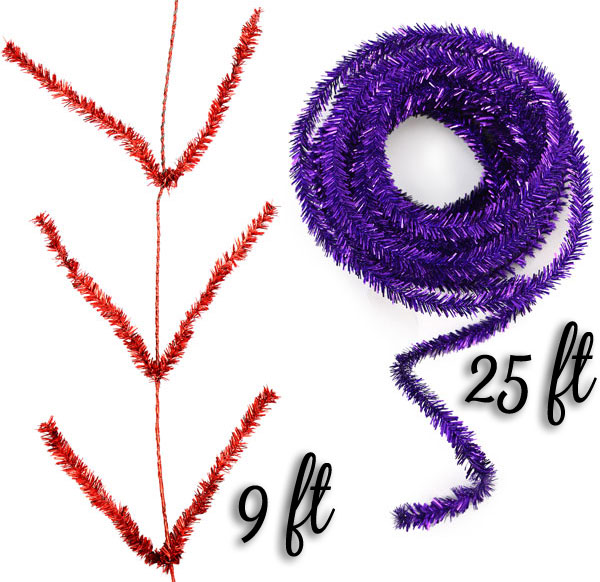
Love this look and want to add more to your door decoration? Try Tinsel Work Garland or Tinsel Roping, which come in a wide variety of coordinating colors. Tinsel Work Garland is 9 feet long and comes with 44 pre-attached wire tips so you can create custom garlands that match your wreath. Tinsel Roping is 25 feet long and is enough to accent a 30" work wreath with some to spare. Both are wired to allow for flexibility and ease of adding design accents.
Stunning wreath projects!!! Thanks so much for sharing these amazing tutuorial with us. Love your products
ReplyDeleteThank you for such an easy tutorial to follow and understand.
ReplyDelete